
Build a React chat app with Sendbird UIKit

Introduction
This getting started guide uses Sendbird UIKit, a set of rich, pre-built UI components that you can use to create a modern messenger experience in your app in under 10 minutes. You can also use the Sendbird Chat SDK with your own custom UI.
To send your first message, you will need to:
- Create a Sendbird account and add chat users in the Sendbird environment
- Import Sendbird UIKit dependencies and integrate the Sendbird UIKit component in your application
This guide will cover both steps in detail and is meant for developers of any level of proficiency so they can easily send the first message in their application. In this tutorial, we will cover how to:
- Create a Sendbird account
- Create users in the Sendbird dashboard
- Add the UIKit dependencies
- Connect the UIKit to your app
- Test the integration
Let’s get started!
Step 1. Creating a Sendbird account
1.1 Sign up for a free Sendbird account.
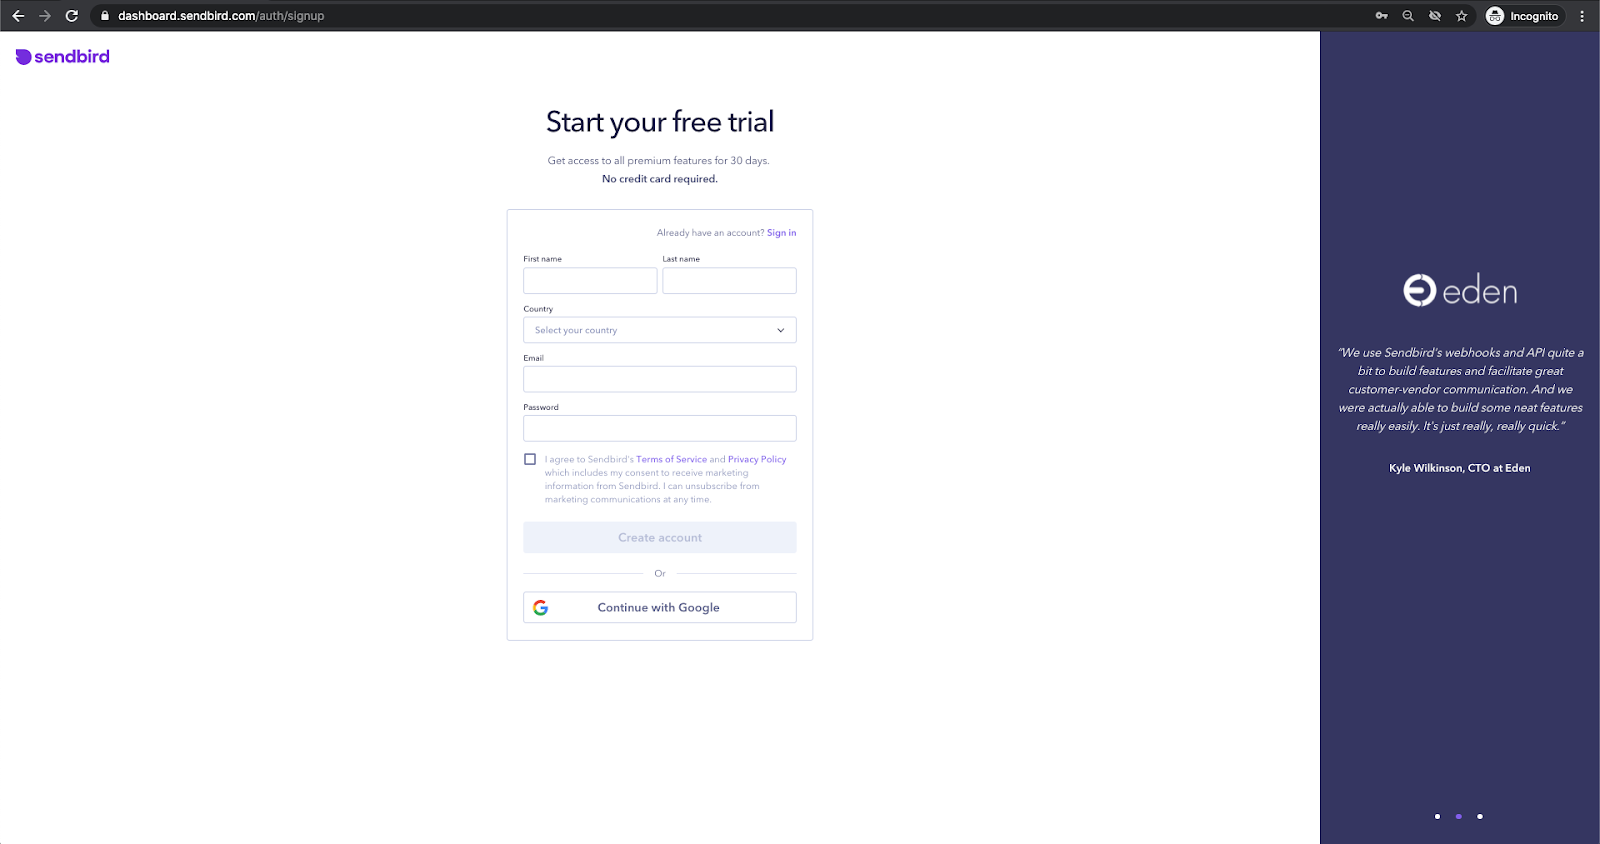
1.2. Create an account using your email address or click Continue with Google.
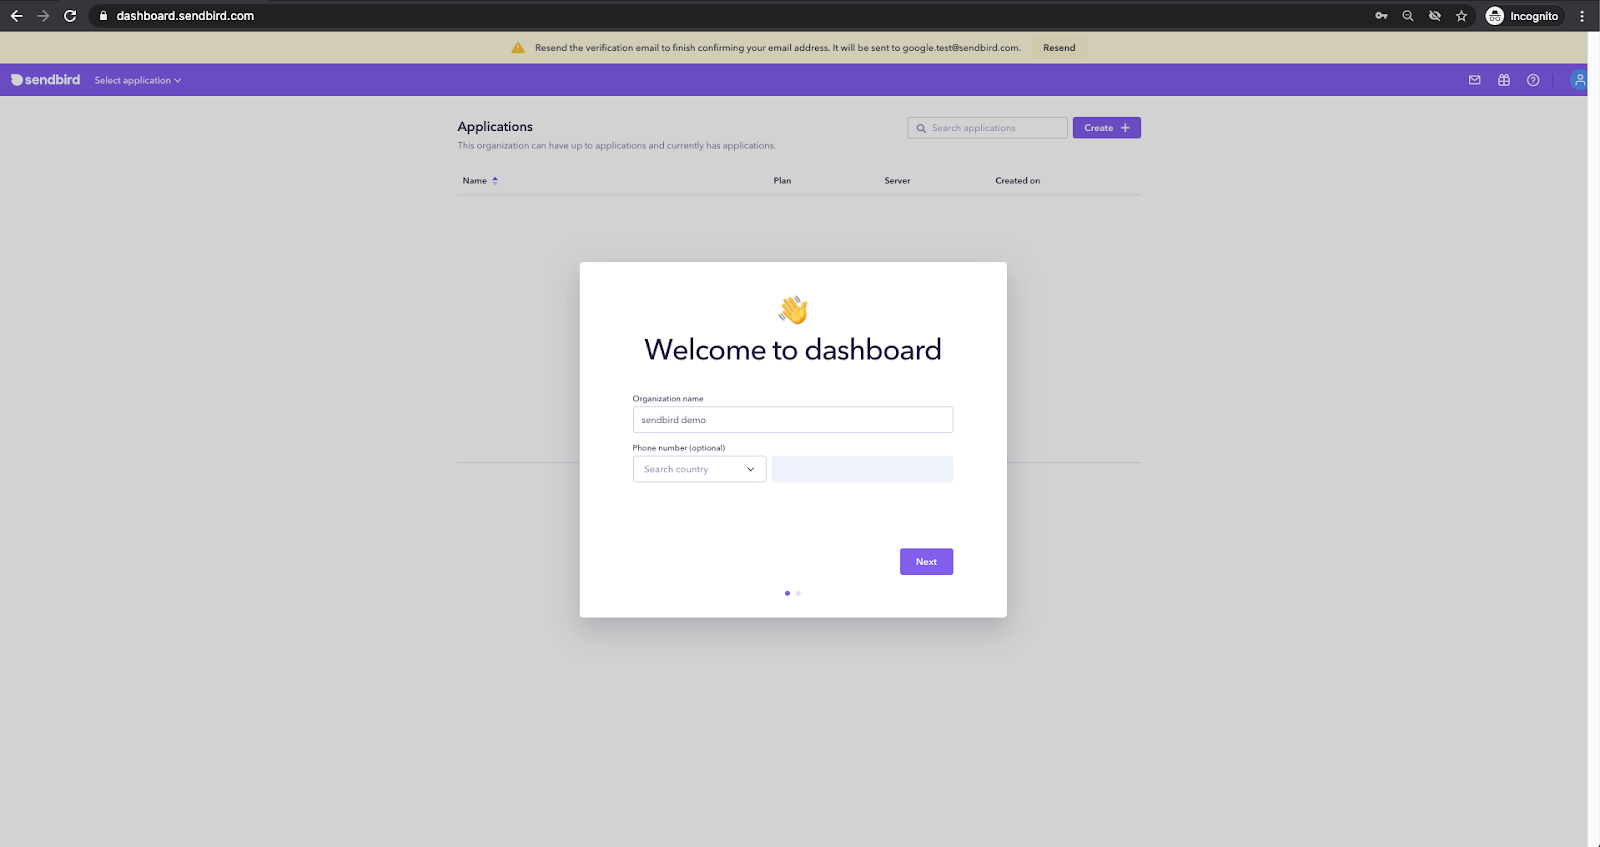
1.3. Set up your organization by filling out the Organization Name and Phone Number fields.
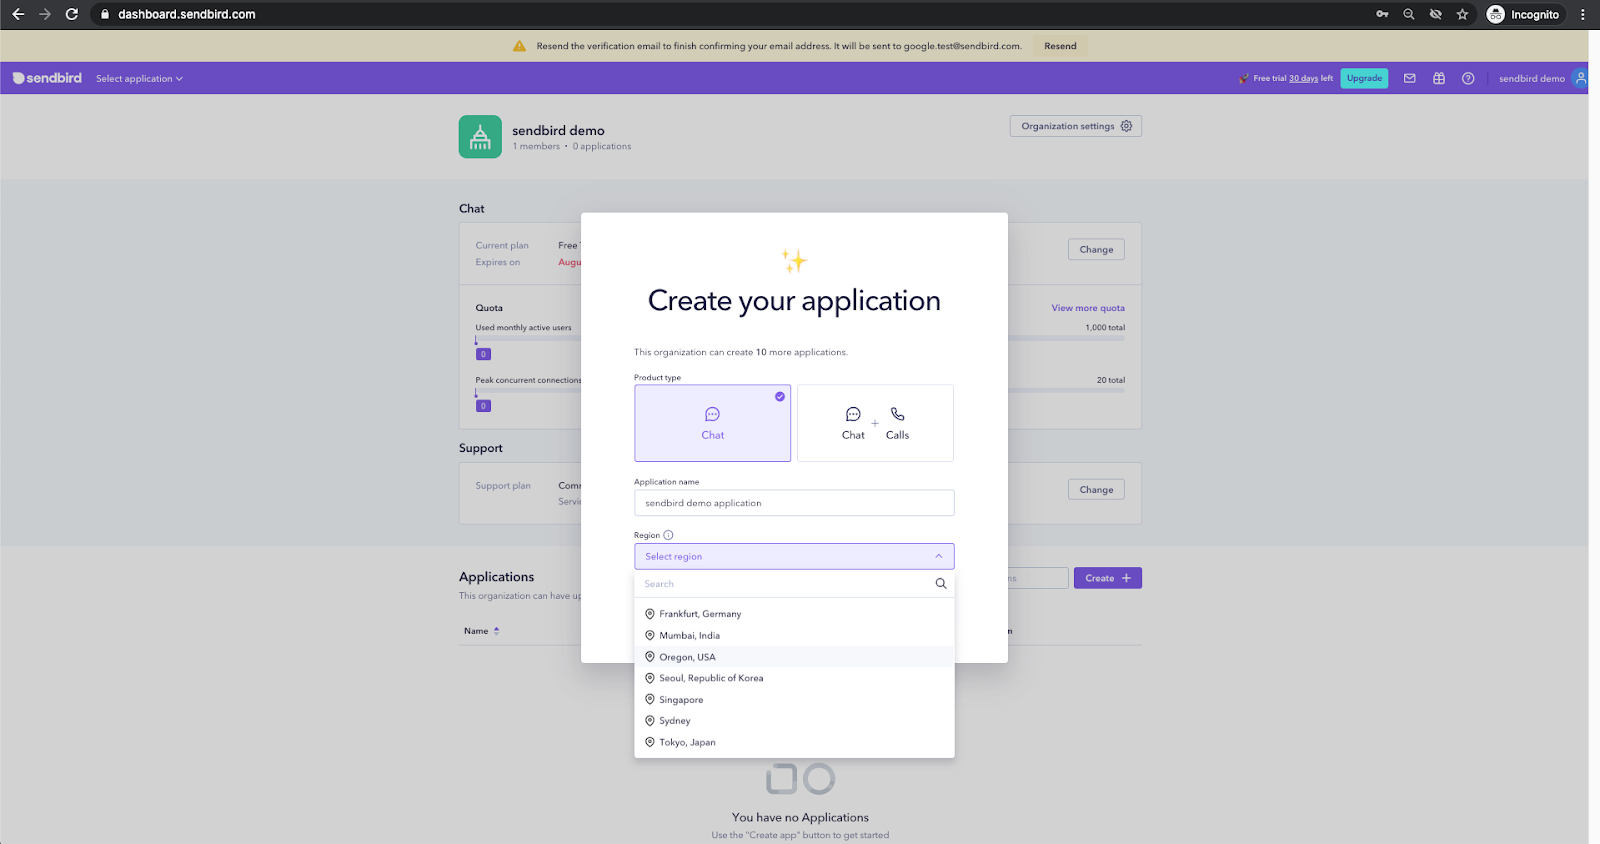
1.4. Create your Sendbird application after choosing Product type and entering your Application name, Region.
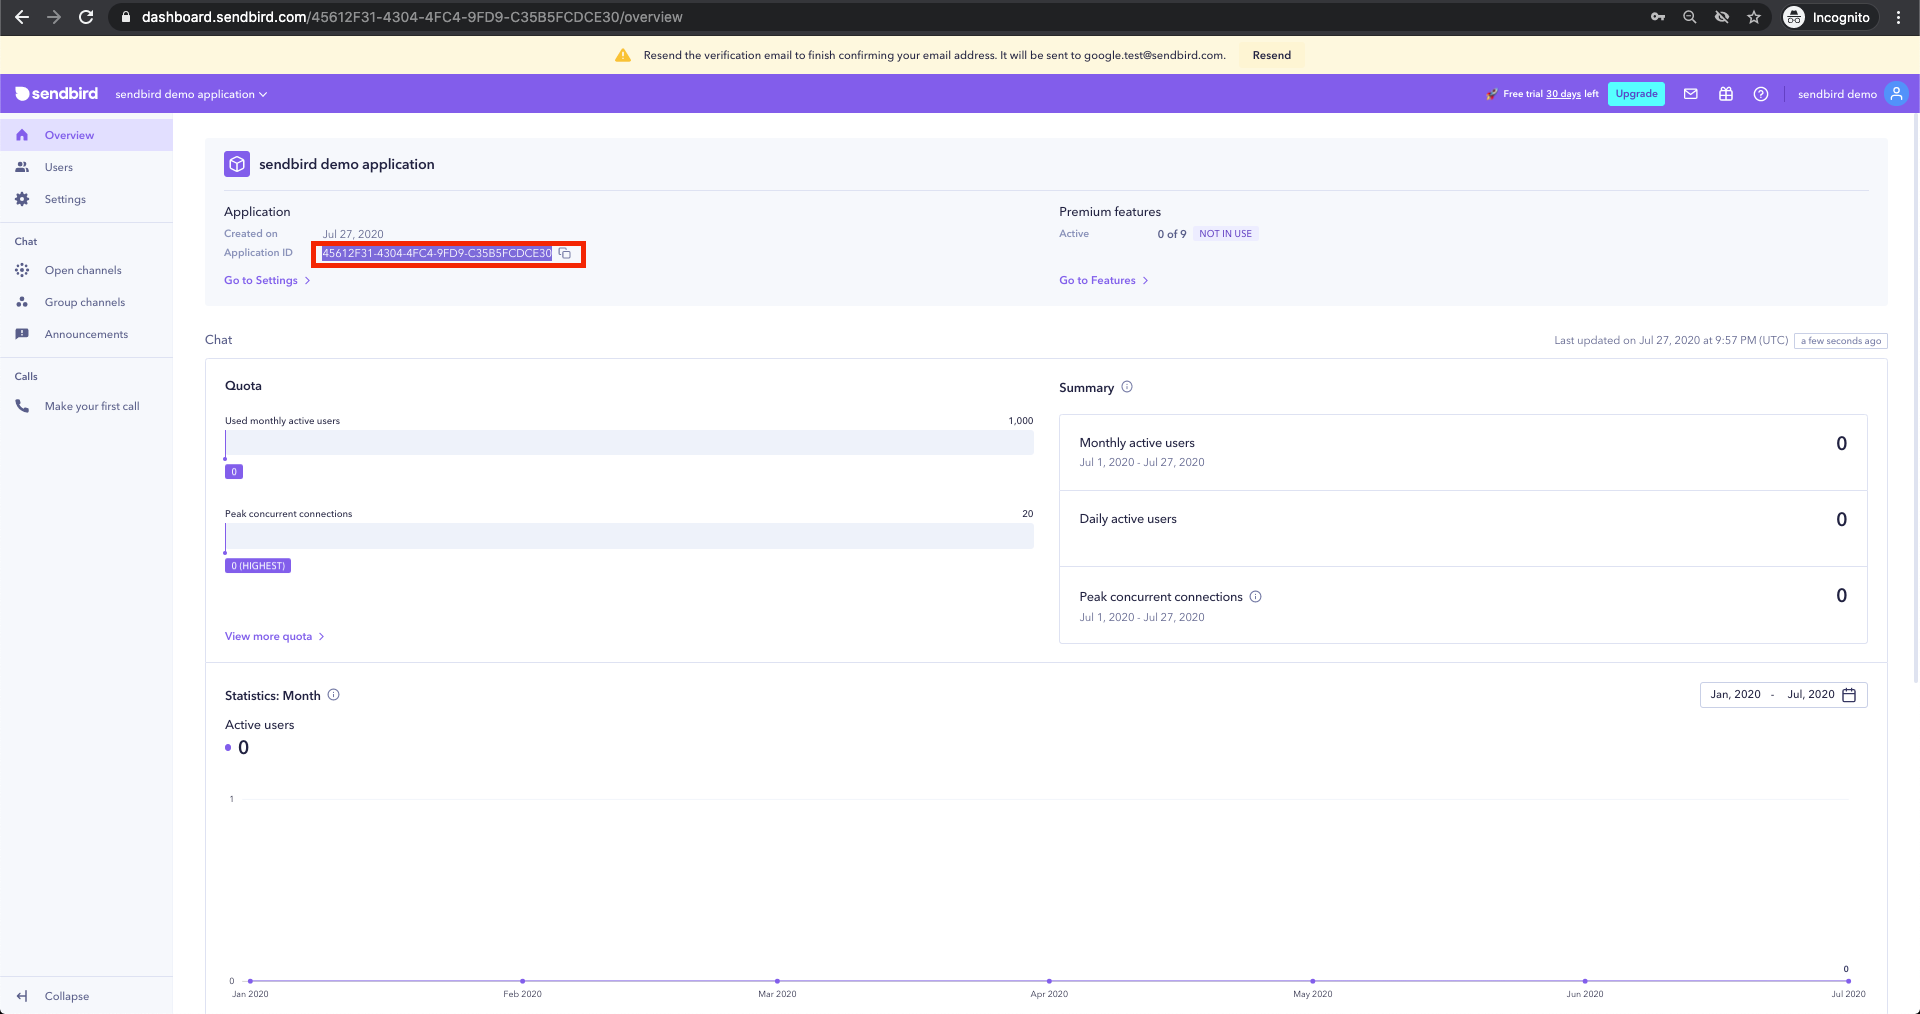
1.5. You will be directed to the main page of the Sendbird Dashboard to get started with implementing Sendbird Chat SDK and API in your product.
1.6. Copy your unique applicationID from the Application section and paste it into your clipboard.
Step 2. Creating users in the Sendbird dashboard
2.1. Navigate to the Users section in the left navigation of the dashboard.
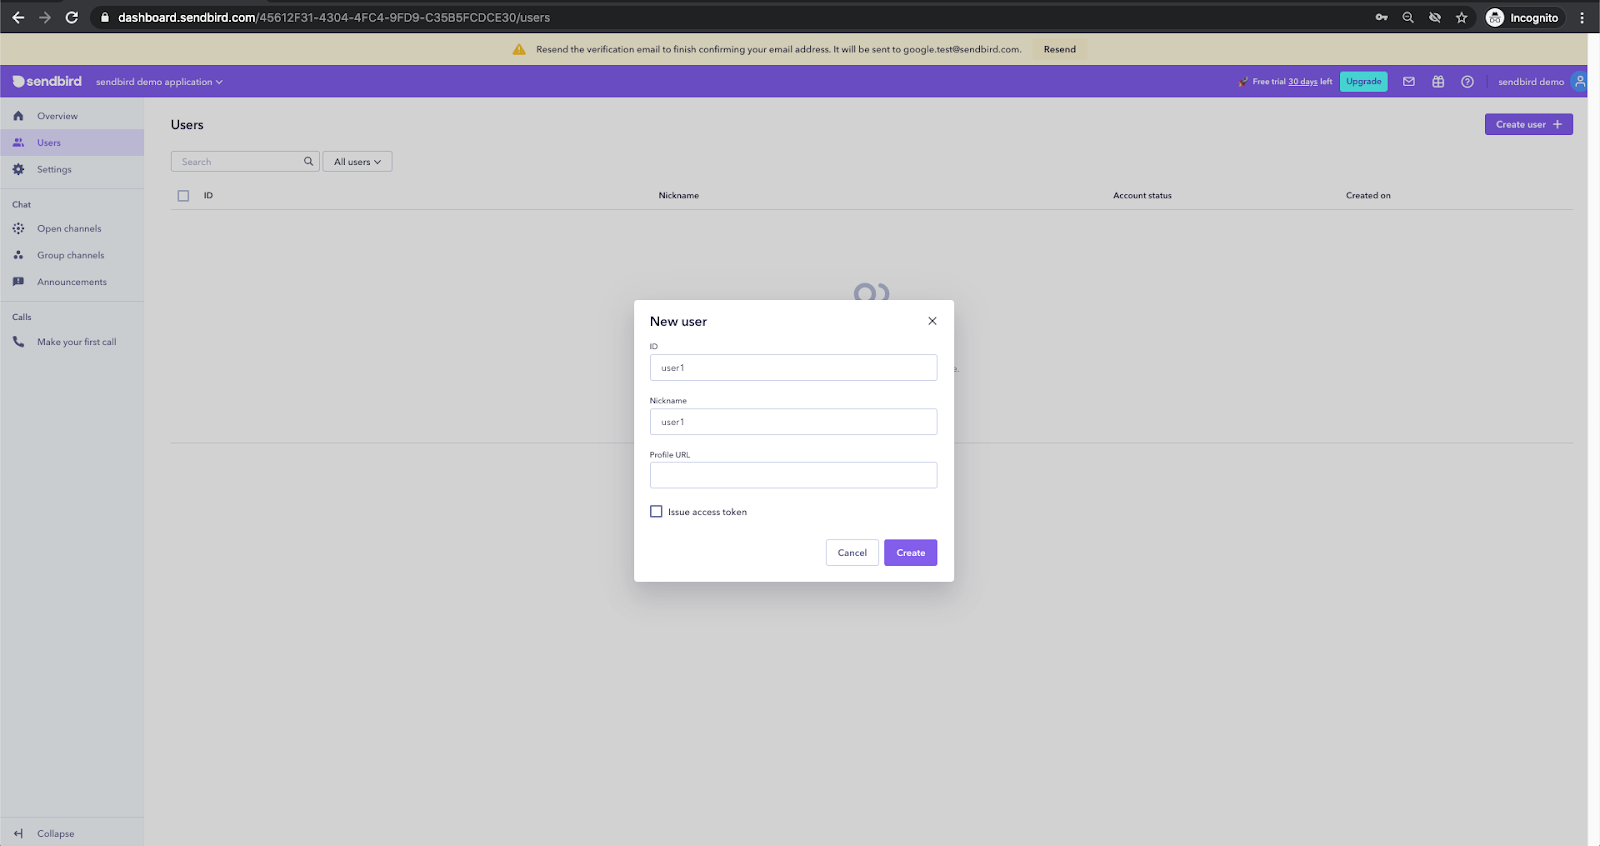
2.2. Click the Create user + icon on the top right.
2.3. Create a new user by filling out the following fields:
- ID
- Nickname
- Profile URL – Optional
- Issue access token – Optional
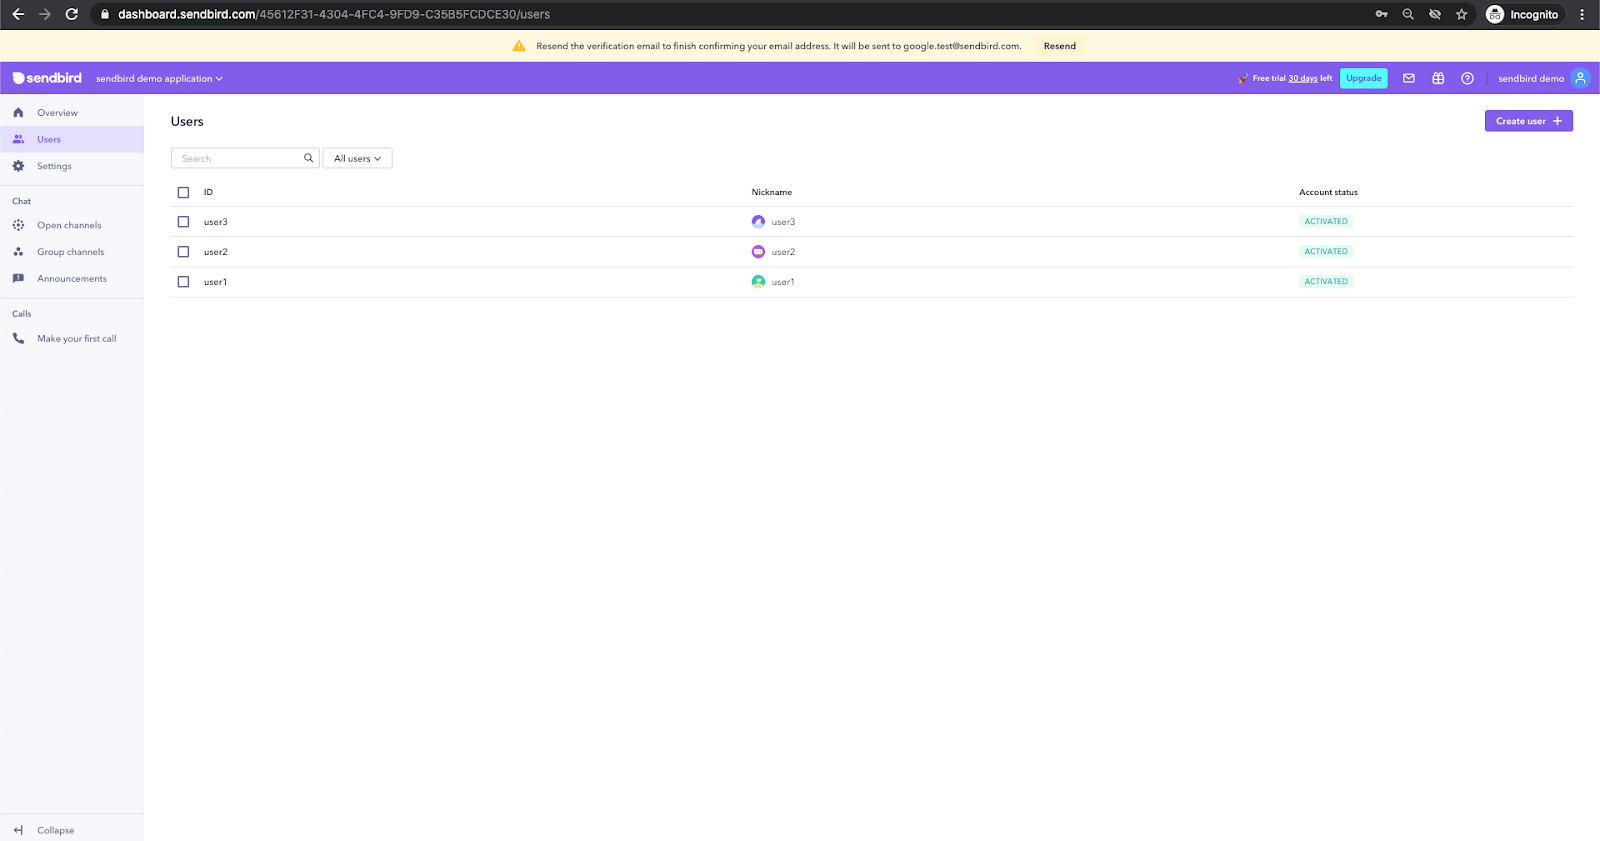
Create at least two users in your application so that they can chat with one another.
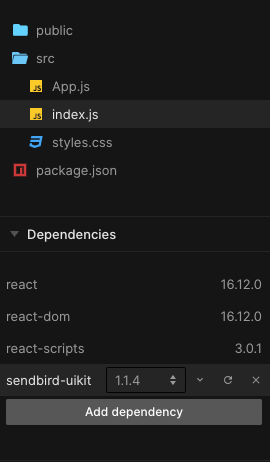
Step 3. Adding Sendbird UIKit dependencies
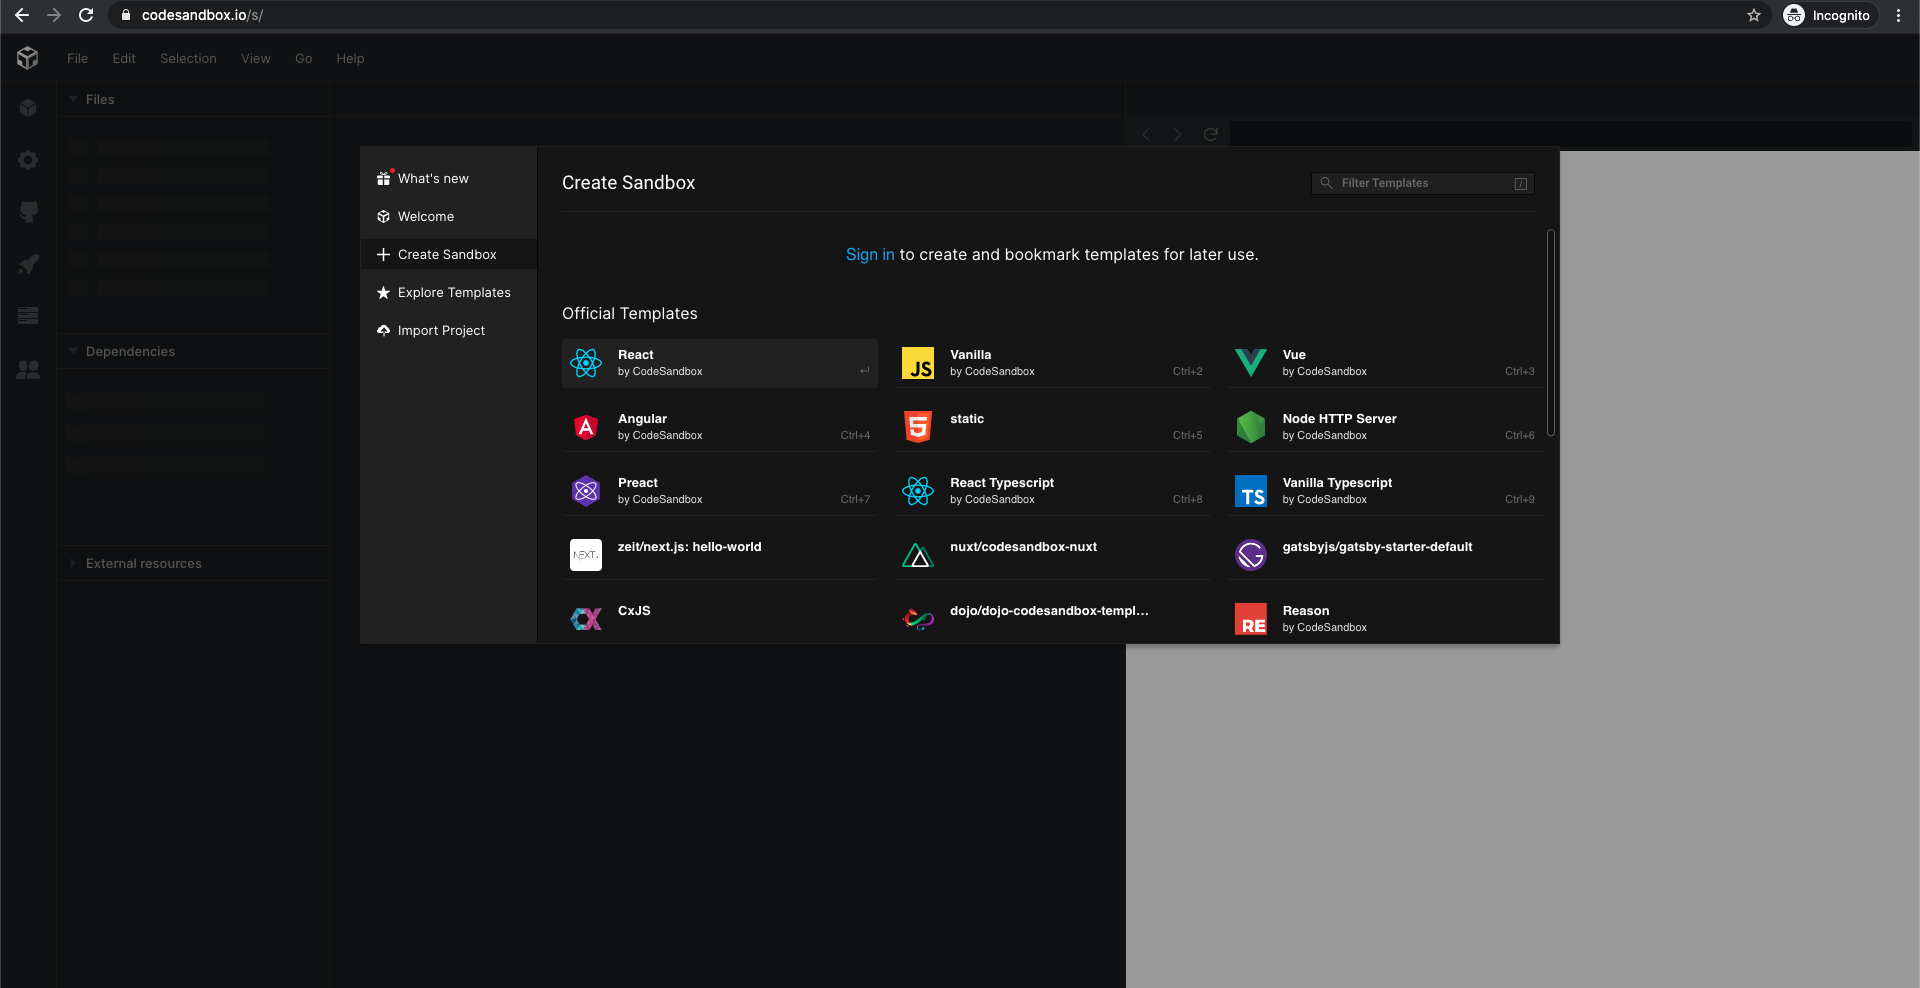
We will use an online Integrated Development Environment (IDE) called codesandbox.io to mimic your development environment, but feel free to start adding Sendbird UIKit dependencies to your application directly.
3.1. Set up the environment.
3.1.1. You can either go to codesandbox.io > click Create sandbox > select React.
OR
If you’re building chat in your application, please run the following code to install sendbird-uikit.
npm install sendbird-uikit --save
3.1.2. You will be presented with 3 default files: App.js, index.css, and style.css.
App.js
Index.js
Style.css
3.2. Import the sendbird-uikit dependency.
3.2.1. Click Add dependency.
3.3.2. Search sendbird-uikit.
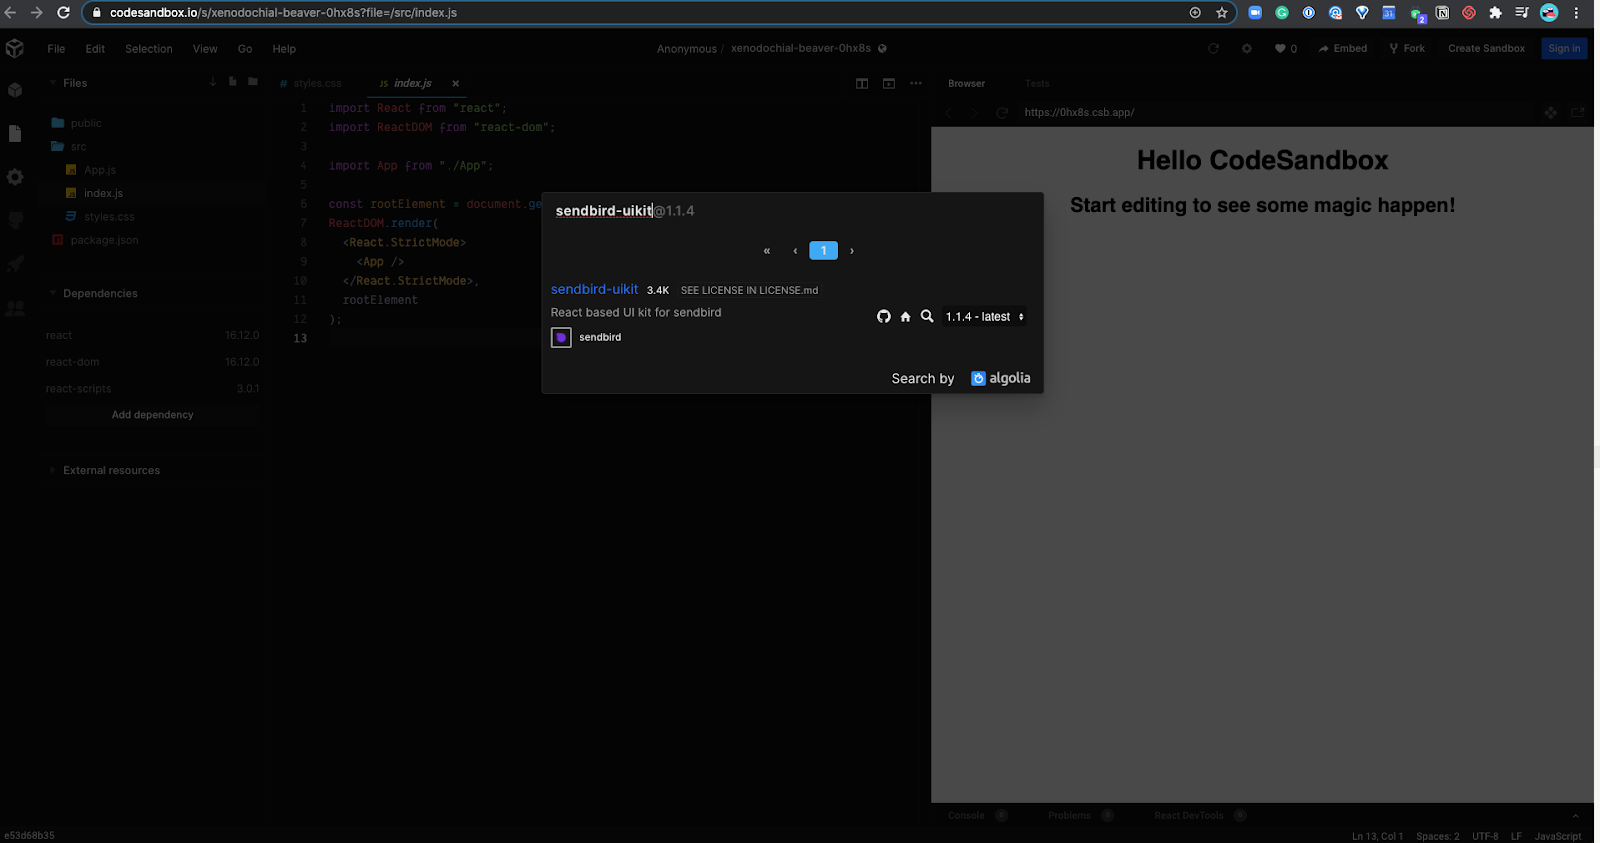
3.3. Import sendbird-uikit component.
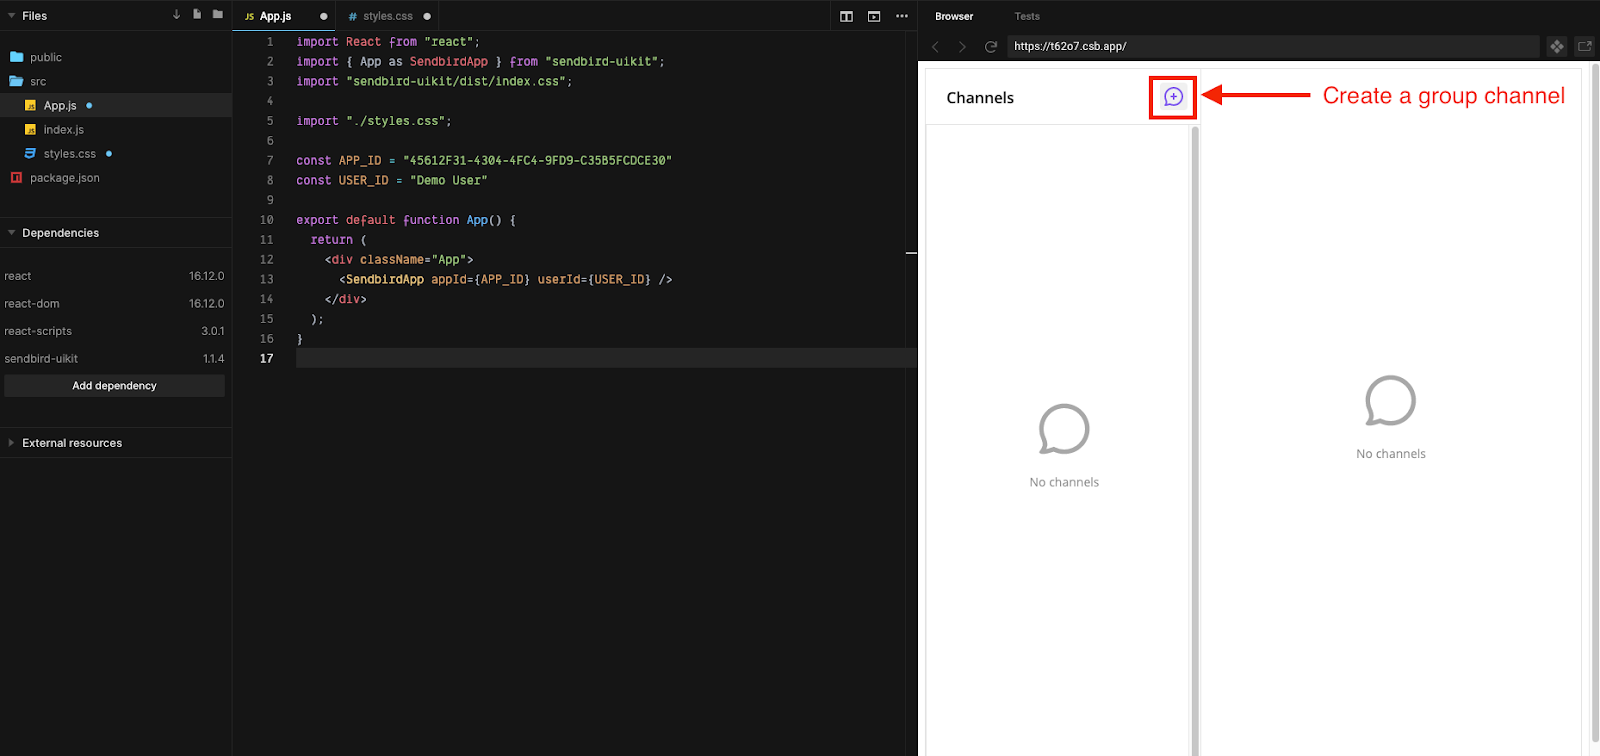
3.3.1. In App.js, add the following code:
import { App as SendbirdApp } from 'sendbird-uikit'
import "sendbird-uikit/dist/index.css";Step 4. Connect the Sendbird UIKit to your application and create a user
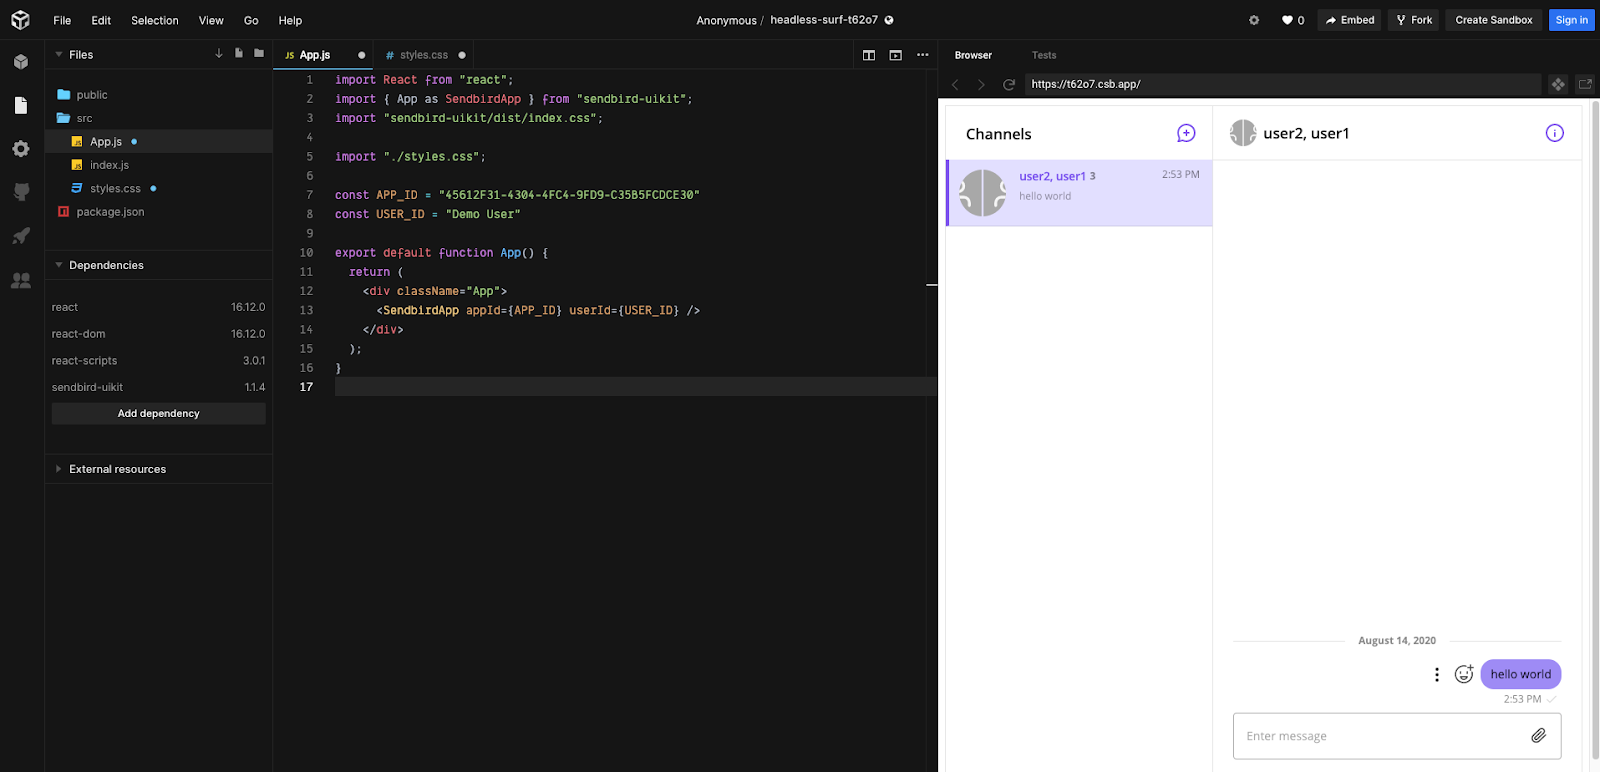
4.1. Add the following code in the App.js file.
This will create variables for applicationID and userID to be passed to the sendbird-uikit component.
- Pass the applicationID of the Sendbird application you created earlier in the dashboard to initialize the Sendbird Chat SDK.
- Note – Your applicationID will look similar to this: 45612F31-4304-4FC4-9FD9-C35B5FCDCE30
const APP_ID = "Your APP ID"
 const USER_ID = "Any User ID"
4.2. Populate the channel list and the channel view.
- Add the following code to App.js.
- For styling, add the following code in style.css.
height: 100vh;
Step 5. Test your integration
- If you are working in the codesandbox.io environment, your code should compile automatically and run for you.
- If you are working in your local application, you will need to run the npm command.
npm start run
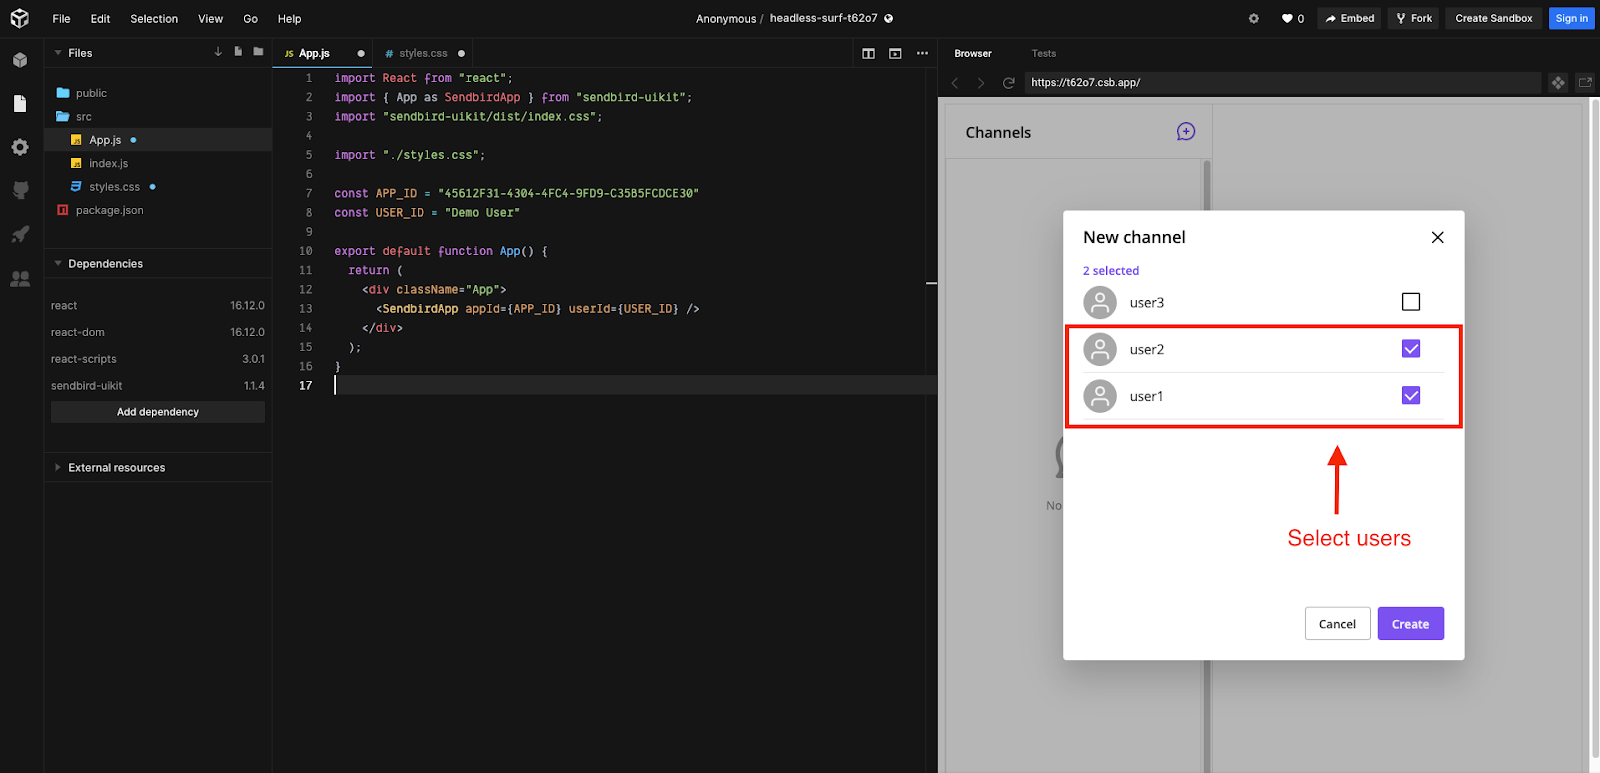
5.1. Create a channel.
You can now create a channel for users to chat in your application.
- Click the “+” button in the left section of the view to create a group channel.
- Invite users to the channel.
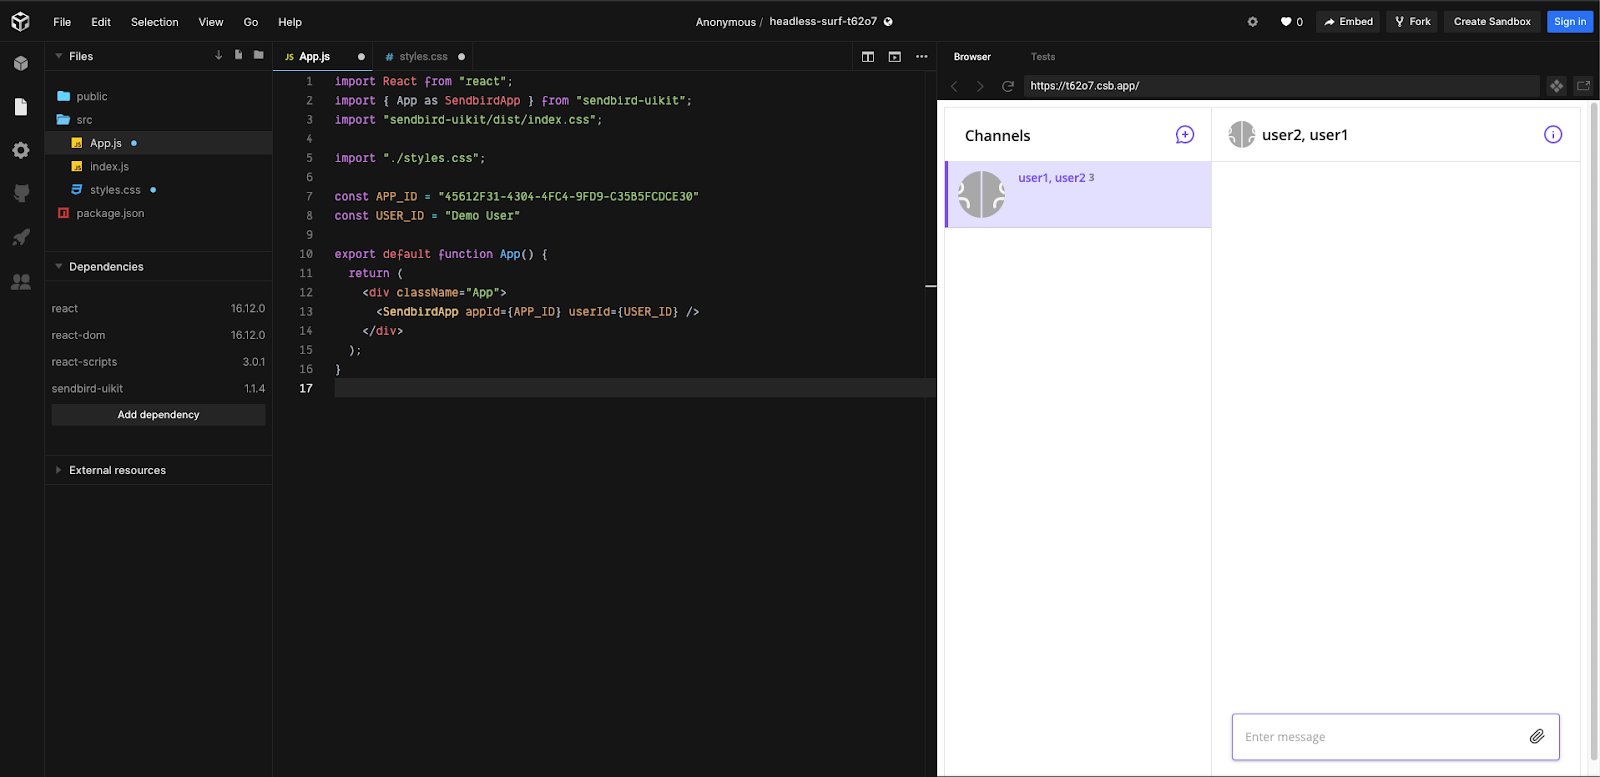
5.2. Send your first message.
Try typing a message and hit send. You should be able to successfully send your first message in the newly built chat in your application.
Congratulations!
You are ready to send and receive messages in your application with the Sendbird UIKit.
For additional information on UIKit, the JavaScript SDK, and features, check out our docs.
That’s how easy it is to get chat up and running in your application. If you are also building for mobile, send your first message with Sendbird UIKit for Android and iOS.
We’re rooting for you as you build something great.
Happy chat building!
