
Android chat tutorial: How to build a messaging UI

Introduction
Despite their growing prevalence, chat and messaging apps continue to be tedious to implement. This is largely because official documentation is non-existent, while unofficial tutorials are scarce and usually outdated.
This tutorial is an attempt to bridge this gap.
We have all seen colorful chat bubbles filled with text, images, even playable media – how do they build it? The answer is surprisingly simple: RecyclerViews, coupled with the ViewHolder pattern.
This tutorial walks you through the steps required to build a quality messaging UI that builds the foundation to support the aforementioned text, images, and playable media.
This guide looks at creating:
- The messaging UI
- An adapter for the RecyclerView
- The Channel Activity
This tutorial requires:
- Android Studio: 4.0.2
- Android Version: 10 API 29
- Sendbird Core SDK: 3.0.148
Please note that this tutorial assumes basic familiarity with Android development.
Step 1. Creating the messaging UI
Creating Activity UI
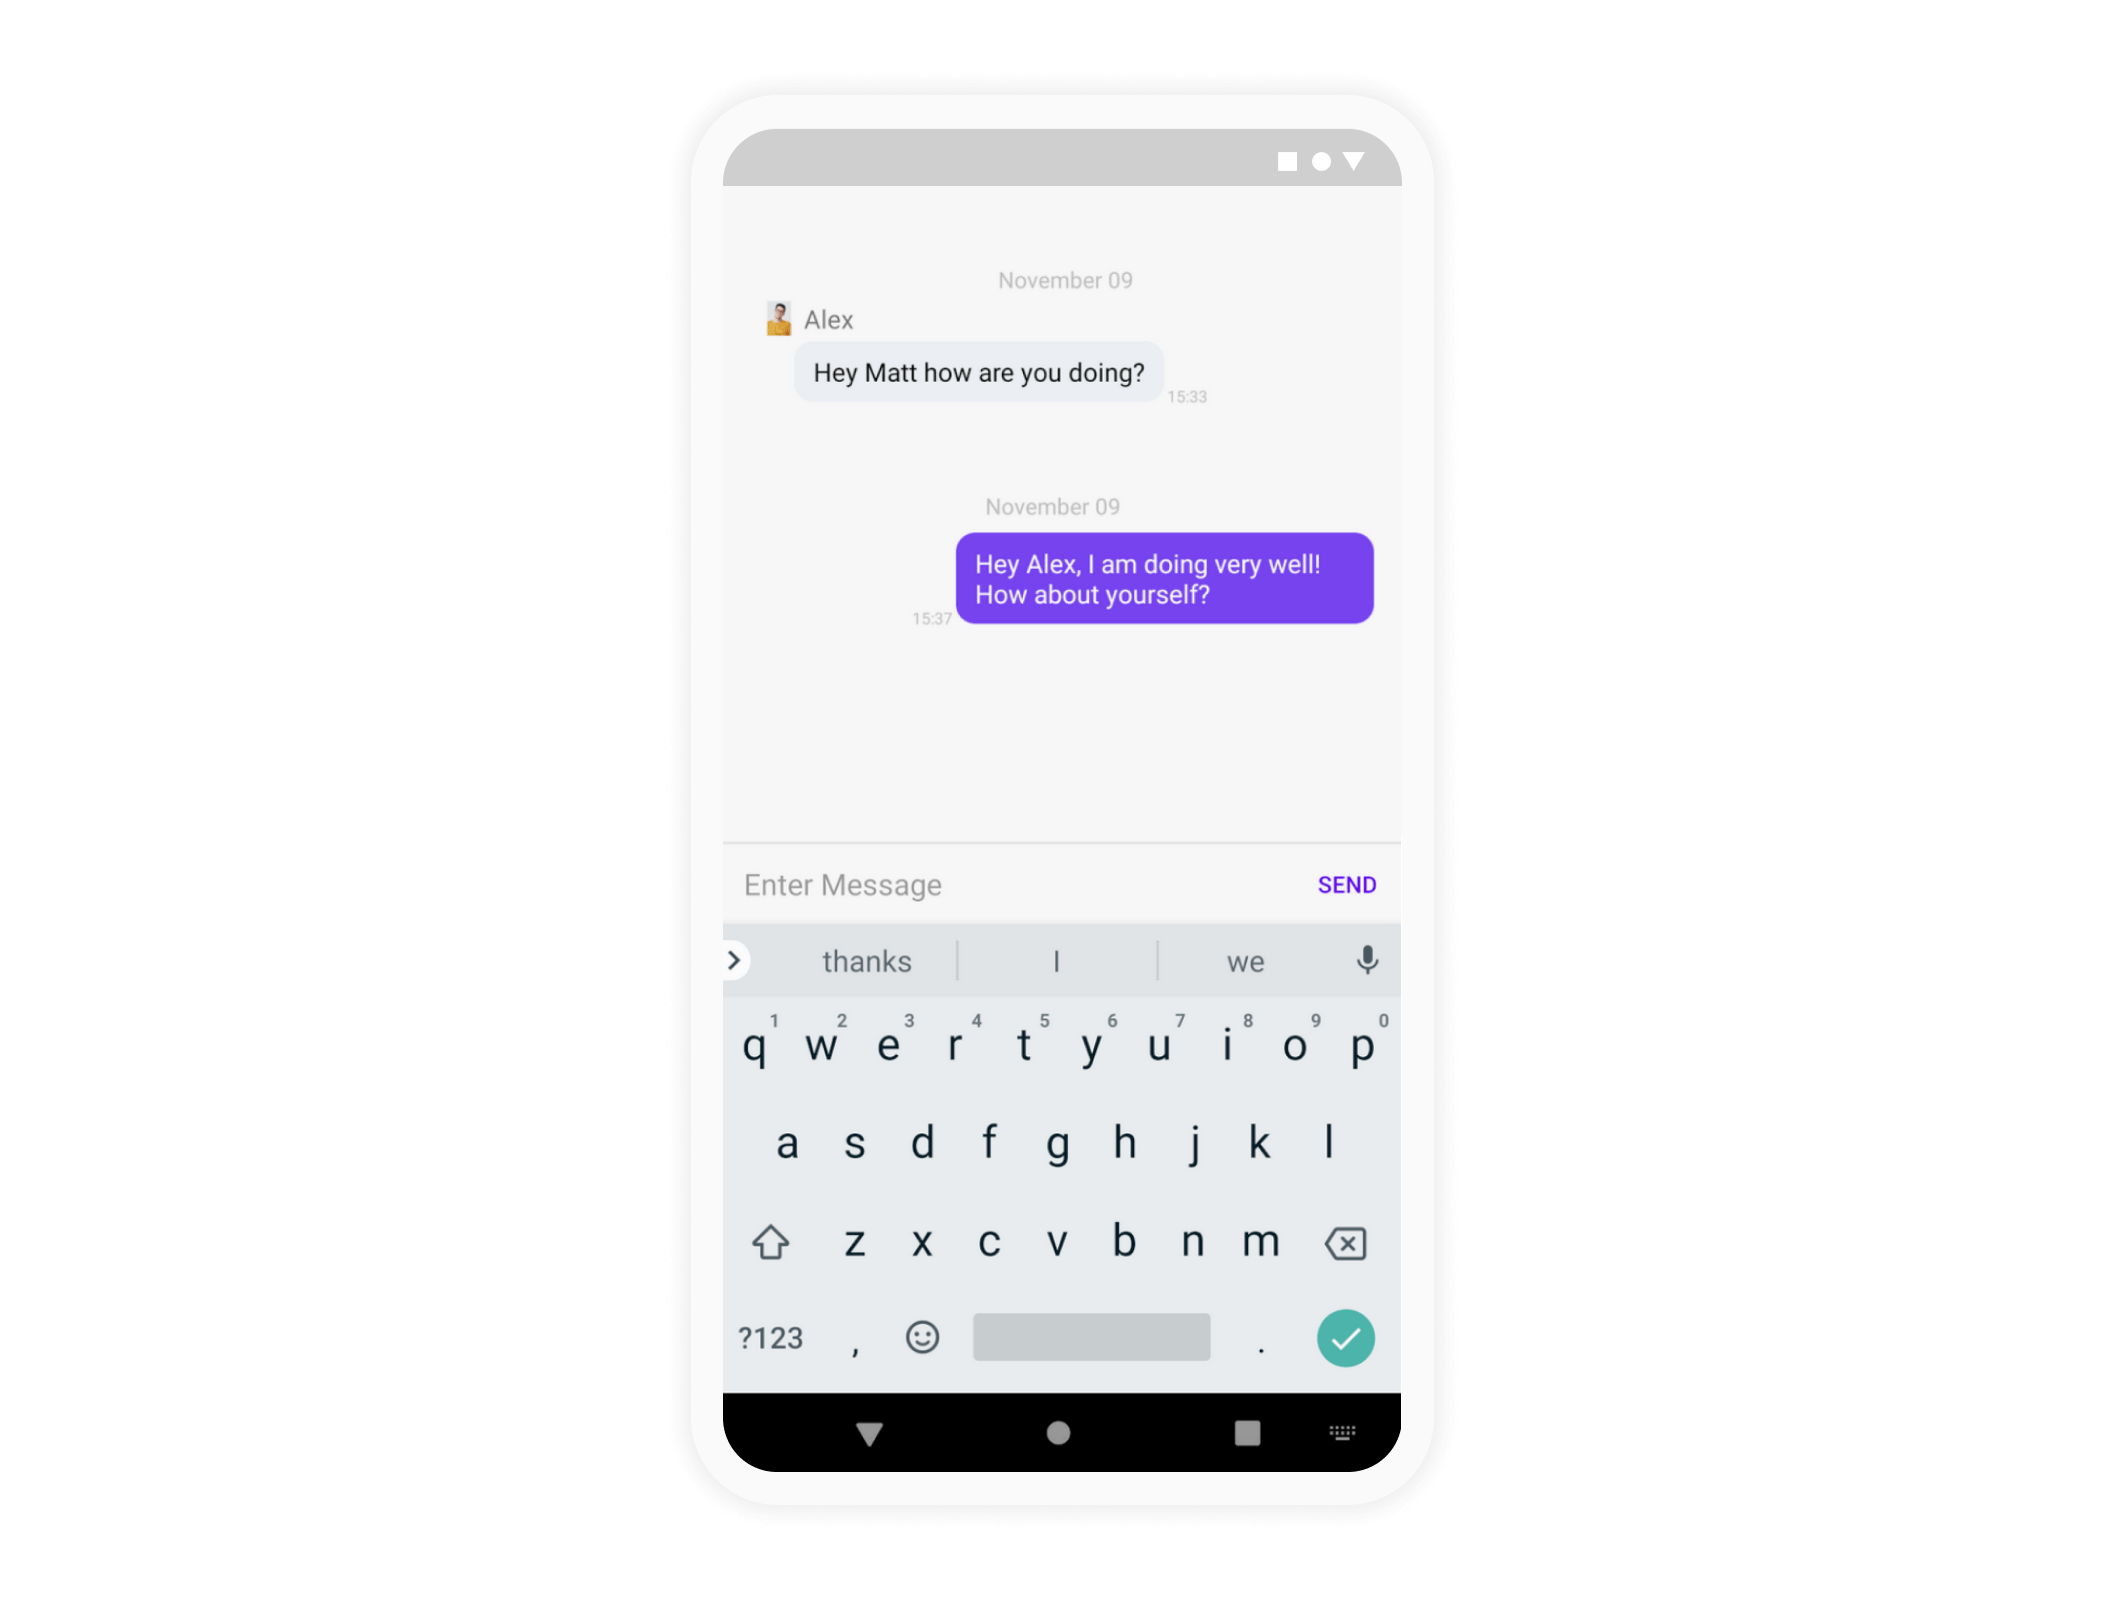
In this tutorial, we’ll create a dedicated activity to host our messages. For this activity, we will need an XML. So, the first thing we will do is create activity_channel.xml.
The primary component in this activity is a RecyclerView which will fill up the majority of the screen. You’ll note that there is also an AppBarLayout with a ToolBar. We won’t do much with this right now, but generally, you can add a “Back” button, an “About” button, or info about the channel here. The last thing we will add is a RelativeLayout which will hold the “EditText”, and “Send” buttons. These will respectively be how users will input text, and send it. In this RelativeLayout, you can also add icons to support adding videos/images.
Creating a list item for each message
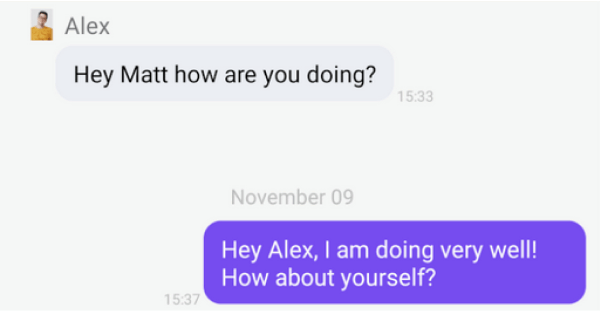
Use a separate XML file to define the layout of each item (i.e., message) for the RecyclerView. It is common practice for each message to contain something like the above (i.e. the sender’s name, their profile image, and a timestamp). Since the chat bubble’s alignment typically indicates the message’s owner, displaying the sender’s profile image and name for every message would be redundant. For example, in the above image, the right-aligned chat bubble indicates that it belongs to the sender, so we need not include the image or name.
We need to create two different XMLs. The first .xml will be for messages from the “Me” perspective, or messages sent by the current user. For this, we have opted to have a TextView for the actual message wrapped in a Cardview. Surrounding this TextView are other TextViews for things like the Date.

The second .xml will be for messages from the “Other” perspective – this means any message which the current user doesn’t send. This UI will be similar to the “Me” UI. However, it is left-aligned and contains information about the “Other” user, such as an ImageView for the profile image and a TextField for the user’s name. Other than that, the views are relatively similar.
Step 2. Creating an adapter for the recyclerview
Now that we have created the UI for chat, we will need to connect the messages with the UI. We will do this with a RecyclerView.Adapter.
This adapter will accomplish three things. It will:
- Store a list of Messages
- Determine whether a message is sent or received
- Inflate the appropriate layout within the RecyclerView
But before venturing any further, we need a list of messages!
Engineering a backend for real-time messaging is beyond the scope of this tutorial. We’ll therefore proceed with the models in Sendbird’s chat SDK. It roughly assumes the following structure:
Generic Message and User Models
class Message {
  String message;
  User sender;
  long createdAt;
}

class User {
  String nickname;
  String profileUrl;
}
Since it is common to design messaging implementations in this manner, you will hopefully be able to follow this tutorial with minimal changes to your code.
Now, let’s create an adapter and name it MessageListAdapter. This will hold a list of Messages that will be displayed within a RecyclerView.
By default, an adapter requires at least one Viewholder. This is a layout that can be inflated and bound by the objects it holds. In our case, we will start with just two: a SendMessageHolder, and a ReceivedMessageHolder. As you add more types of messages, you can add more holders. This tutorial focuses on User Messages or text-based messages.
To accomplish this, we will have two private inner classes inside our MessageListAdapter.
Each ViewHolder holds member views that can be bound to particular information contained in a message. For example, TextView messageText binds to a message’s content, while nameText binds to the name of a message’s sender. Antonio Leiva suggests that we implement a bind(object) method within the ViewHolder class. This gives view binding to the ViewHolder class rather than to onBindViewHolder. It, therefore, produces cleaner code amidst multiple ViewHolders and ViewTypes. It also allows us to easily add OnClickListeners, if necessary.
Once you complete ViewHolder, turn back to the adapter and override the necessary methods to:
- Obtain a message from MessageList
- Determine whether it is a sent message or a received message
- Inflate the appropriate layout for the ViewHolder
- Pass the message to the ViewHolder for binding
Implementing this process is standard for most Adapters, and relatively self-explanatory; therefore, we’ll show the code for the full Adapter without further explanation.
We’ve just completed the Adapter. We can now display a list of both sent and received messages in the chat bubbles that we defined earlier.
Step 3. Creating the channel activity
We’ve created all the components, and now we need to initialize them inside our activity. Create an activity called MessageListActivity. In your onCreate, instantiate a RecyclerView and a MessageListAdapter with a list of messages, and voila! You’ve just created your own messaging UI.
Conclusion
You can build advanced features such as image previews, animated GIFs within chat bubbles, and more. See examples of an advanced chat UI at Sendbird’s open-source sample UI app! This builds upon the use of RecyclerViews and adapters that we covered in this tutorial and will help you create a production-level chat app with various features.
Happy chat building!
