
How to build an Angular chat app

Introduction
This tutorial will discuss how to build a chat app using Angular. By the end of this tutorial, you will have built your own chat app capable of sending and receiving messages.
We’ll start with some prerequisites and create a project in Stackblitz. Then we’ll discuss how to create the Angular service. After this, we’ll build out a template in HTML and then code the components.
For this tutorial, we will use the Stackblitz IDE. We strongly recommend that you check out the final working code. Of course, you can create a regular Angular project using angular-cli and code it with any IDE of your preference. We will keep it online for speed and simplicity.
Let’s get started! 💻
Prerequisites
To get the most out of this tutorial, you should have a basic understanding of the following:
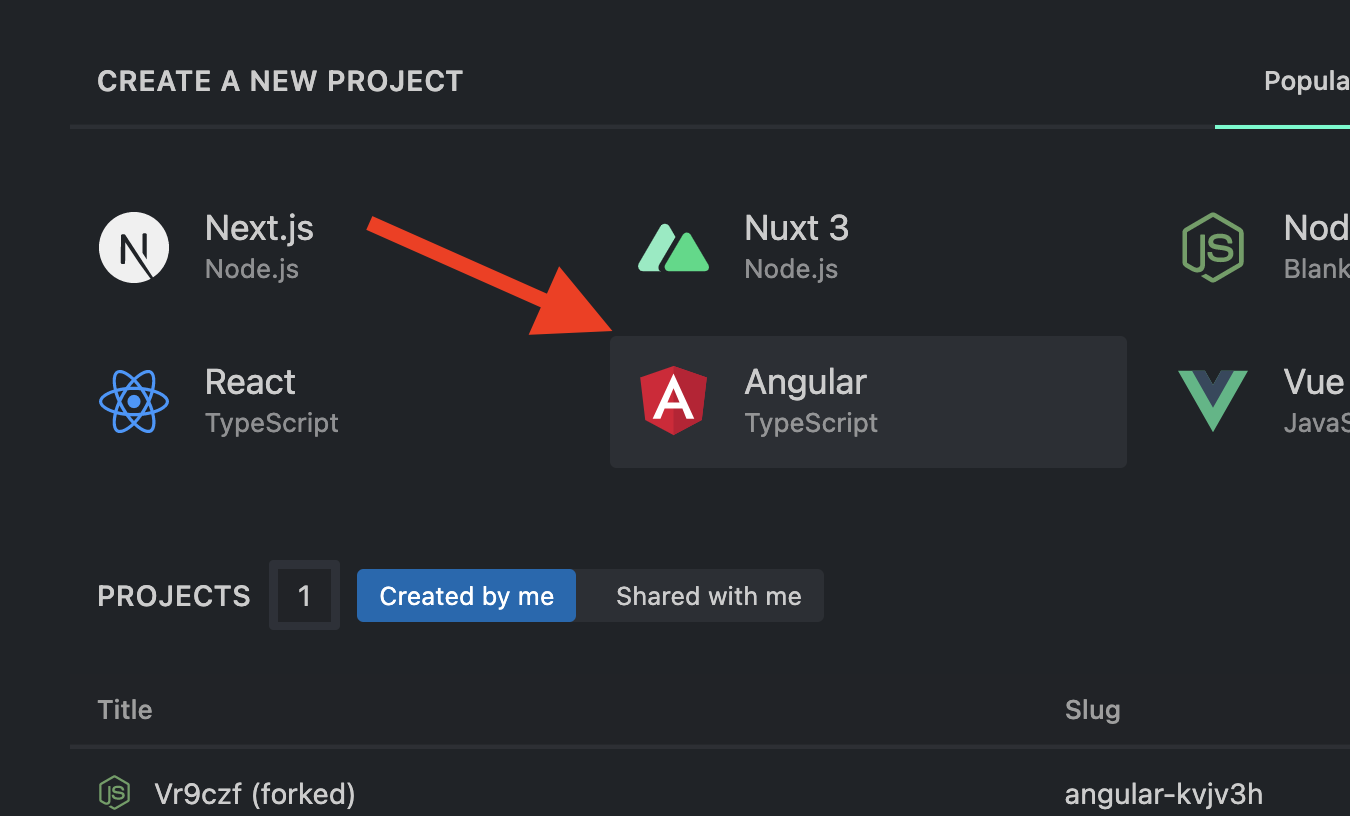
Step 1: Create a blank project
Start by creating a new project. Stackblitz offers a wide range of frameworks and libraries to work with. We will select Angular with TypeScript support as the new project type.
Once the project is created, you need to include Sendbird as a dependency.

This tutorial works with Sendbird SDK version 3.
Step 2: Creating the Angular service
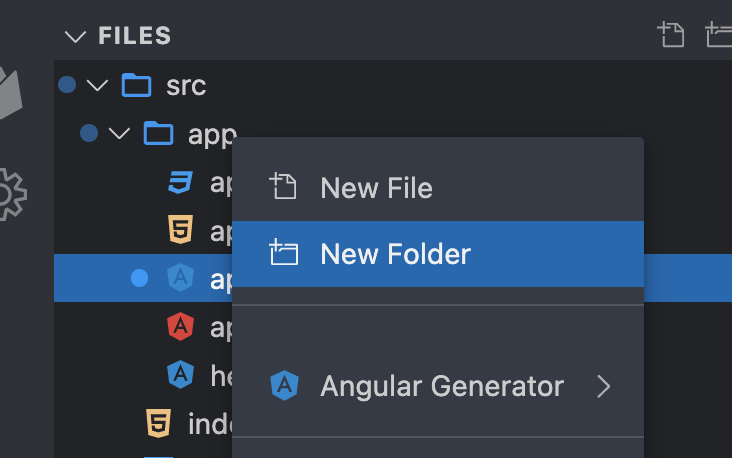
To keep the code organized, we will write all Sendbird functions inside an Angular service.
Let’s first create a new folder for this.
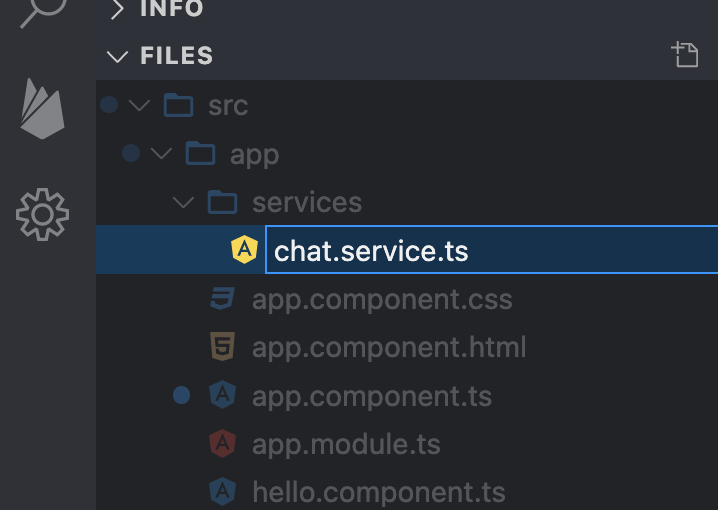
2.1: Create a new TypeScript file
Angular works with TypeScript. We will create a new blank file and name it chat.service.ts.
You can use any name you prefer.
2.2: Import Sendbird
Open the file you just created and add the following code.
The first line is used by the service.
The second line imports the entire Sendbird SDK code to our service.
2.3: Initialize Sendbird using your application ID
In order to initialize the SDK, you need to define an application ID (APP_ID). You can obtain this value from the Sendbird dashboard. We provide free trials and free forever developer accounts for low scale projects and testing purposes. To access your dashboard, create your account.
2.4: Add a function to connect your user to the chat
Once initialized, you need to connect a user to Sendbird’s WebSocket server in order to send and receive messages. Sendbird WebSocket performs other functionality like creating channels and receiving all kinds of events.
Note that the Sendbird SDK also works with offline mode. This means that you can start your application without a connection and show all the information cached automatically on the device. Please see our docs to understand more about local caching.
Now let’s add the connect function:
The connect function accepts the following parameters:
- userId: This is an alphanumeric value without spaces. Once created, users will appear on a list in the Sendbird dashboard.
- Access token: Once you enable security for your login, you will need to generate a session token for this user. Read all about it here.
If the connection is successful, the error value will be null and the user object will contain all the information about your logged user.
2.5: Useful functions
The Sendbird SDK provides all the useful functions you need for your application. We will add two of them here: isConnected() and getConnectedUser().
These two will validate if there’s a connected user and return the information of the connected user at any time.
2.6: Event handlers
In a chat conversation, multiple events happen. Some of them are:
- We are invited to conversations (group channels)
- Other users are invited to the same channels we are part of
- We receive messages in the channel
- One or more members of a channel are typing a message
- A user leaves a channel
For any of these chat events, the Sendbird SDK will notify us so that we can respond accordingly. The following is a list of the available functions:
It’s up to you to apply your own logic to some or all these functions.
In this tutorial, we will implement only one of them: onMessageReceived.
This function is called automatically when a member of any of our group channels sends a message. The parameters we receive are:
- Channel: The channel to which the message was sent
- Message: The details of the message sent to the channel
What we have to do is to invoke the callback function with the information we want to send to our application.
2.7: Create group channels
The createGroupChannel function will use the Sendbird SDK to create a group channel. A channel is where a conversation takes place. Sendbird supports many different channel types; read all about them in the docs.
Read more here about getting group channels using the Sendbird Chat SDK.
2.9: Getting messages from a channel
Conversations happen within a channel; it’s important to get those messages and show them to our users when a channel is selected.
Sendbird provides several filters and sorting options to list your messages. Read all about it here.
2.10: Send a message
The last function in our service is used to send messages to a channel. Once we send a message to a channel, all members can read it.
Sendbird has three types of messages:
- User messages
- File messages
- Admin messages
Read more about message types in the docs.
A message is not just text; Sendbird provides several attributes for the message object where you can add extra information (some of them are: DATA, META ARRAY, and CUSTOM TYPE)
With the help of these metadata, you can implement a complex communication system between two or more users. You can think beyond just text-based chat!
Read all about sending messages here.
Our service is ready!
Now we have built the basic functionality for managing channels and messages. The next step is to move to our component and build a screen to show the information to our users.
Step 3: The template
Angular uses components to display all the information on screen. Components consist of a template (written in an HTML file) and a class (written in TypeScript). Let’s start with the template.
3.1: Connect to chat
Add a button which will invoke the connect() function from inside our class component. Tap or click this button to connect to chat.
Note that this connect() function is not yet created. We will explain in step 4.2 how to code the connect() function; for now, let’s focus on building out the template.
Your template should now look like this:
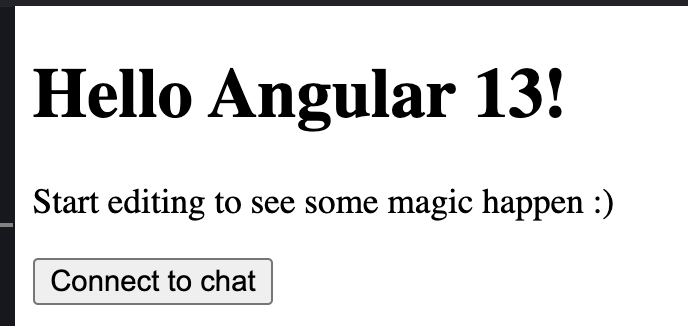
Run the application to see the button live.
3.2: Start a conversation
Once the connection is made, you can create conversations (or channels). Let’s add one more button to create our first group channel called “angular-tutorial”.
This is how it should look once you run it.

We will code the functions reacting to these new buttons soon. Let’s first add more HTML code which allows you to display your channels (or conversations).
*ngFor is an Angular directive used to loop through the conversations array and show each of the channel’s names.
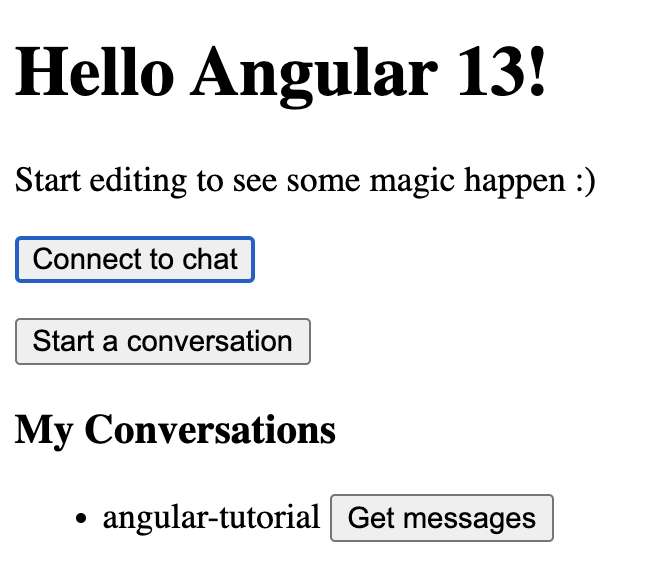
Once you create channels, this is how they will appear in the template. The Get messages button will show the channel’s messages.
Now let’s understand how to create group channels and show them on this list.
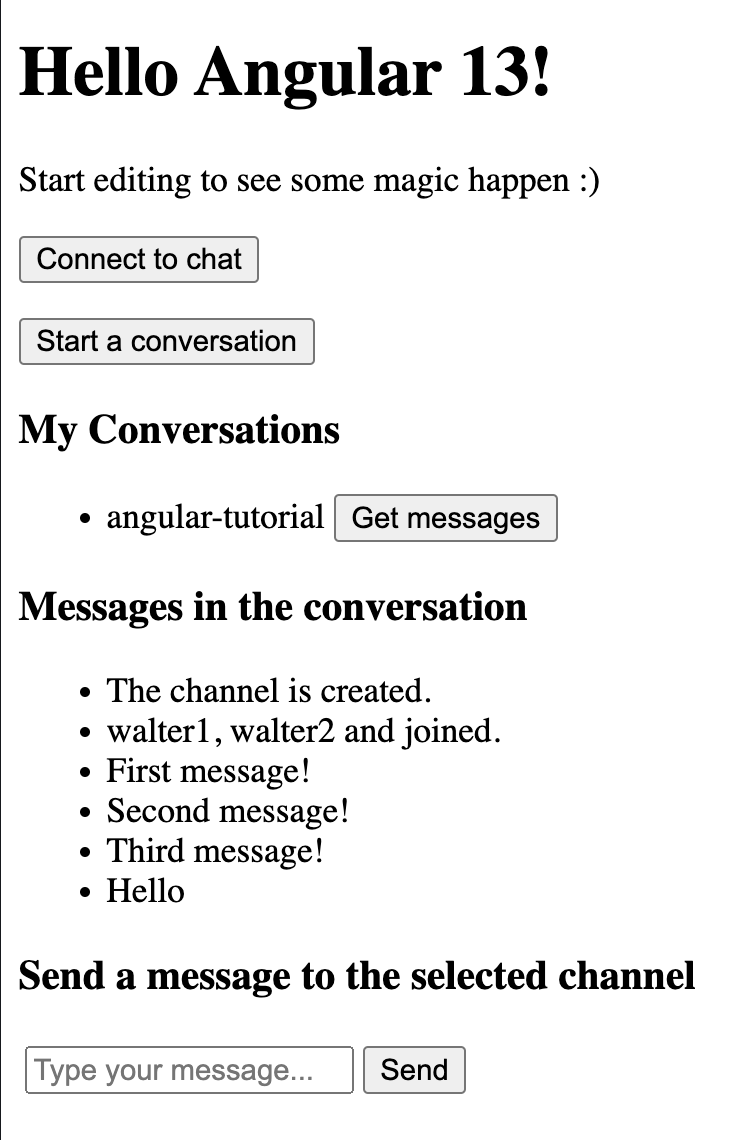
3.3: List messages sent to the channel
Messages live inside a group channel (android-tutorial for this example). We will be using the *ngFor directive again, but this time we will loop through the messages object.
3.4: Send a new message
The following code shows an input box for entering a text. We also add a button on the side to execute the function to send the message.
This is how all the components will finally be shown on screen:
Step 4: Coding the component – Class variables
Once the template is finished, we need to code the component class using TypeScript.
Let’s start with the class variables. Here is a gist with all the variables you will need.
Below is an explanation of each variable. Feel free to skip to the next section if you don’t want to go through the explanations.
connected = false;
connected is a boolean object, which allows the entire component to define if the SDK is connected or not.
startConversationResult: string;
This string will display any error when trying to create a group channel.
conversations: Array<SendBird.GroupChannel> | null;

listConversationsResult: string | null;
conversations contains a list of our group channels.
listConversationsResult will show any error message when trying to get the list of group channels.
selectedChannel: SendBird.GroupChannel | null;
selectedChannel is populated when a user clicks on a channel to see its messages.
messages: Array<

   SendBird.UserMessage | SendBird.FileMessage | SendBird.AdminMessage

> | null;
messages is an array of messages inside the selected channel.
textMessage: any;
We use textMessage to store the text to be sent to the channel.
4.1: Implement OnInit
Adding the Angular interface OnInit allows us to execute code when the component is initialized.
We will use it to call our service and initialize the Sendbird SDK.
4.2: Connect to Sendbird
Once the SDK is initialized, we can connect a user. The value in userId is sent (along with an optional session or access token). If you want to know more about users and connections, please see our docs.
The userId selected for this demo is sendbird. You can use any ID that you like.
We are sending a null value as a session/access token, since no security is applied for this demo.
The third parameter is our callback, which informs us about an error or a successful login.
Once connected, we call 2 functions: registerEventHandlers() and getMyConversations(). Continue reading to learn more about these.
Finally, we set the boolean variable connected to true so the entire component knows about the latest state.
4.3: Register event handlers
The Sendbird SDK will inform our application about different events happening while we are connected to the websocket.
Event handlers also receive a notification if any activity from the Platform API is performed.
Every time the SDK receives an event, it will pass it to us. The only event we analyze in this demo is onMessageReceived because we add the message to the list of messages already on screen.
We add to the list a new message arriving only if all of the following conditions are true:
- If there’s a selected channel
- If the event is the correct one (we check for the string ‘onMessageReceived’)
- If the selected channel URL (which is the unique ID for a channel) is the same as the channel URL from the received event
4.4: Start a conversation
This function will create a new group channel for sending and receiving messages between two or more users.
For this example, we will name the channel android-tutorial.
The Sendbird SDK will define a channel URL automatically (this is the unique ID for each channel).
It’s okay to create many channels with the same name, since this is not a unique ID.
For this example, we’re inviting a user ID called myTestUserId. We can invite multiple users to the channel when we create it. We can also add members later.
If we have an error when creating a channel, the variable startConversationResult will show the error on screen.
4.5: Get a list of channels
Once we create group channels, we need to get a list of the group channels.
A group channel contains several properties. You can see them in full detail here.
If any error occurs, we will show it on screen using the listConversationsResult object. If the request is correct, we store the information in the conversations object.
4.6: List messages in a channel
Once a channel is selected, you can get a list of all its messages.
To see the properties of a message, check out our documentation.
The array messages will contain the list of messages in the selected channel.
On screen we show the message property, but you have others to work with:
- Time message was created
- Message sender
- Metadata (DATA, SORTED META ARRAY and CUSTOM TYPE)
- Mentioned users
- Open graphic metadata if any URL was written as part of the text
- Parent message ID
- and many more!
4.7: Send a message
Now we know how to receive messages. We need to learn how to send new messages to the channel for other members to see.
This message being sent will trigger an event for the other connected members of the channel.
They will be able to see the new message being added to the list, thanks to the event handler.
Conclusion
And that’s it! You now know how to build an Angular chat app to send and receive messages. We discussed how to create the Angular service, build out the template, and code the components. The full code for this tutorial can be found on Stackblitz. As always, if you need help, please post in the Sendbird Community or contact us directly. We’re always happy to help!
Now just add your Sendbird application ID and start building!
Happy chat building! ✌️


