
How to quickly add chat to your Swift app with the Sendbird UIKit

Introduction
This tutorial explains how to implement Sendbird’s UIKit in an iOS project using SwiftUI.
Before you start, make sure you have:
- Xcode version 12.4 or newer
- iOS deployment version of 14 or newer
- Cocoapods 1.10.1 or newer
- An active Sendbird account
- An existing Sendbird project or a brand new Swift UI Project along with these instructions
Please note that this tutorial assumes basic familiarity with Swift.
So let’s dive in!
Step 1. Add Sendbird UIKit to a Swift UI project
First, add the Sendbird UIKit dependency to your Cocoapod .podspec file (for instructions on using Carthage, see this page):
pod 'SendbirdUIKit'
Make sure the minimum platform version is 10.3 or higher:
platform :ios, '10.3'
Then run `pod install`.
Step 2. Create a UIKit container
Because the Sendbird UIKit was originally created with the Apple UIKit, you’ll need to create a UIViewControllerRepresentable struct that returns a UIViewController class.
1. Start by creating a new Swift file and name it `ChannelListView.swift`.
2. Replace the default `import Foundation` import statement by importing `SwiftUI` and `SendBirdUIKit`.
3. Create a UIViewController class named `ChannelListViewController`.
- 3a. Add an Objective-C function to create an instance of UINavigationController with Sendbird’s SBUCHannelListViewController as the root view controller.
- 3b. Call this function within a `viewDidAppear` override block.
4. Create a UIViewControllerRepresentable struct named `ChannelListViewContainer`. This will return an instance of a ChannelListViewController.
- 4a. Set the UIViewControllerType typealias to the ChannelListViewController class above.
- 4b. Have the required makeUIViewController function return an instance of the ChannelListViewController class.
- 4c. Add the required updateUIViewController function. You can leave it empty if needed.
Step 3. Initialize Sendbird in Swift UI
In the default `ContentView.swift` file, we’ll be doing the following in the init() block:
- Initialize the Sendbird SDK using `SBUMain.initialize()`, and pass in an application ID*.
- Specify the current user with a unique user ID. Retrieving or setting these IDs should generally be done alongside your existing user management process. If you want to create some test users ahead of time, see this video.
- Connect to Sendbird with the `SBUMain.connect` function, which will use the settings above**.
- Update the body property to make use of the `ChannelListViewController` we created earlier.
*Your application ID can be found or created through the Sendbird dashboard:
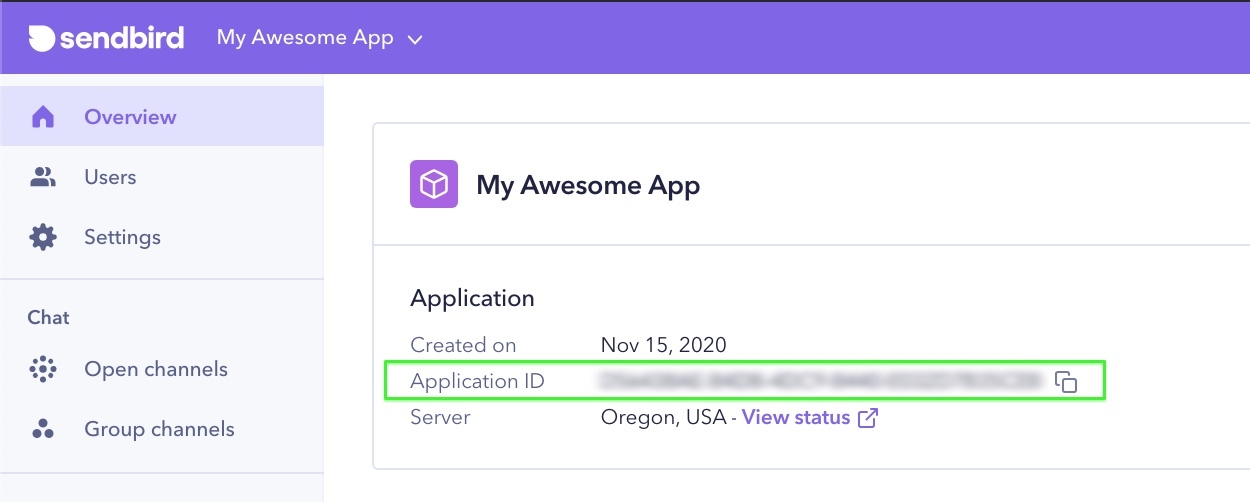
**Note that if the app ID is invalid or we encounter a connection error, an instance of an SBDUser will not be returned in the completion handler.
Step 4. Build and run
If you use a valid application ID, then build it and run it onto a simulator or device, you will see the following screen:
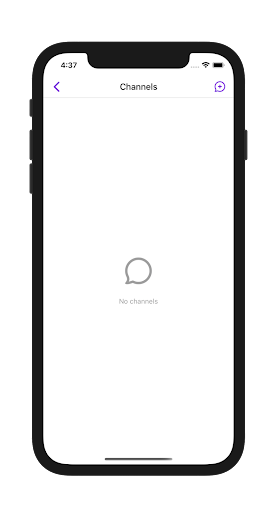
UIKit is now up and running in your SwiftUI application!
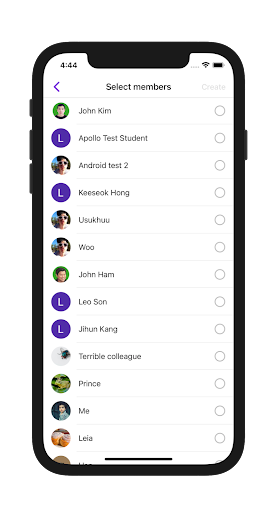
Step 5. Test drive
Use the button to create a new Group Channel with another test user. You will need at least two users in your app before any will appear in an SBUCreateChannelViewController (or SBUInivteUserViewController or SBUMemberListViewController) view instance that is automatically created by UIKit:
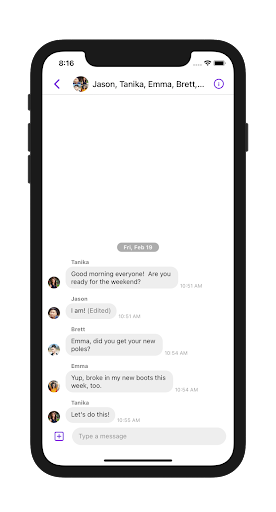
Select a few users with whom to create a channel. Then click the “Create” button to open up an instance of an SBUChannelViewController view automatically. Once you’ve sent a few messages among your users, you will see something like:
All the code presented here can be found in this demo repo.
Conclusion
Congratulations! You have now implemented the Sendbird UIKit in your iOS project.
In this tutorial, we covered how to:
- Add the Sendbird dependency to your Swift iOS project
- Create a UIViewControllerRepresentable container to render Sendbird’s UIKit
- Initialize and run Sendbird’s UIKit in a working Swift project
If you need additional information or guidance, don’t forget to check out our docs.
Happy chat building!


