
How to add screen sharing to your Android app with Sendbird Calls

Introduction
This guide is a two-part guide. In Part 1, we showed you how to implement calls with video. In Part 2, we will be showing you how to implement a simple screen-sharing functionality. The official Github repository for the Android Sendbird Calls Share Screen sample is available here.
Note:
- For the simplicity of this tutorial, we will use targetSdkVersion 28 in our gradle file so we don’t have to implement a service required by Google if you work with version 29 or older.
- This guide assumes that you have already completed Part 1.
Step 1: Modifying Permissions
In the first part, we added all the permissions we need to make a successful video call. Now in Part 2, we need to modify the original manifest with additional permission. The FOREGROUND_SERVICE permission allows for screen share.
Next, down in the application tag <application>…</application>, add the following to your Manifest for defining a foreground service:
Step 2. Modifying the UI
Now that we have added the appropriate permissions/services to the manifest, let’s modify the activity_main.xml layout we created in part 1. We will want to add a button to allow for sharing our screen.
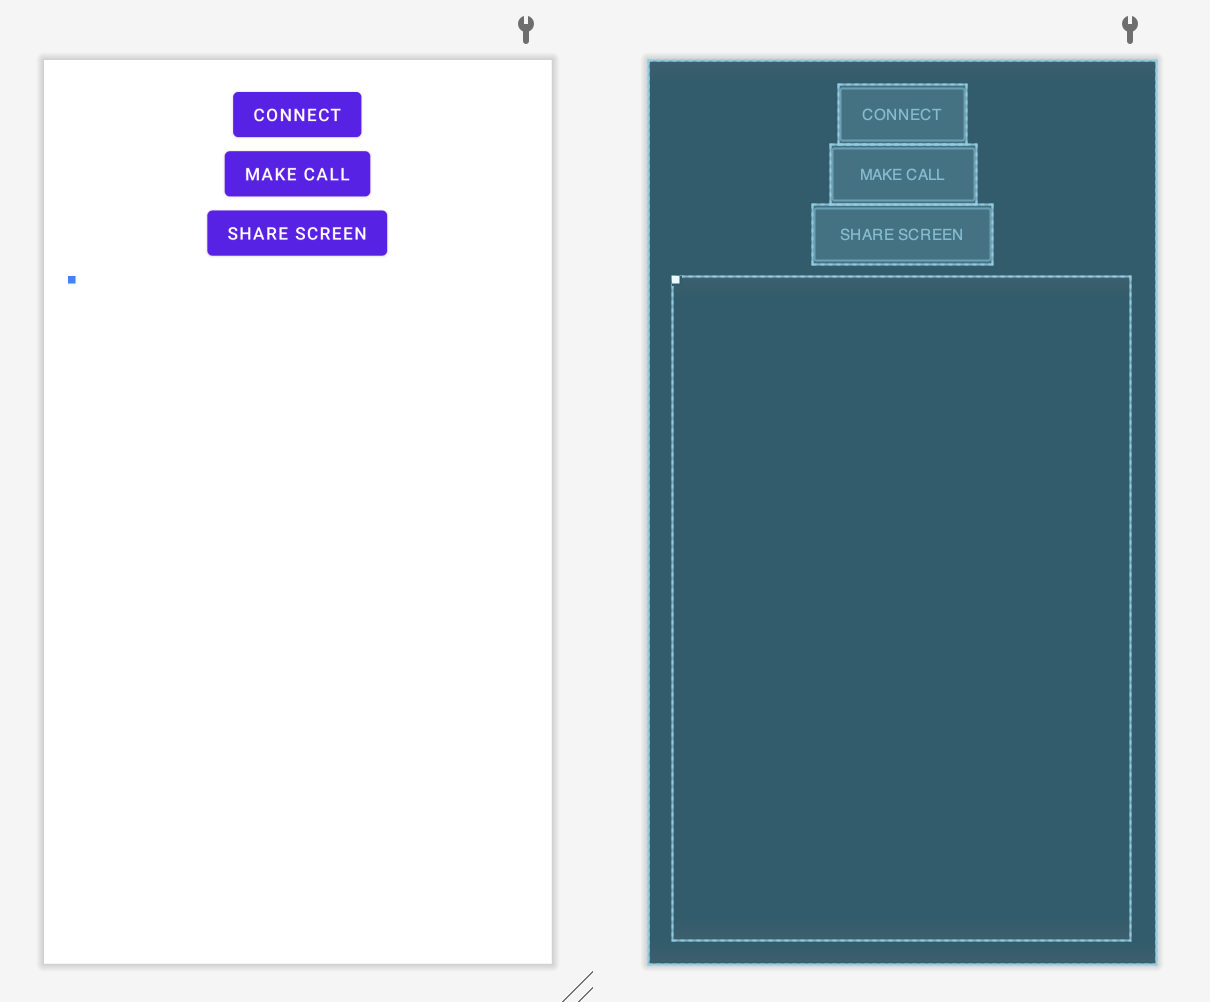
After you have added the button, your xml will look like the above.
Step 3. Modifying the implementation
Now we need to modify our implementation. First, go to your MainActivity.java. In Part 1, we created a list of global variables for Buttons, Video Views, and another Button to screen share.
Then add a global variable for requesting permission to do screen recording (set any number higher than zero).
Now in our initElementsOnScreen method, you will want to initialize the butShareScreen and set an onClickListener.
Share your screen
To share your screen, Android uses the Media Projector Manager. You need to ask permission for your user to do this.
As mentioned before, if your targetSdkVersion is 29 or higher, you will need to implement a Foreground Service (as per Android request). For the sake of simplicity, we will use version 28.
The method startScreenShare() will execute when you click the Share Screen button on the screen,
This function will ask for MediaProjectionManager permissions to the user.
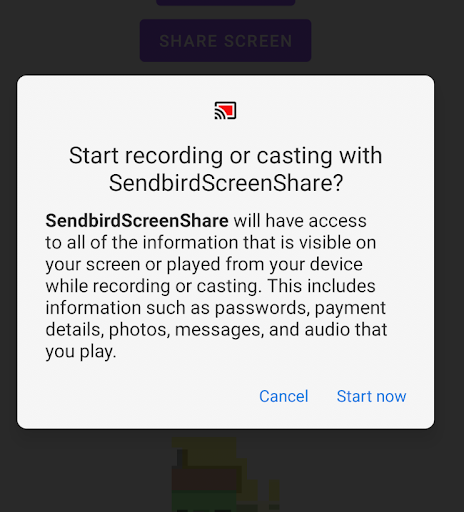
Once the user accepts, onActivityResult(…) will execute automatically:
Our final call is to the startScreenShare(…) method from Sendbird Calls. The code below will do all the work for us.
Stop screen sharing
To stop sharing your screen you need to invoke the stopScreenShare method from our global mCurrentCall.
Make sure you first check for a valid object. The CompletionHandler will be called once the screen share process is complete. Continue with your code with or without errors. In this guide, to focus on the essential, we opt not to add a UI element to end the screen-sharing.
Conclusion
We have completed this tutorial. In Part 1, we implemented the functionality for making calls, and now in part 2, we added the functionality for sharing your screen.


