
How to add screen share to your web app with Sendbird Calls

Step 1. Modifying the UI
Add the start/stop screen share buttons.
In your index.html file add a screen share and stop sharing button in the same div as your make call button from part 1.
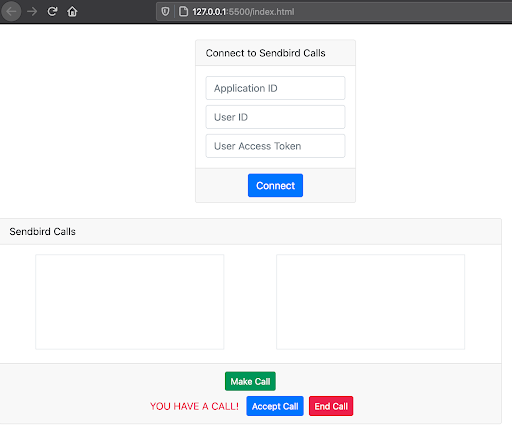
If you run this in a browser, you should see something like this:
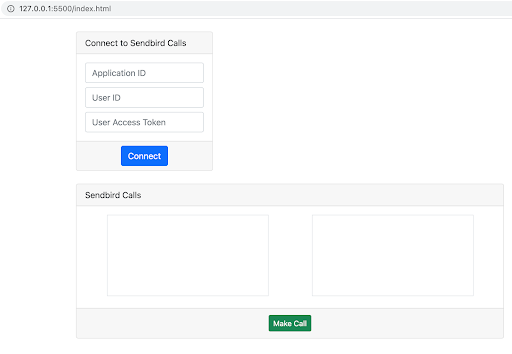
Now let’s apply the extra style style=”display:none” to our share screen and stop sharing buttons. We will only show these when connected to a call.
If you refresh your browser, you should see something like this:
Step 2. Modifying the implementation
Let’s update the call.onEstablished method in the index.js file to display the screen share buttons when a call is connected.
Let’s also update the call.onEnded method in the index.js file to hide the screen share button when a call is disconnected.
Step 4. Check for a valid current call
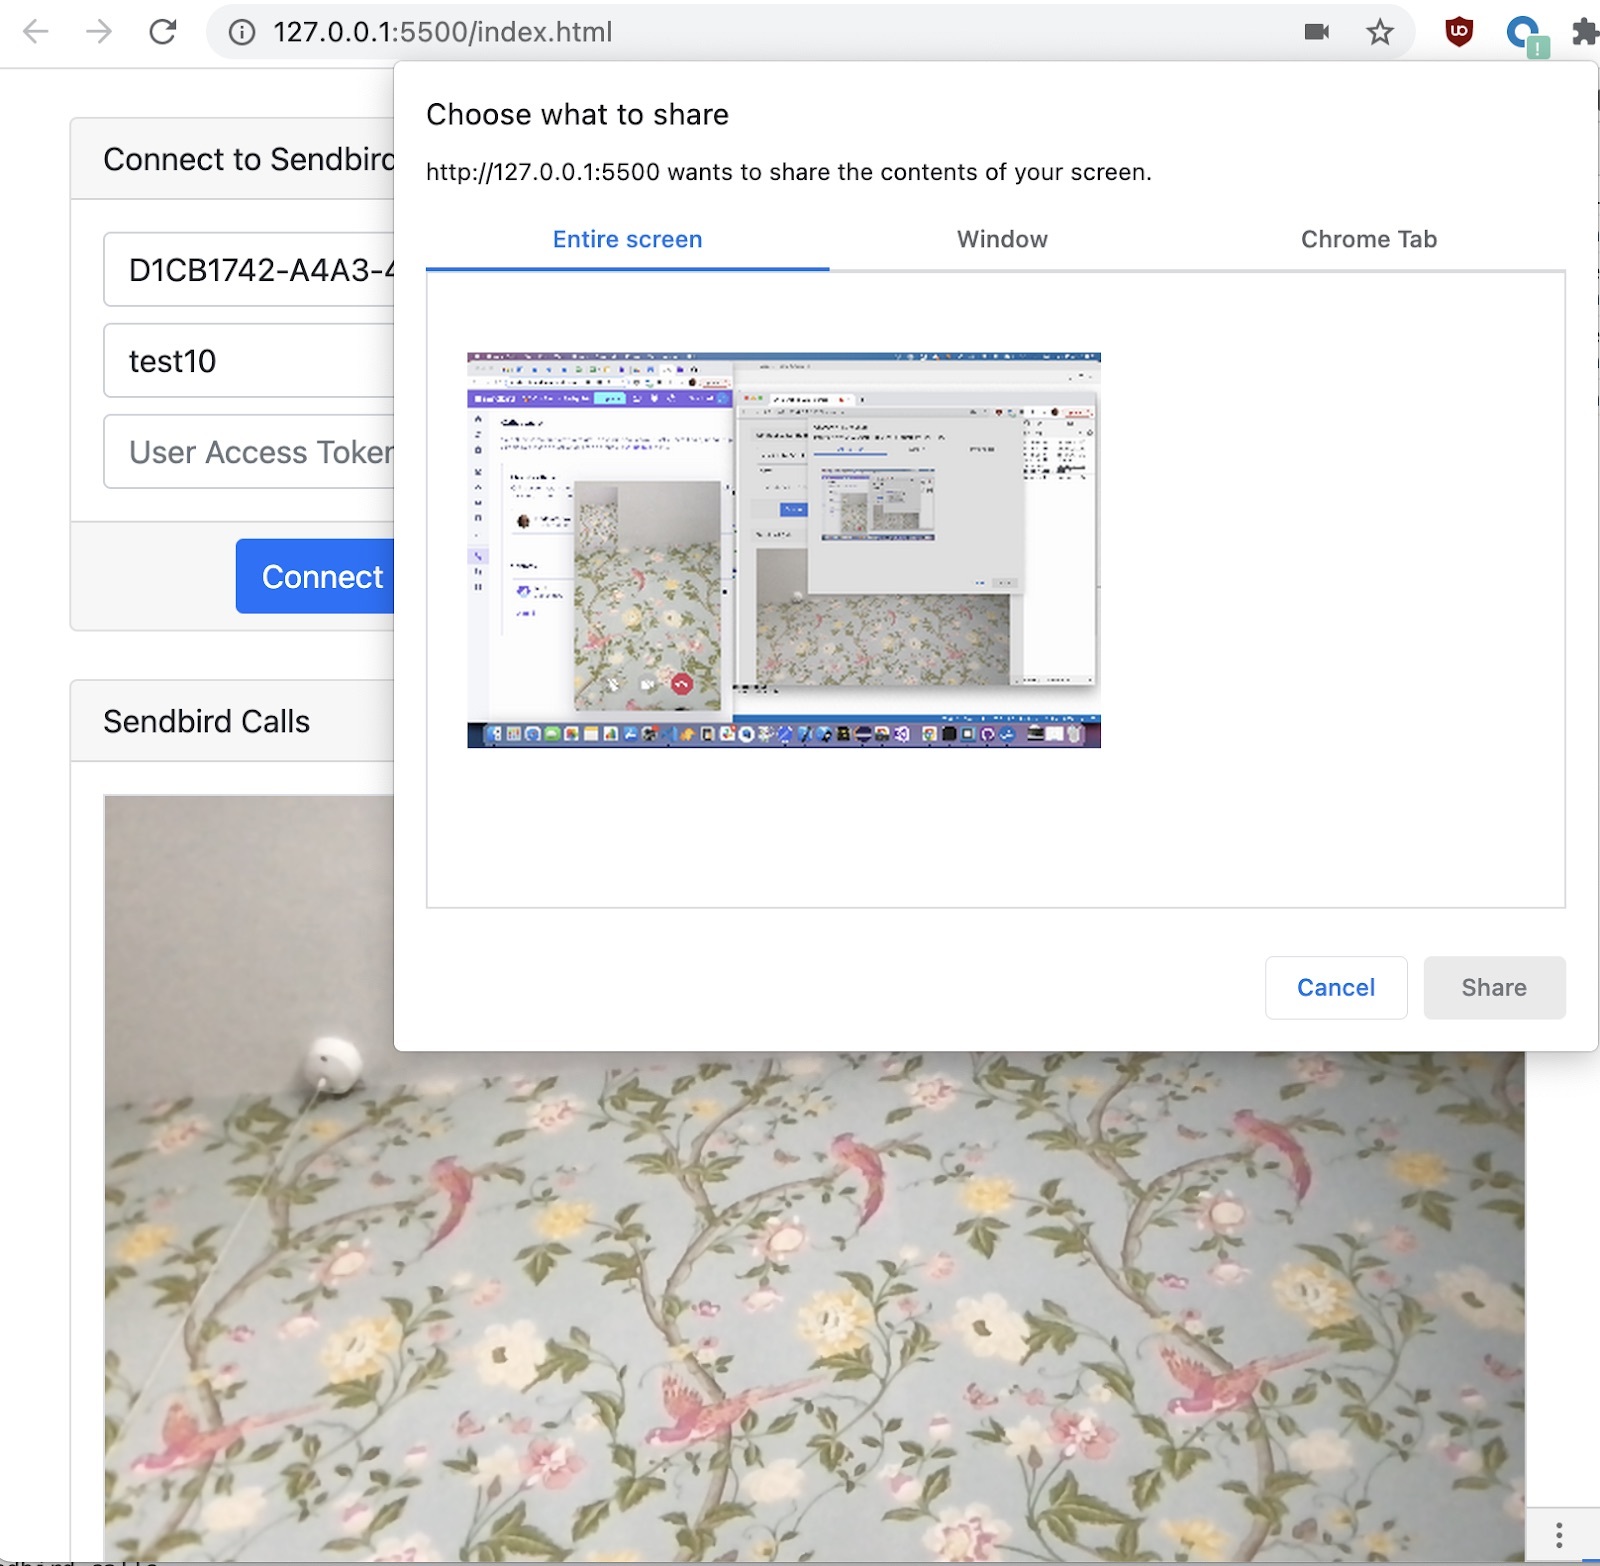
Optionally, we enlarge our video element. We increase its width from 300px to 800px.
await currentCall.startScreenShare() does all the internal job for us. This is a Sendbird function.
Once we call the screen sharing function from Sendbird, we set a listener for when the remote user stops it. The logic inside this function is to reduce the size of our video element (back to 300px) and hide the Stop share screen button.
Let’s apply the logic to stop screen sharing:
Conclusion
Congratulations on completing this tutorial! In Part 1, we implemented the functionality for making calls, and now in part 2, we have added the functionality for sharing your screen.
You are now ready to make users more efficient with their 1:1 communication in your web app!
Keep on building wonderful connections in your apps!


