
Build a Next.js app for chat: Adding Sendbird UIKit to a Next.js app

Introduction
Building in-app chat has many complexities. While building feature-rich chat, it often helps if you have a set of pre-designed chat UI components that are ready to use. The Sendbird UIKit offers UI components which simplify your journey of building in-app chat. In this tutorial, you will learn how to add Sendbird React UIKit V3 to a Next.js 13 app.
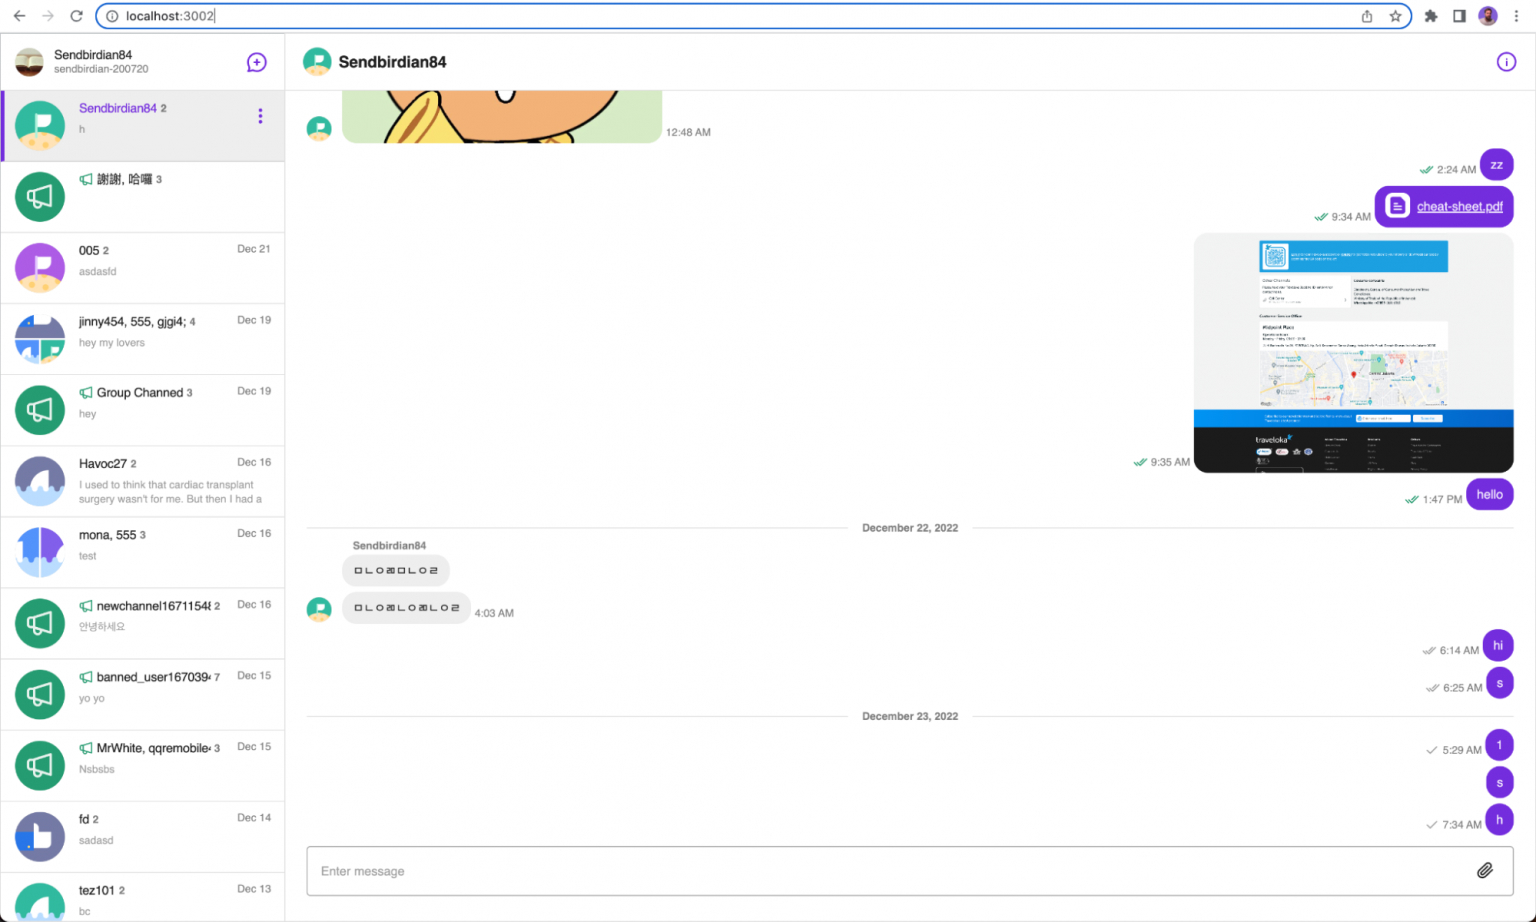
By the end of this blog, you will have built a Next.js app for chat messaging. Here’s a screenshot of what it will look like:
We recommend that you check out the final code, and a live demo of the end result. You may also find it useful to watch the video below.
Prerequisites
Before you get started, please ensure you sign up for a Sendbird account. For this tutorial, you need Node.js (version 12.22.0 or above) installed on your system.
Let’s get started!
Why build a Next.js app for chat?
The reason that Next.js is a good choice to build a chat app with is because Next.js makes it easy to render React components during the build, or on server request. This is opposed to traditional React apps that render on a user’s device. This improves performance by not sending large amounts of JavasScript over the network and reducing the time it takes for the client to render the page.
Client-side rendering with Next.js
As well as offering server-side rendering, Next.js has the ability to load client-side specific components. The feature that enables this is called Dynamic Import. You can use the Dynamic Import feature to load in Sendbird React UIKit, which as a dynamic chat UI, does require client side rendering.
Next.js Dynamic Imports
In Next.js, you can use Dynamic Imports to load a component only on the client side. To do this, you can use the dynamic function. For example, let’s say you have a component called MyAsyncComponent that you want to load only on the client-side. Here’s how you could do it:
One key thing to notice is the option ssr being set to false. This ensures that this component is never rendered on a server-side environment where it may break, most likely because of a missing browser API e.g. the window object.
Adding UIKit to Next.js
Now let’s talk about how to add UIKit to your Next.js app for chat.
Create a Next.js project
To create a new Next.js project, you will need to have Node.js and npm (the package manager for Node.js) installed on your machine.
To create the Next.js project, we use the create-next-app CLI tool by running the following command:
The sample code provided in this blog uses Javascript, but feel free to choose TypeScript when prompted by the command line tool.
Navigate into the newly created project and start the app using:
You will now have a basic Next.js 13 project running in the browser.
Install UIKit
Now that you have a project up and running, you can install Sendbird UIKit. We are going to use the latest version of the library. Please see the official docs for Senbird UIKit V3.
Create a chat component
First, let’s add a new folder called components at the root of the project. This directory will have our chat component. Later on in this blog, you will see how to add this component to a page so that it renders only on the client-side.
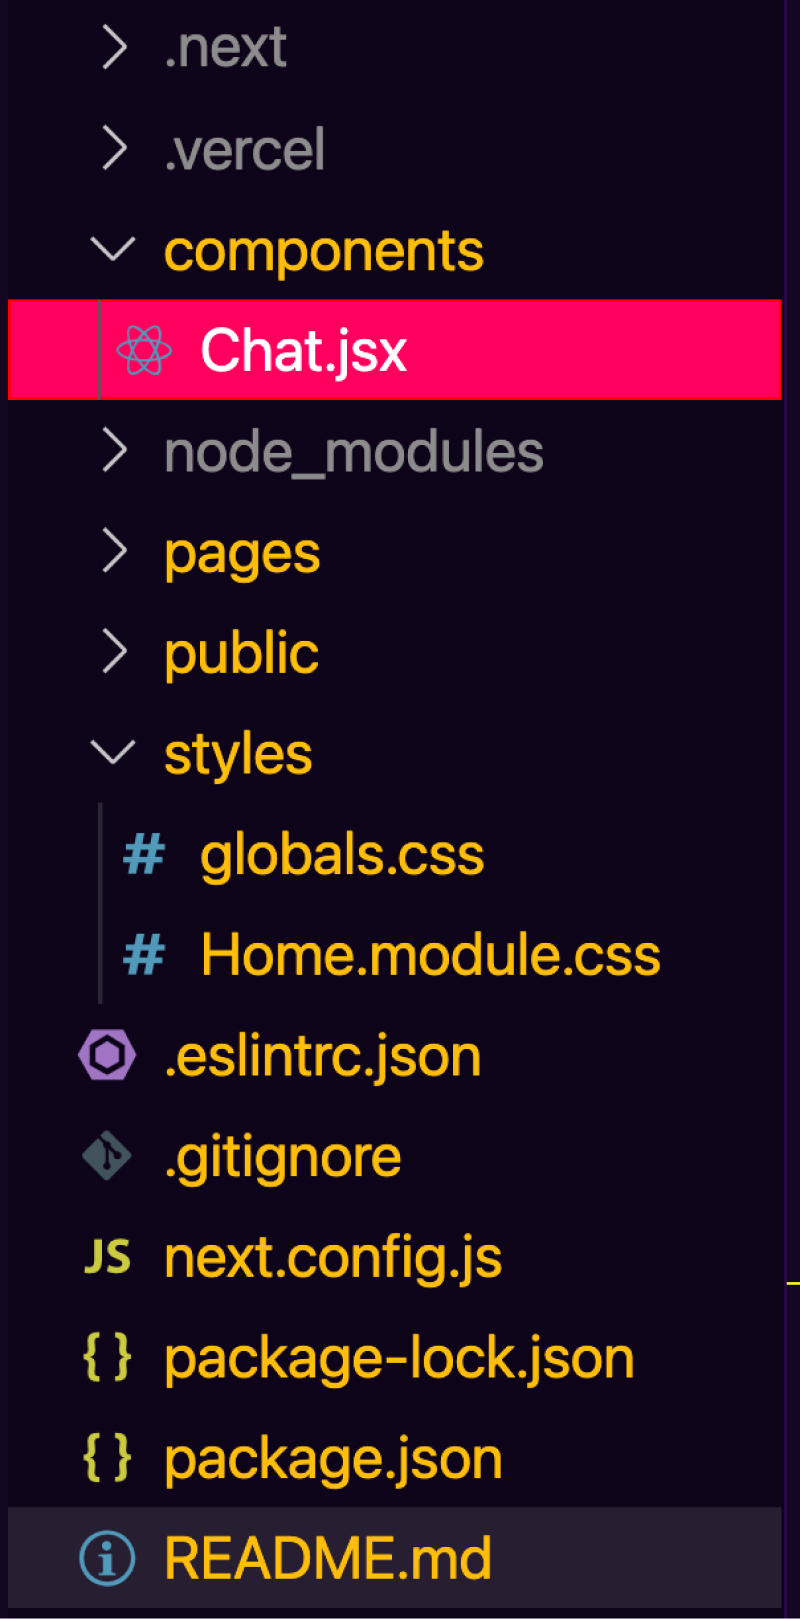
In our newly created Chat.jsx file, let’s add the following code that imports UIKit and renders the UIKit chat app component. To make the chat take up the full screen, add a wrapping div with 100% width and height. The Sendbird UIKit requires a user ID and an application ID to be passed as props. Both these pieces of information can be found via your Sendbird dashboard.
Add chat component to a page
Now that you have a working chat app, you need somewhere to render it. Next.js routing uses the core concept of pages. Pages are rendered when a user visits the corresponding page route in the browser. By default, create-next-app gives us an index page. Let’s update that file to render our chat component.
The above code does the following:
- Import Sendbird styling so the chat component looks nice.
- Use Next.js dynamic import functionality to pull in the Chat.jsx component. Make sure it only renders on the client side and avoids server-side rendering bugs.
- Remove everything inside the <main> tag and replace it with the newly created <DynamicAppWithNoSSR> component.
The final result will look like this.
Conclusion
Congratulations! Now you have a Next.js app that still makes use of static and server-side rendering and can also render Sendbird’s interactive chat components on the client side.
If you need more guidance with the material in this blog, please see the docs. Don’t forget to check out the final code, and a live demo of the result! You may also find it interesting see our demos of in-app chat. You can also find answers in the Sendbird Community, a forum where you can ask and answer questions related to all things Sendbird. Please don’t hesitate to contact us if you need help – our experts are happy to assist. Happy chat building! 💻


