
How to build a Kotlin video group chat app

Introduction
After Sendbird rolled out 1:1 voice and video, we quickly delivered group calls to provide parity with our group chat functionality. Currently, Sendbird Calls allows for up to six participants in video calls or up to twenty-five participants in a voice call.
This guide aims to explain the core concepts of Sendbird’s group calls and show how they are implemented within our official sample. It will not cover some of the basic Android concepts you may already be familiar with, and will gloss over a lot of the extraneous code in favor of brevity; however, the official sample shows the entire implementation.
This tutorial’s code is Kotlin, but a lot of the concepts carry to the other platforms. If you haven’t already, please download the Sendbird Calls group sample.
Part 1: The user interface (UI)
Before we dive into explaining any of the code we will look at the UI that was already designed for us by the Sendbird Calls team. If you go into the project view and navigate to the res folder, you will see all the UI classes have already been taken care of. Below are all the key UI views that we will be using. If you look in the res folder you will notice a lot more files, please feel free to look at them at your convenience, but they will not be covered in this tutorial.
Dashboard UI:
If you have already downloaded the above sample, go ahead and launch the sample on an emulator or a device. You will notice the first screen you see after the splash/login will be the Dashboard UI. This UI handles the flow between creating and entering a room and retrieving and entering a room.
Dashboard view:
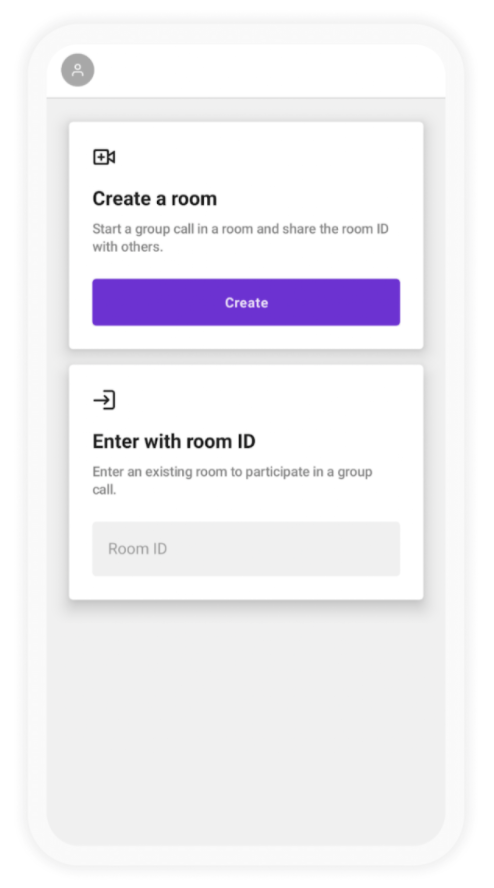
The following UI sections will be split into two, based on the Dashboard flow you see above.
Create a room UI:
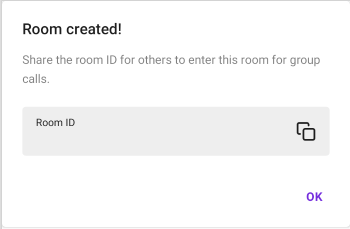
Assuming you click the ‘Create’ button, it will display the following UI. This dialog is overlaid on top of the activity_room.xml. All this UI does is show that a room has indeed been created and allows you to copy the RoomID. If you click ‘OK’ you are entering the room.
Room Created Preview UI:
Enter with room ID UI:
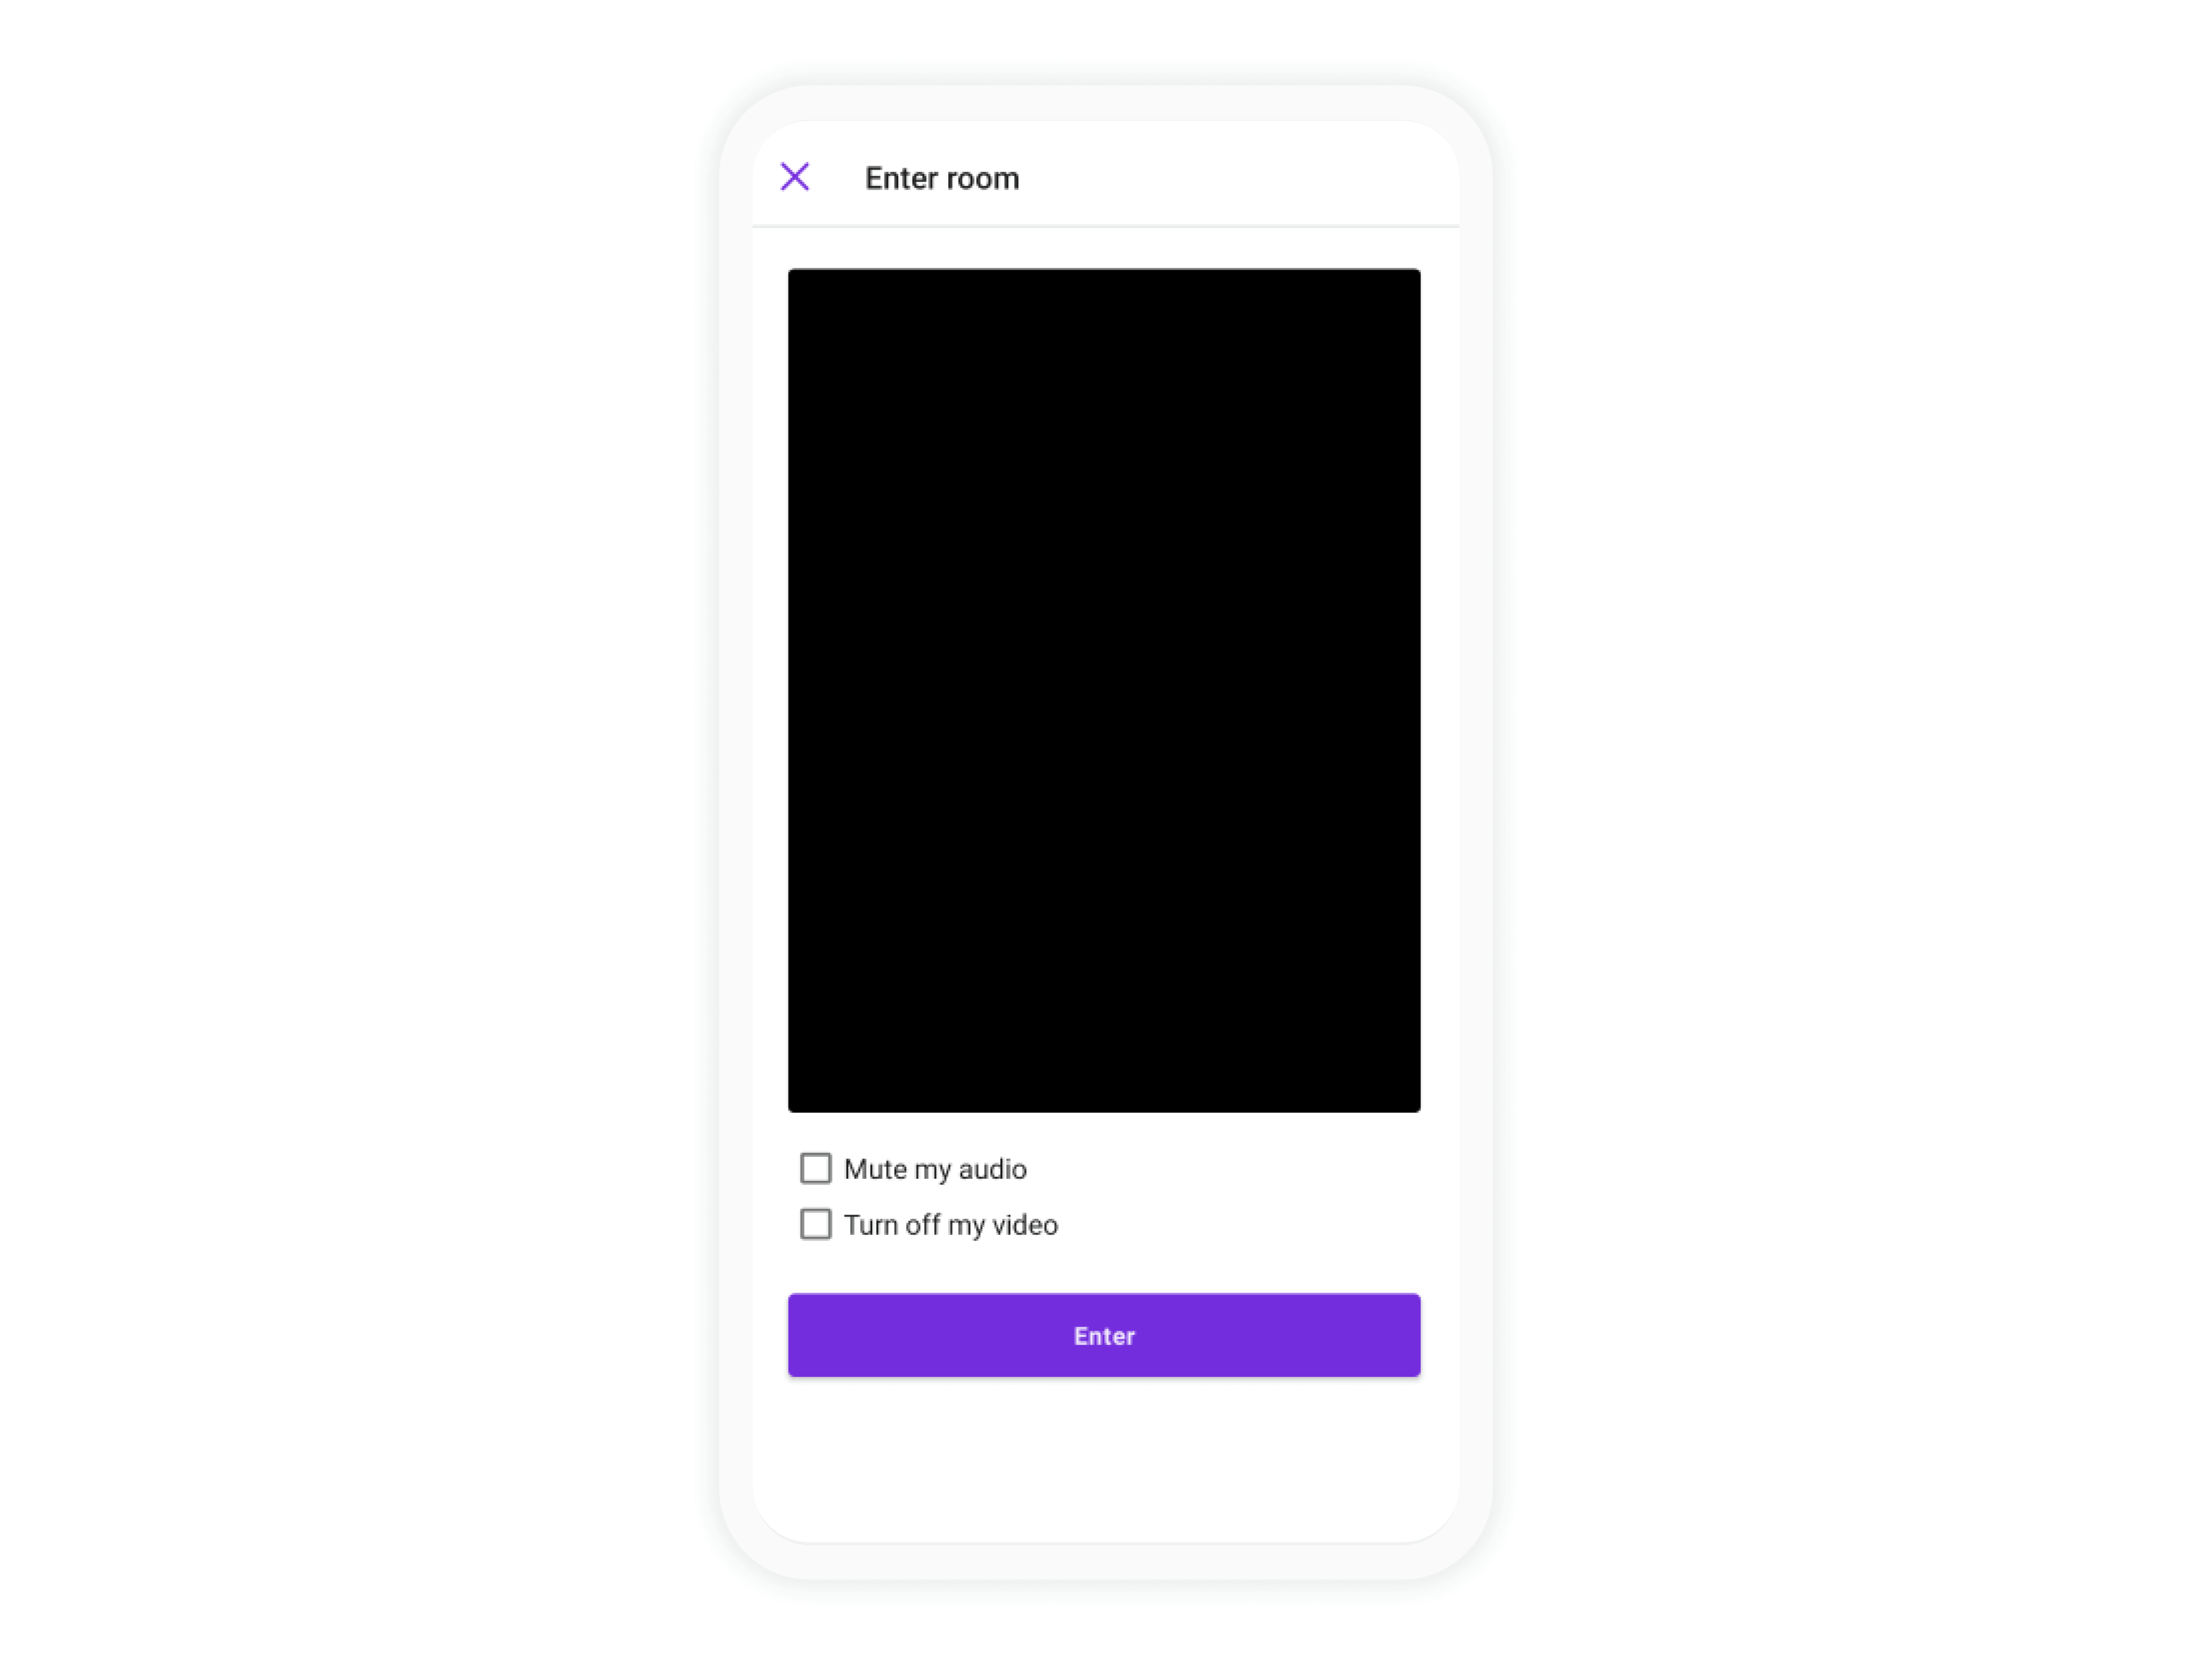
The other flow is entering a room. This flow assumes you have entered a valid RoomID, and that the room is one that you, as a user, are able to join. Upon entering the room, activity_preview.xml UI will be shown. This xml is similar to other video chats, which allow you to see a preview of yourself before entering the room. Think of it as a lobby or waiting room. Here you can adjust your settings for turning off your microphone or entering without video.
Activity_preview:
Group call UI:
Both of the above all lead to the activity_room.xml. This xml contains the main part of group calls. This xml contains the fragment_group_call.xml.
Activity room:
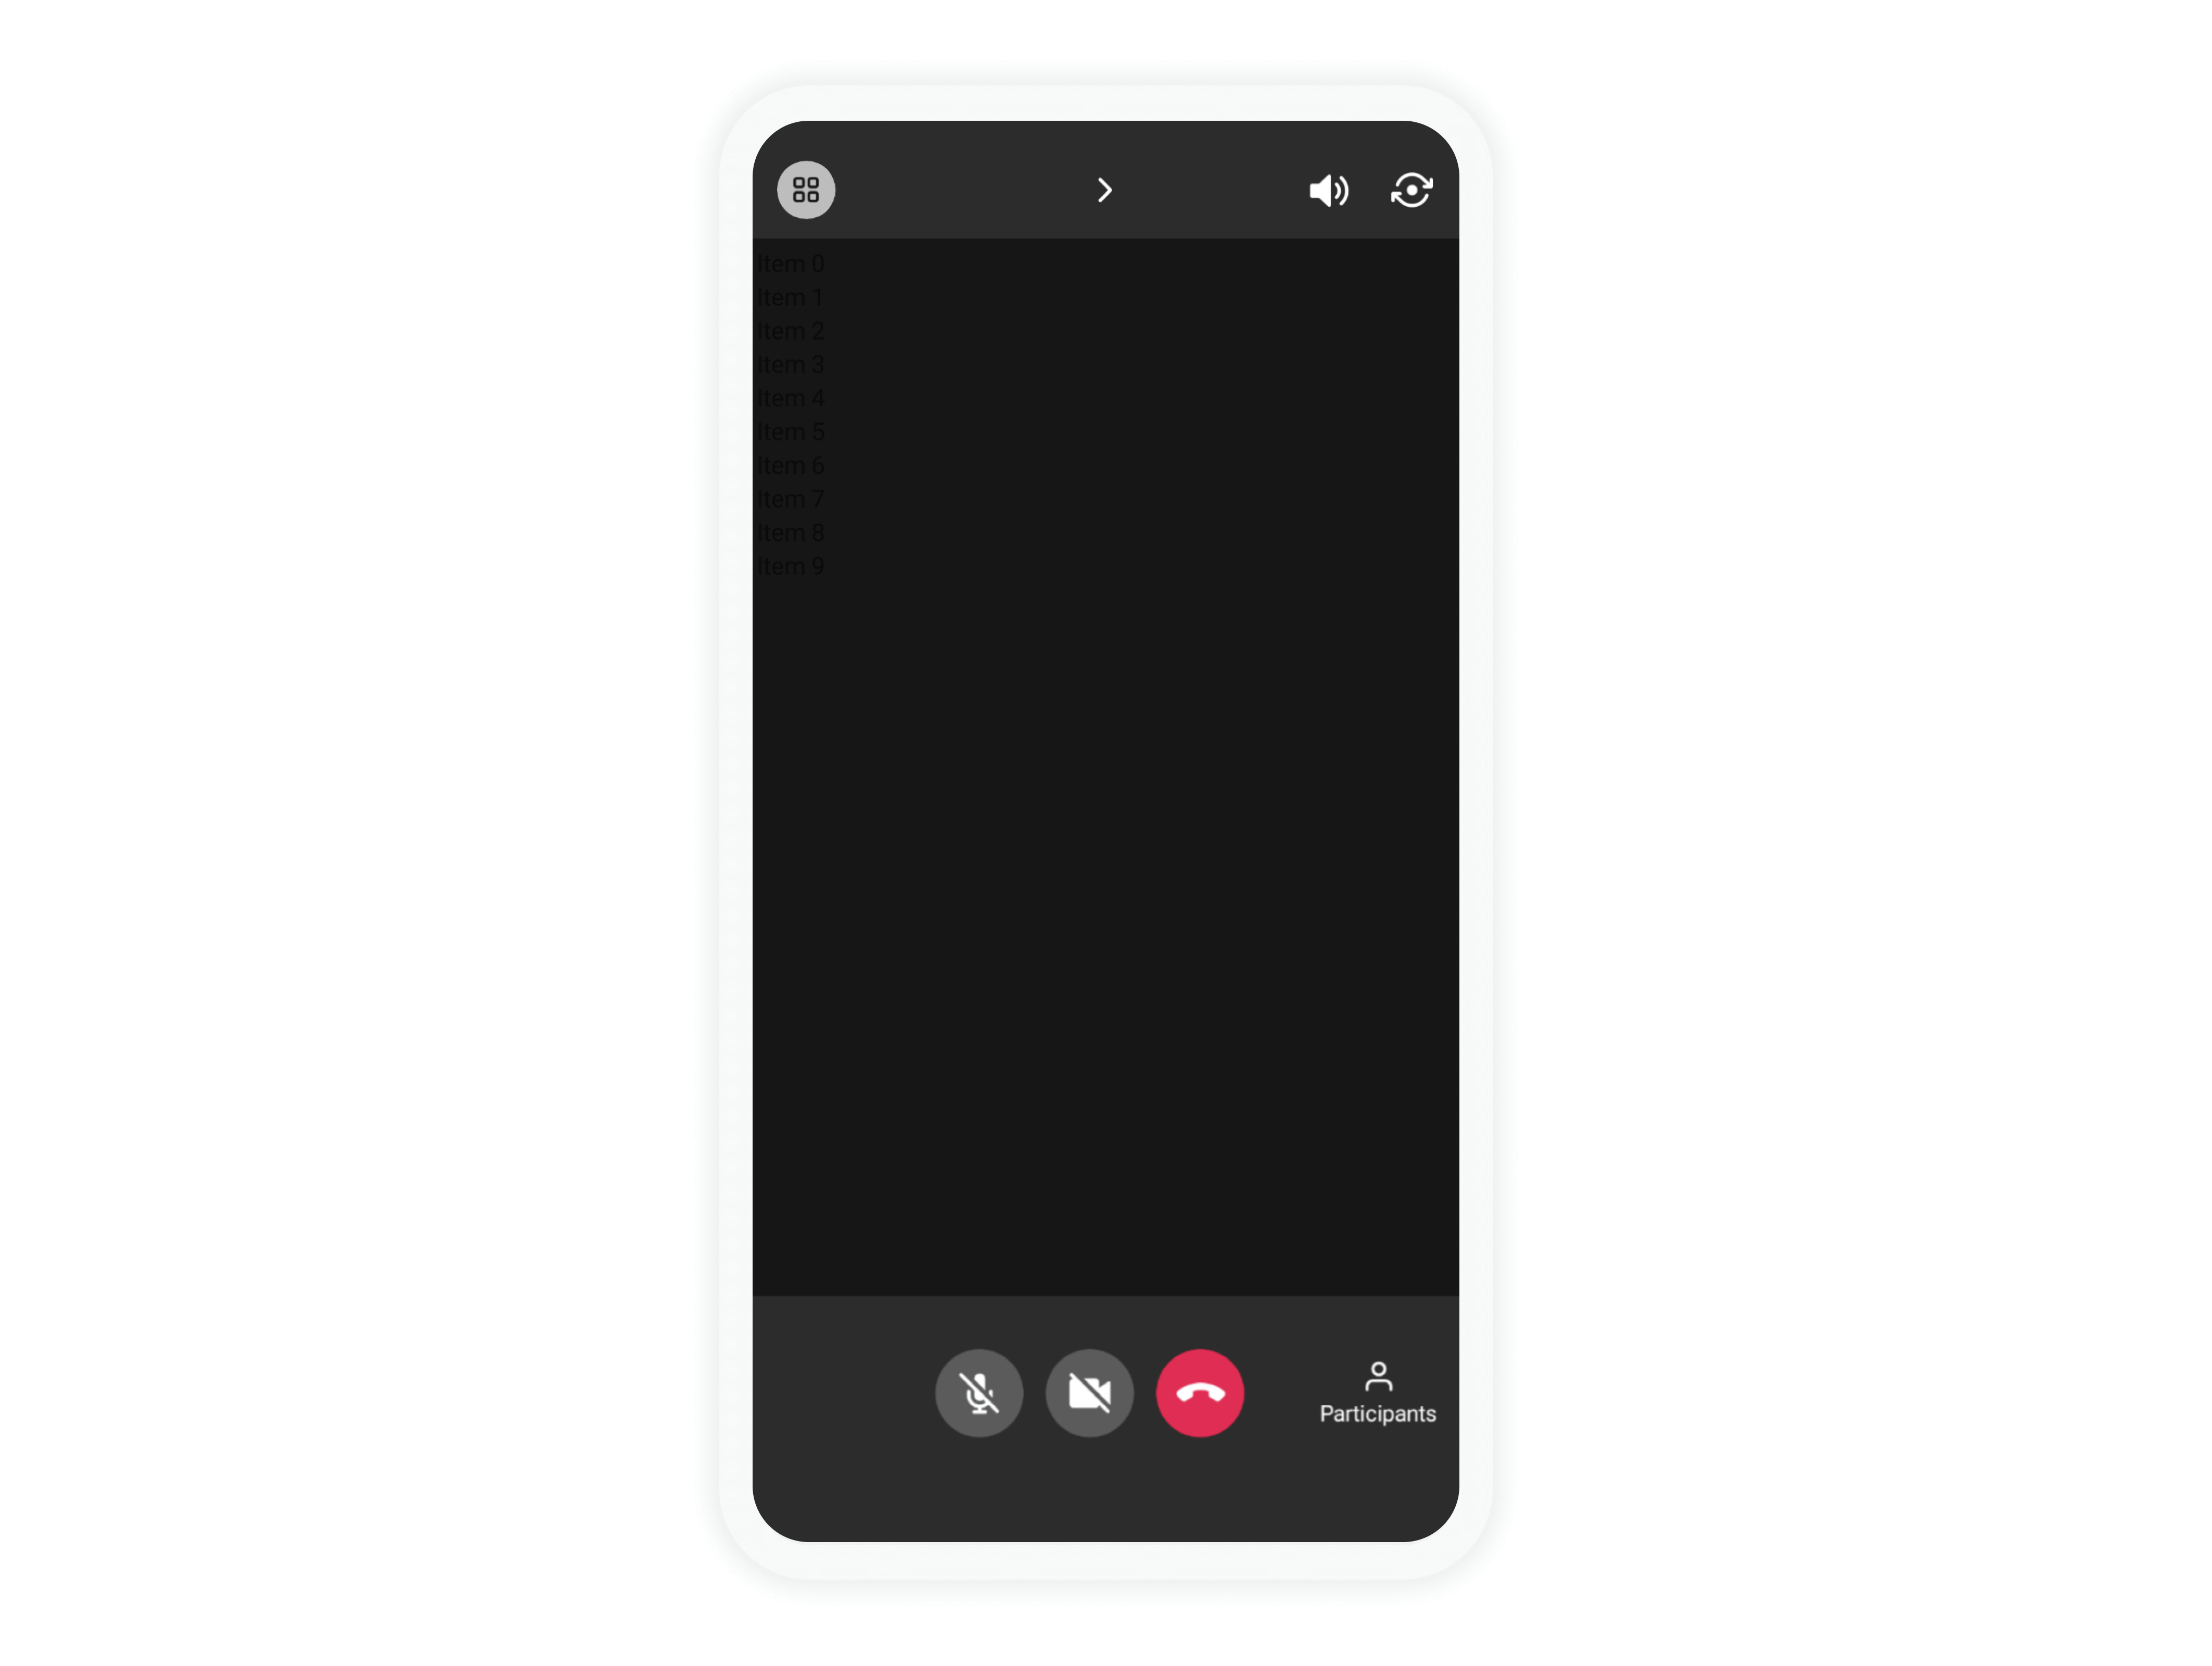
In the fragment_group_call.xml, you will see various UI elements. The key one is the Recycler View which allows for multiple participants to be displayed on the screen. Accompanied with it is item_participant.xml which is the individual view for each of the corresponding users in the group call.
Fragment_group_call.xml:
item_participant.xml:
Below is the complete list of layouts required for the sample. You will notice several we didn’t cover. These include sign-in views, splash screens, and various settings for video calls.
Full list of layouts needed: https://github.com/sendbird/quickstart-calls-groupcall-android/tree/main/app/src/main/res/layout
Now that we have given a high-level overview of the UI needed, we will look at some of the main classes/functions needed. These next parts will be broken into two flows:
- creating a room
- retrieving an existing room
Both will show the flow to end the room and share the same code base for enabling video. After these sections are covered we will touch on the code for the actual group call once you enter the room.
Part 2: Create and enter a room
Similar to the UI section, assuming you click the ‘Create’ button, the following code will be triggered by the onClickListener. You can find this code in the DashboardViewModel class. This code covers two key concepts in group calls:
- First, it creates a room. As you can see, it creates a room of type SMALL_ROOM_FOR_VIDEO. This limits the size of the room to 6 participants.
Note: Despite the type being for video this room can use audio only as well. If you created a room of type LARGE_ROOM_FOR_AUDIO_ONLY, you would increase the limit to 25 individuals, but you would be limited to Voice only.
- Second, the code snippet covers the concept of entering the room. It takes the newly created room(With its Unique Room ID), and joins it with the currently signed-in UserID. This allows the signed-in user to participate in the room. When entering a room you should specify whether to enable Audio or Video.
Part 3: Retrieve and enter an existing room
The second flow in the UI section above was retrieving an existing room and entering it. You can find this code in the DashboardViewModel class as well. In the UI, you need to enter the RoomID of the desired room to enter. To enter a room, you must first acquire the room instance from the Sendbird server with the room ID. To fetch the most up-to-date room instance from the Sendbird server, use the SendBirdCall.fetchRoomById() method. Also, you can use the SendBirdCall.getCachedRoomById() method that returns the most recently cached room instance from Sendbird Calls SDK.
Note: Not shown in this tutorial is the ability to list existing rooms. This would be a way to easily pick and choose which room you want to enter.
After fetching the room our sample presents the user with a preview. This preview, as mentioned above, contains a screen and the ability to turn off audio and video before entering. The following classes show how to take the options chosen from the UI and enter the room.
PreviewActivity.kt:
PreviewViewModel.kt:
Part 4: In the room
Both of the above code snippets ultimately lead to a participant being in a room. The following code shows how to handle events once in the room. They show how to enable/disable video, audio, how to handle the UI when another participant joins the call. They also show how to navigate to Settings Activities, which is not discussed in this tutorial. And they show how to implement the various listeners needed to handle all the callbacks that come from participating in the group call. For the sake of brevity, we will not go into much detail about the following classes.
RoomActivity.kt:
GroupCallViewModel.kt:
GroupCallFragment.kt:
Below is the full source code for the group call sample app.
Part 5: Testing a group call
To test a group call, log in to the Dashboard to a Calls-enabled application.

After you have clicked on the correct application, click on Calls Studio on the left side of the Dashboard. Create a new group call room if you have not done so already.
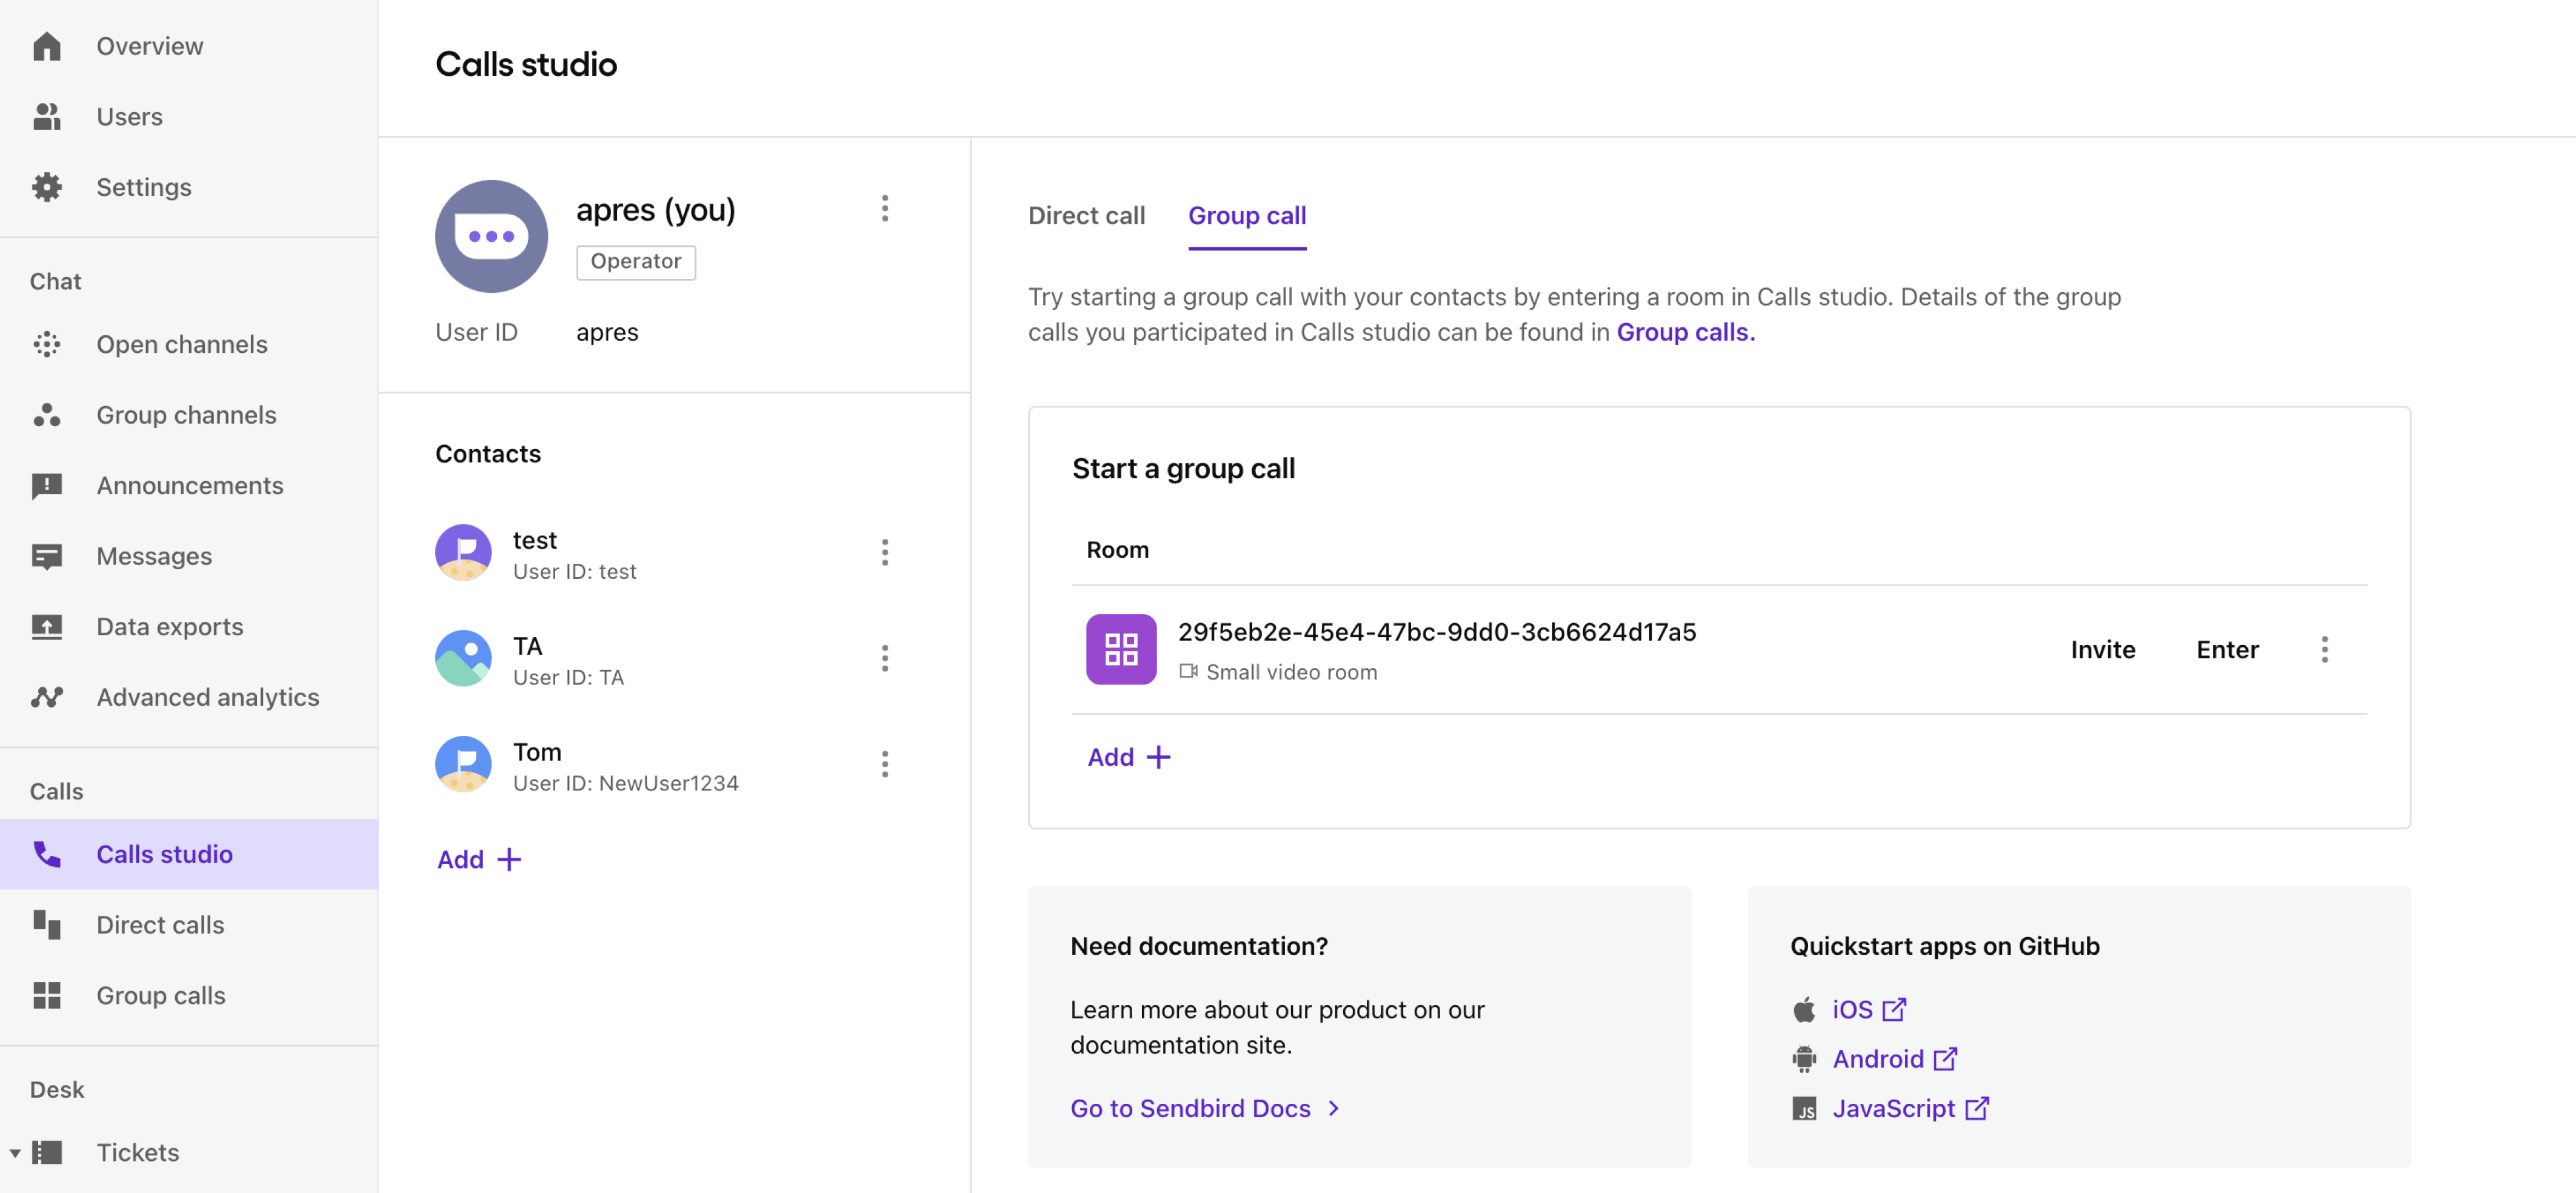
After creating a room, or if you had an existing one, click on the ‘Enter’ button.
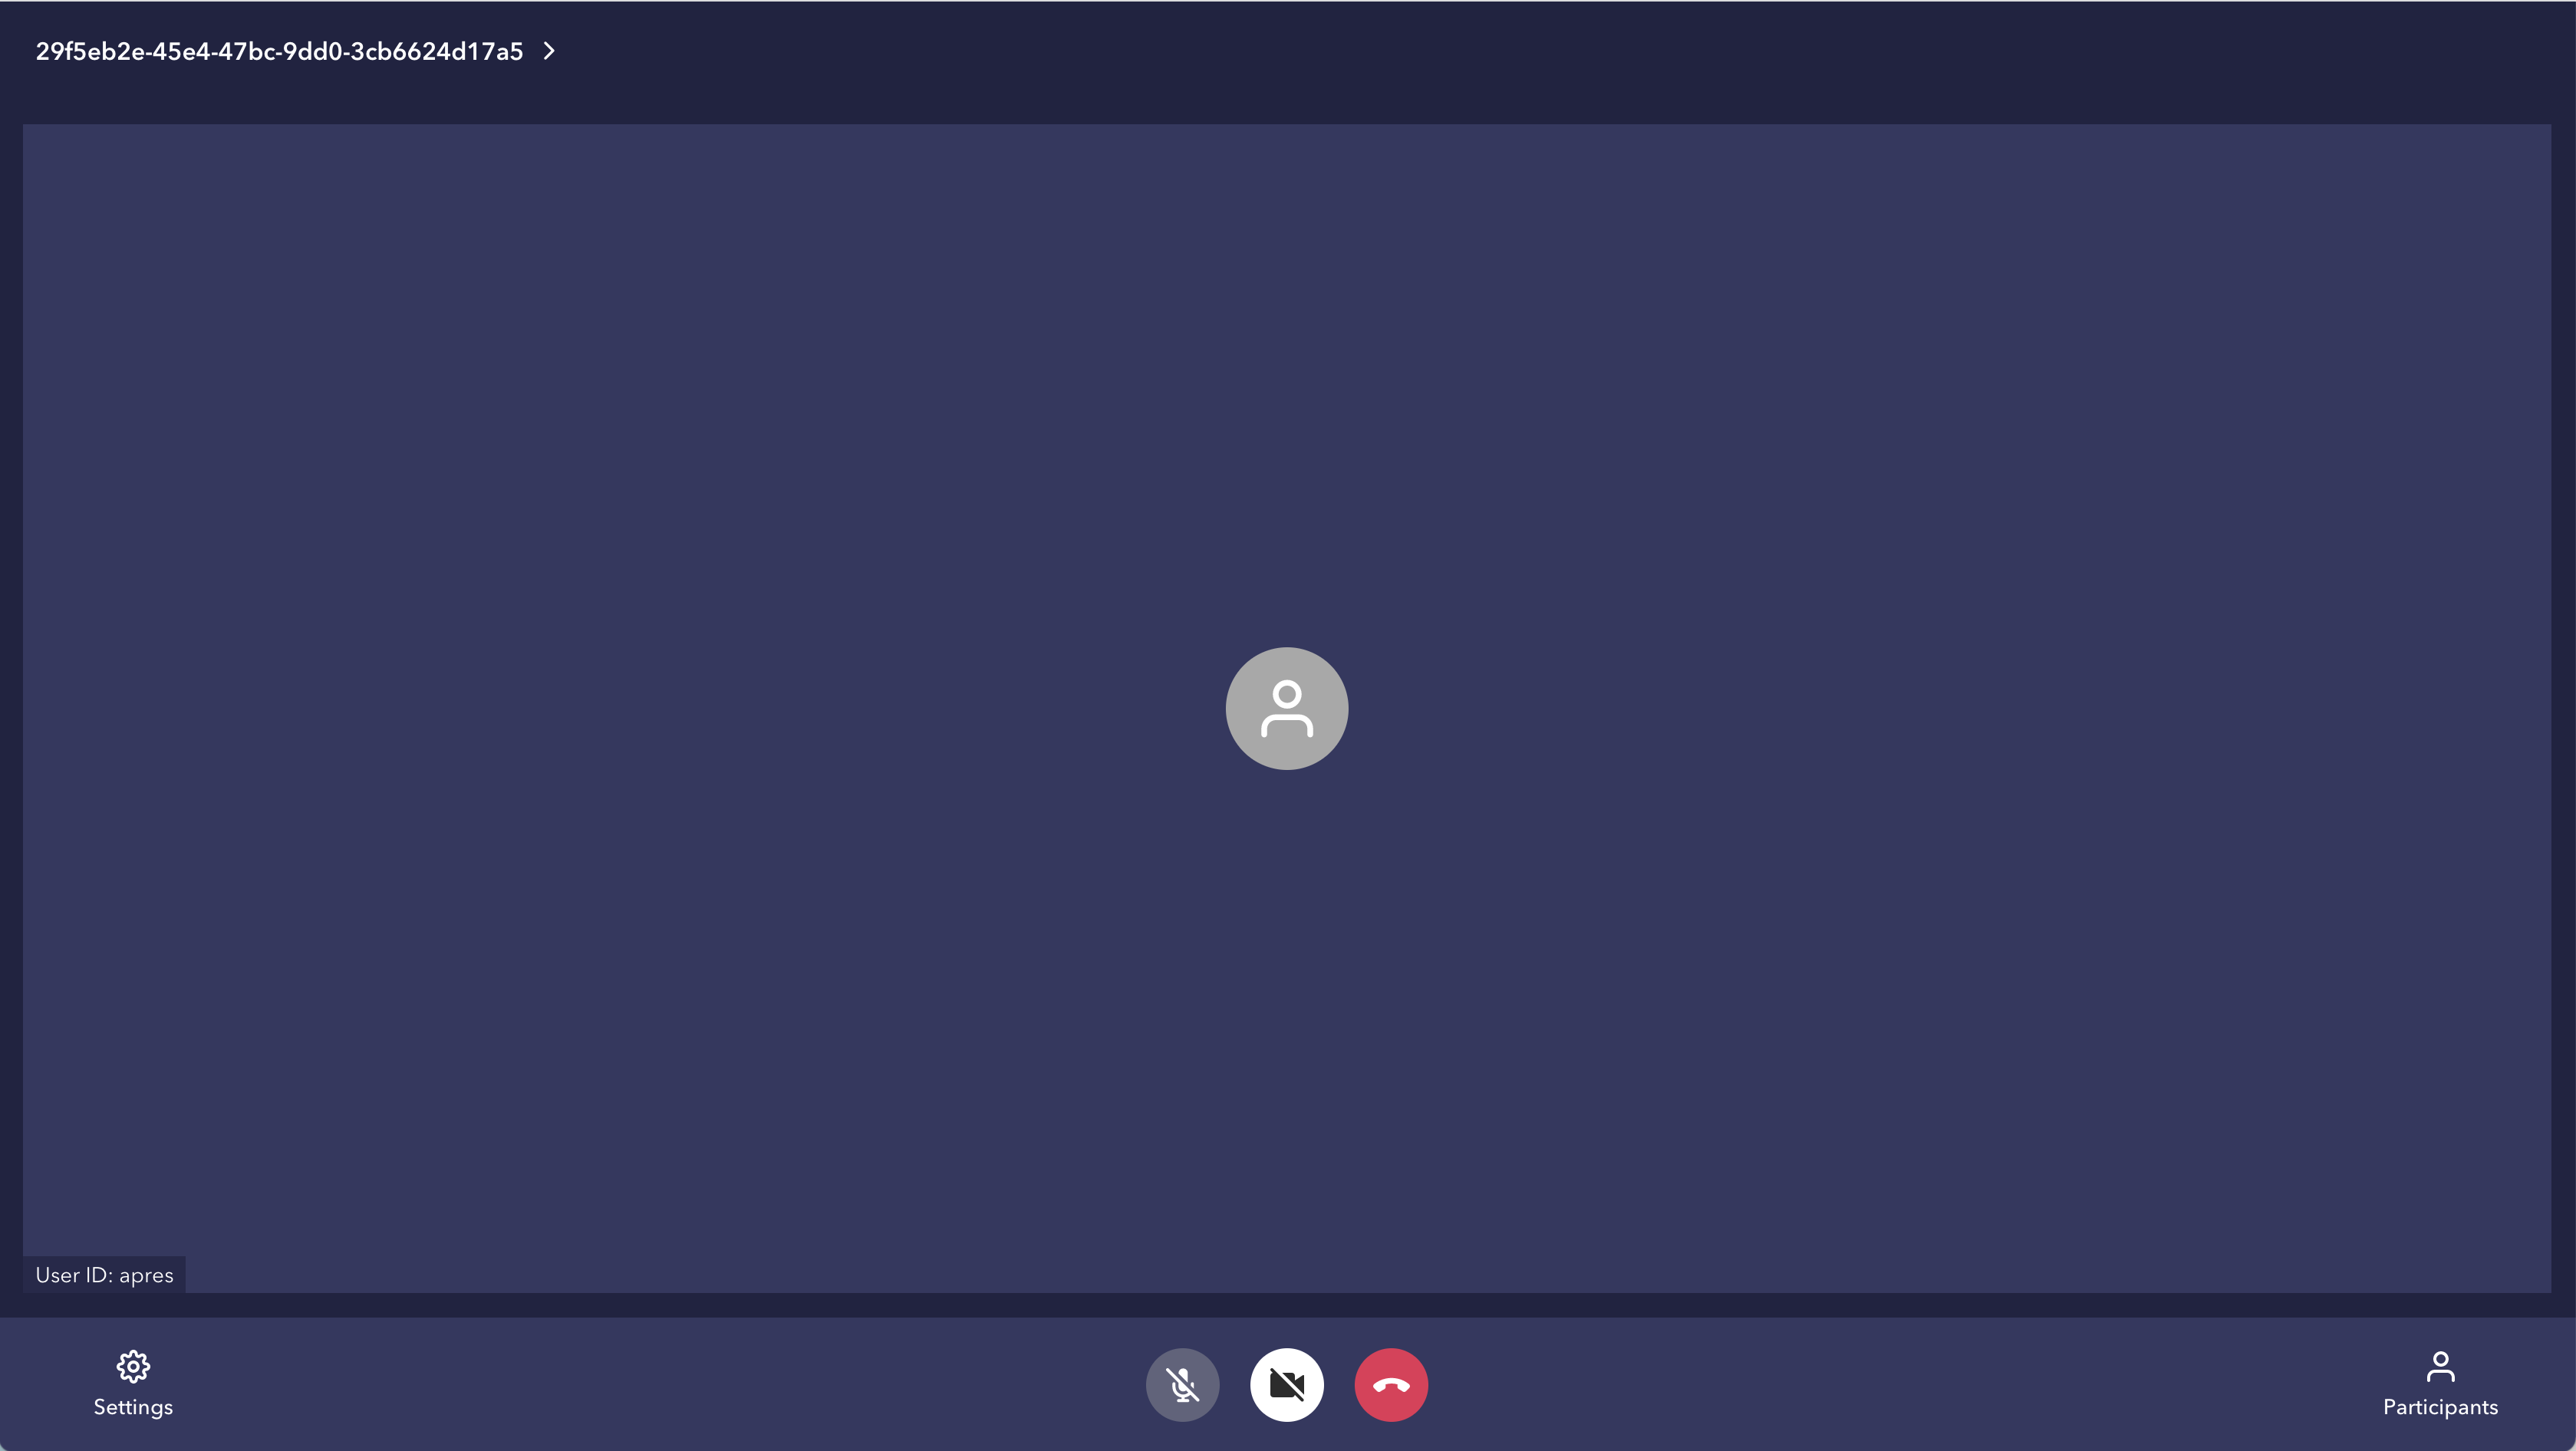
Click on the Room ID, In the top left corner. Copy the ID and paste it into your launched group calls application.
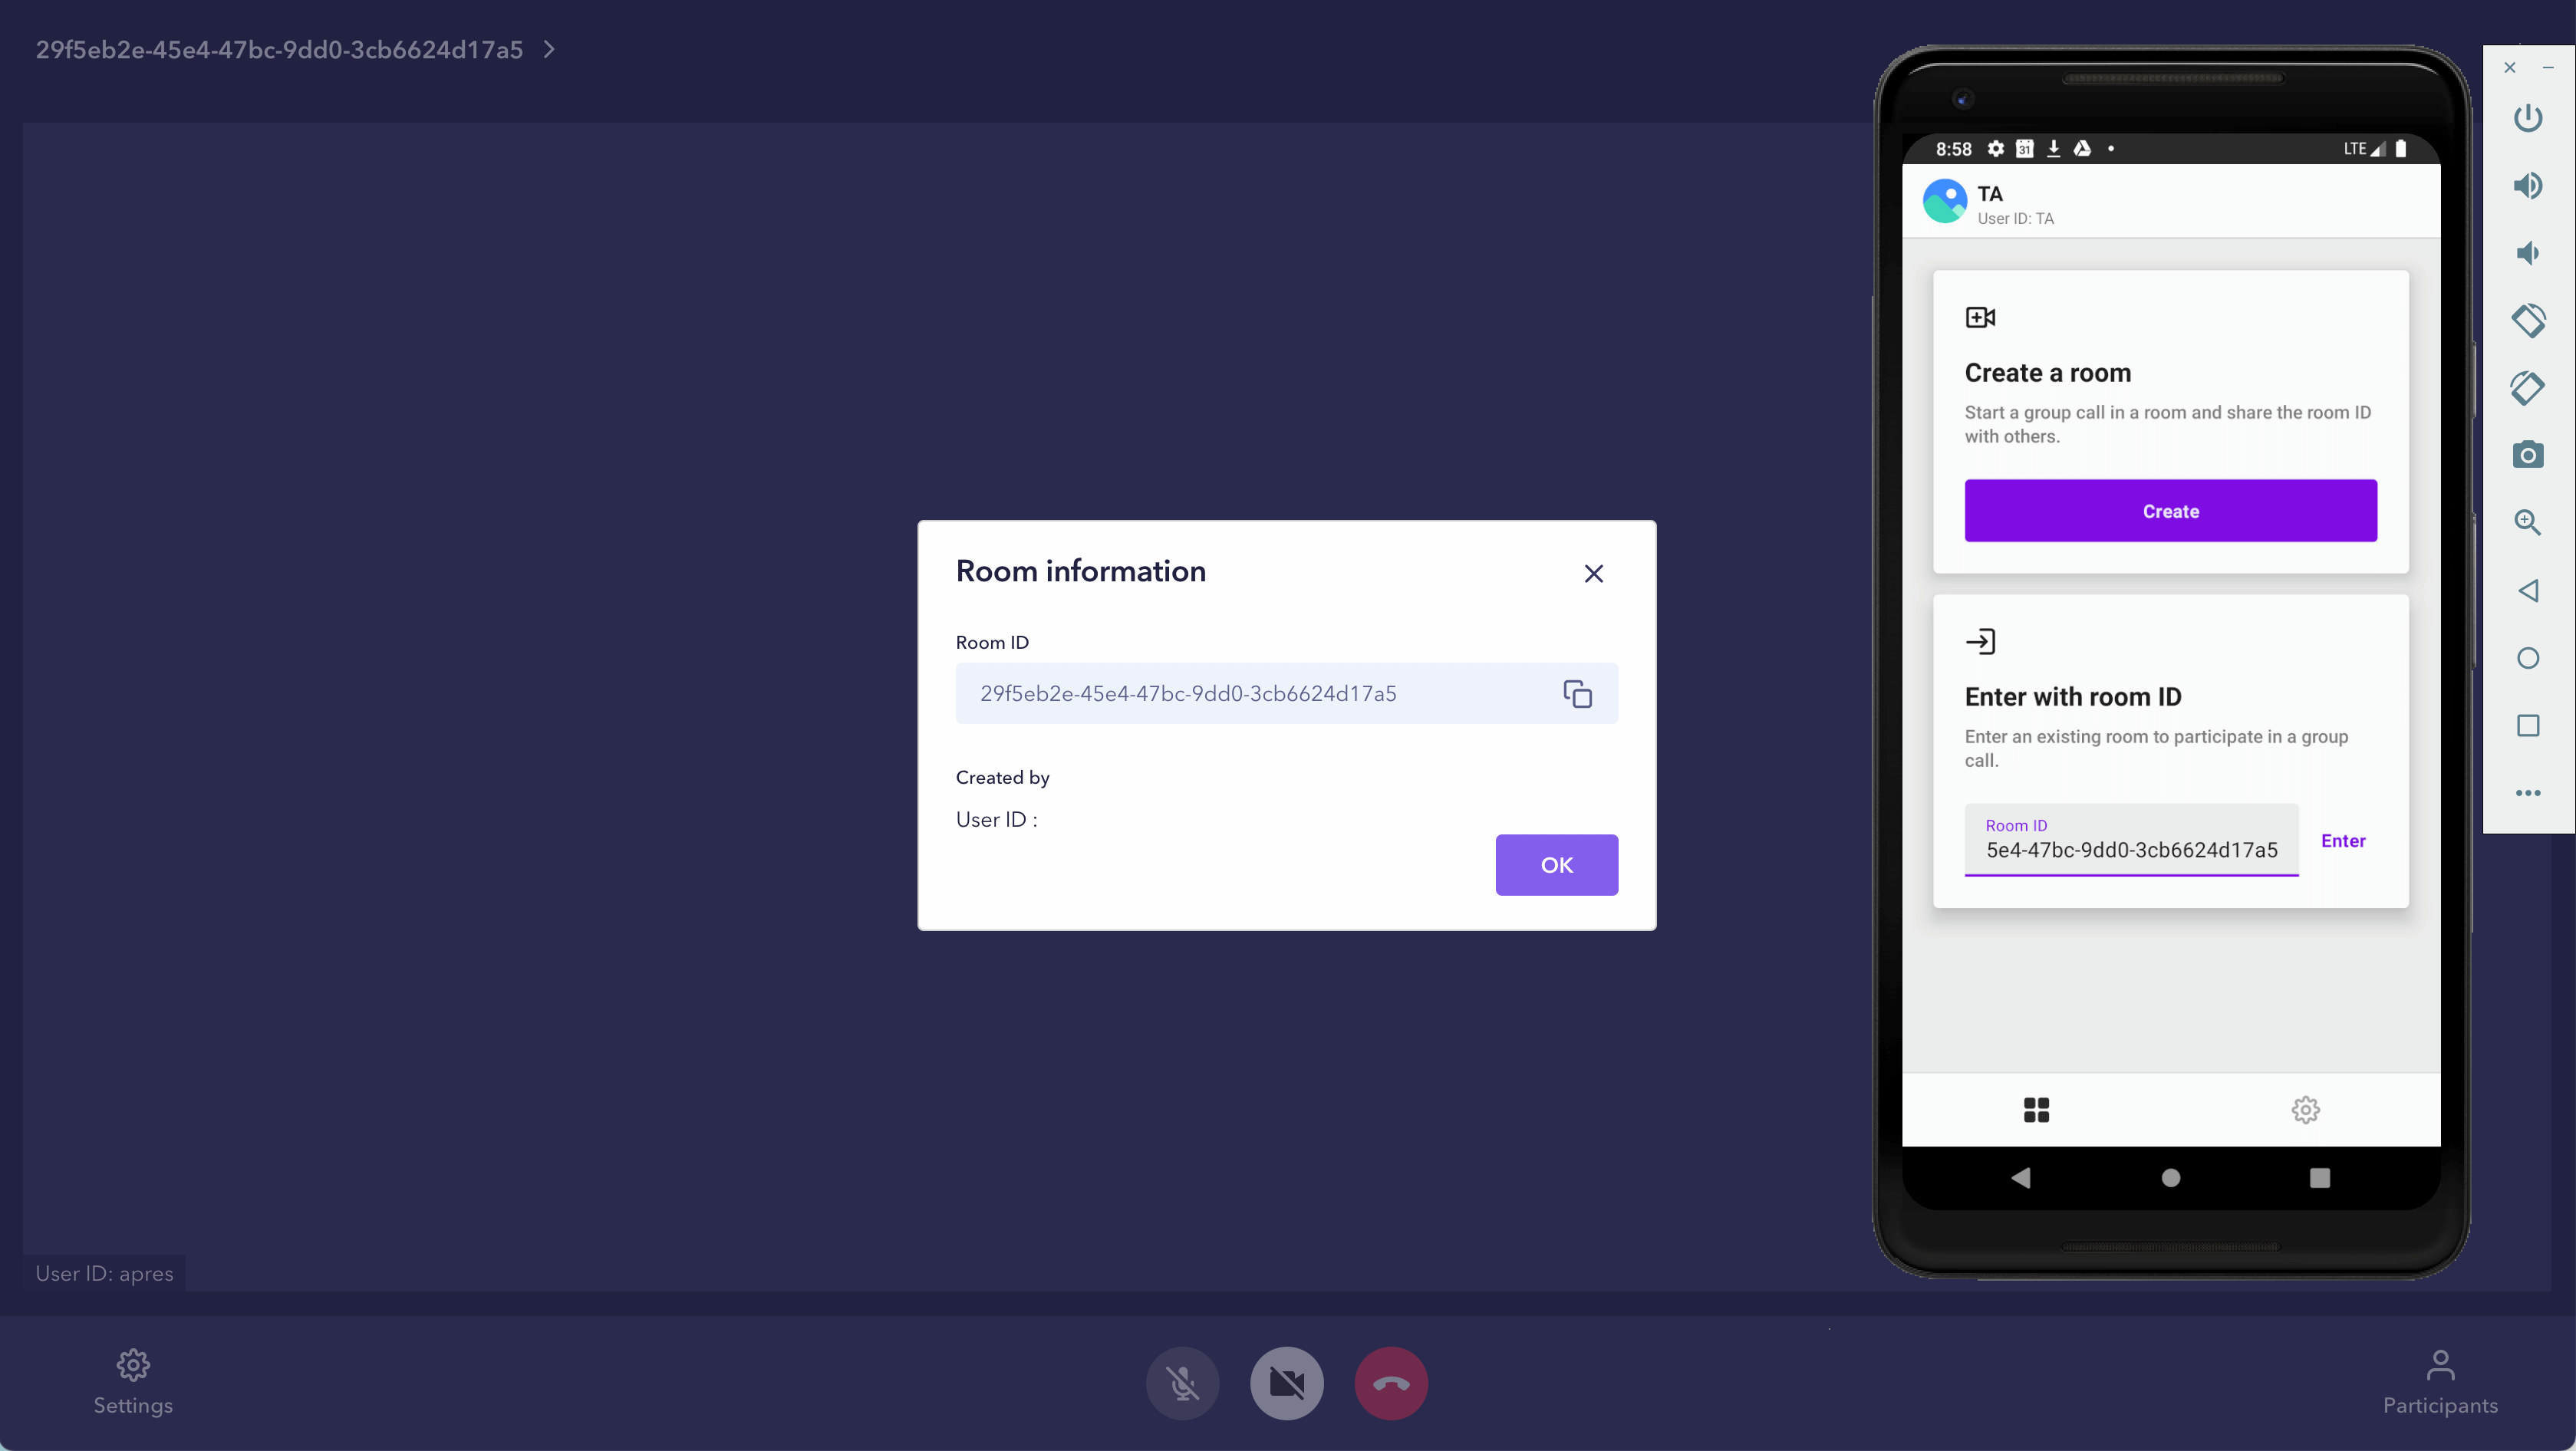
On the emulator, paste the ID and enter the call.
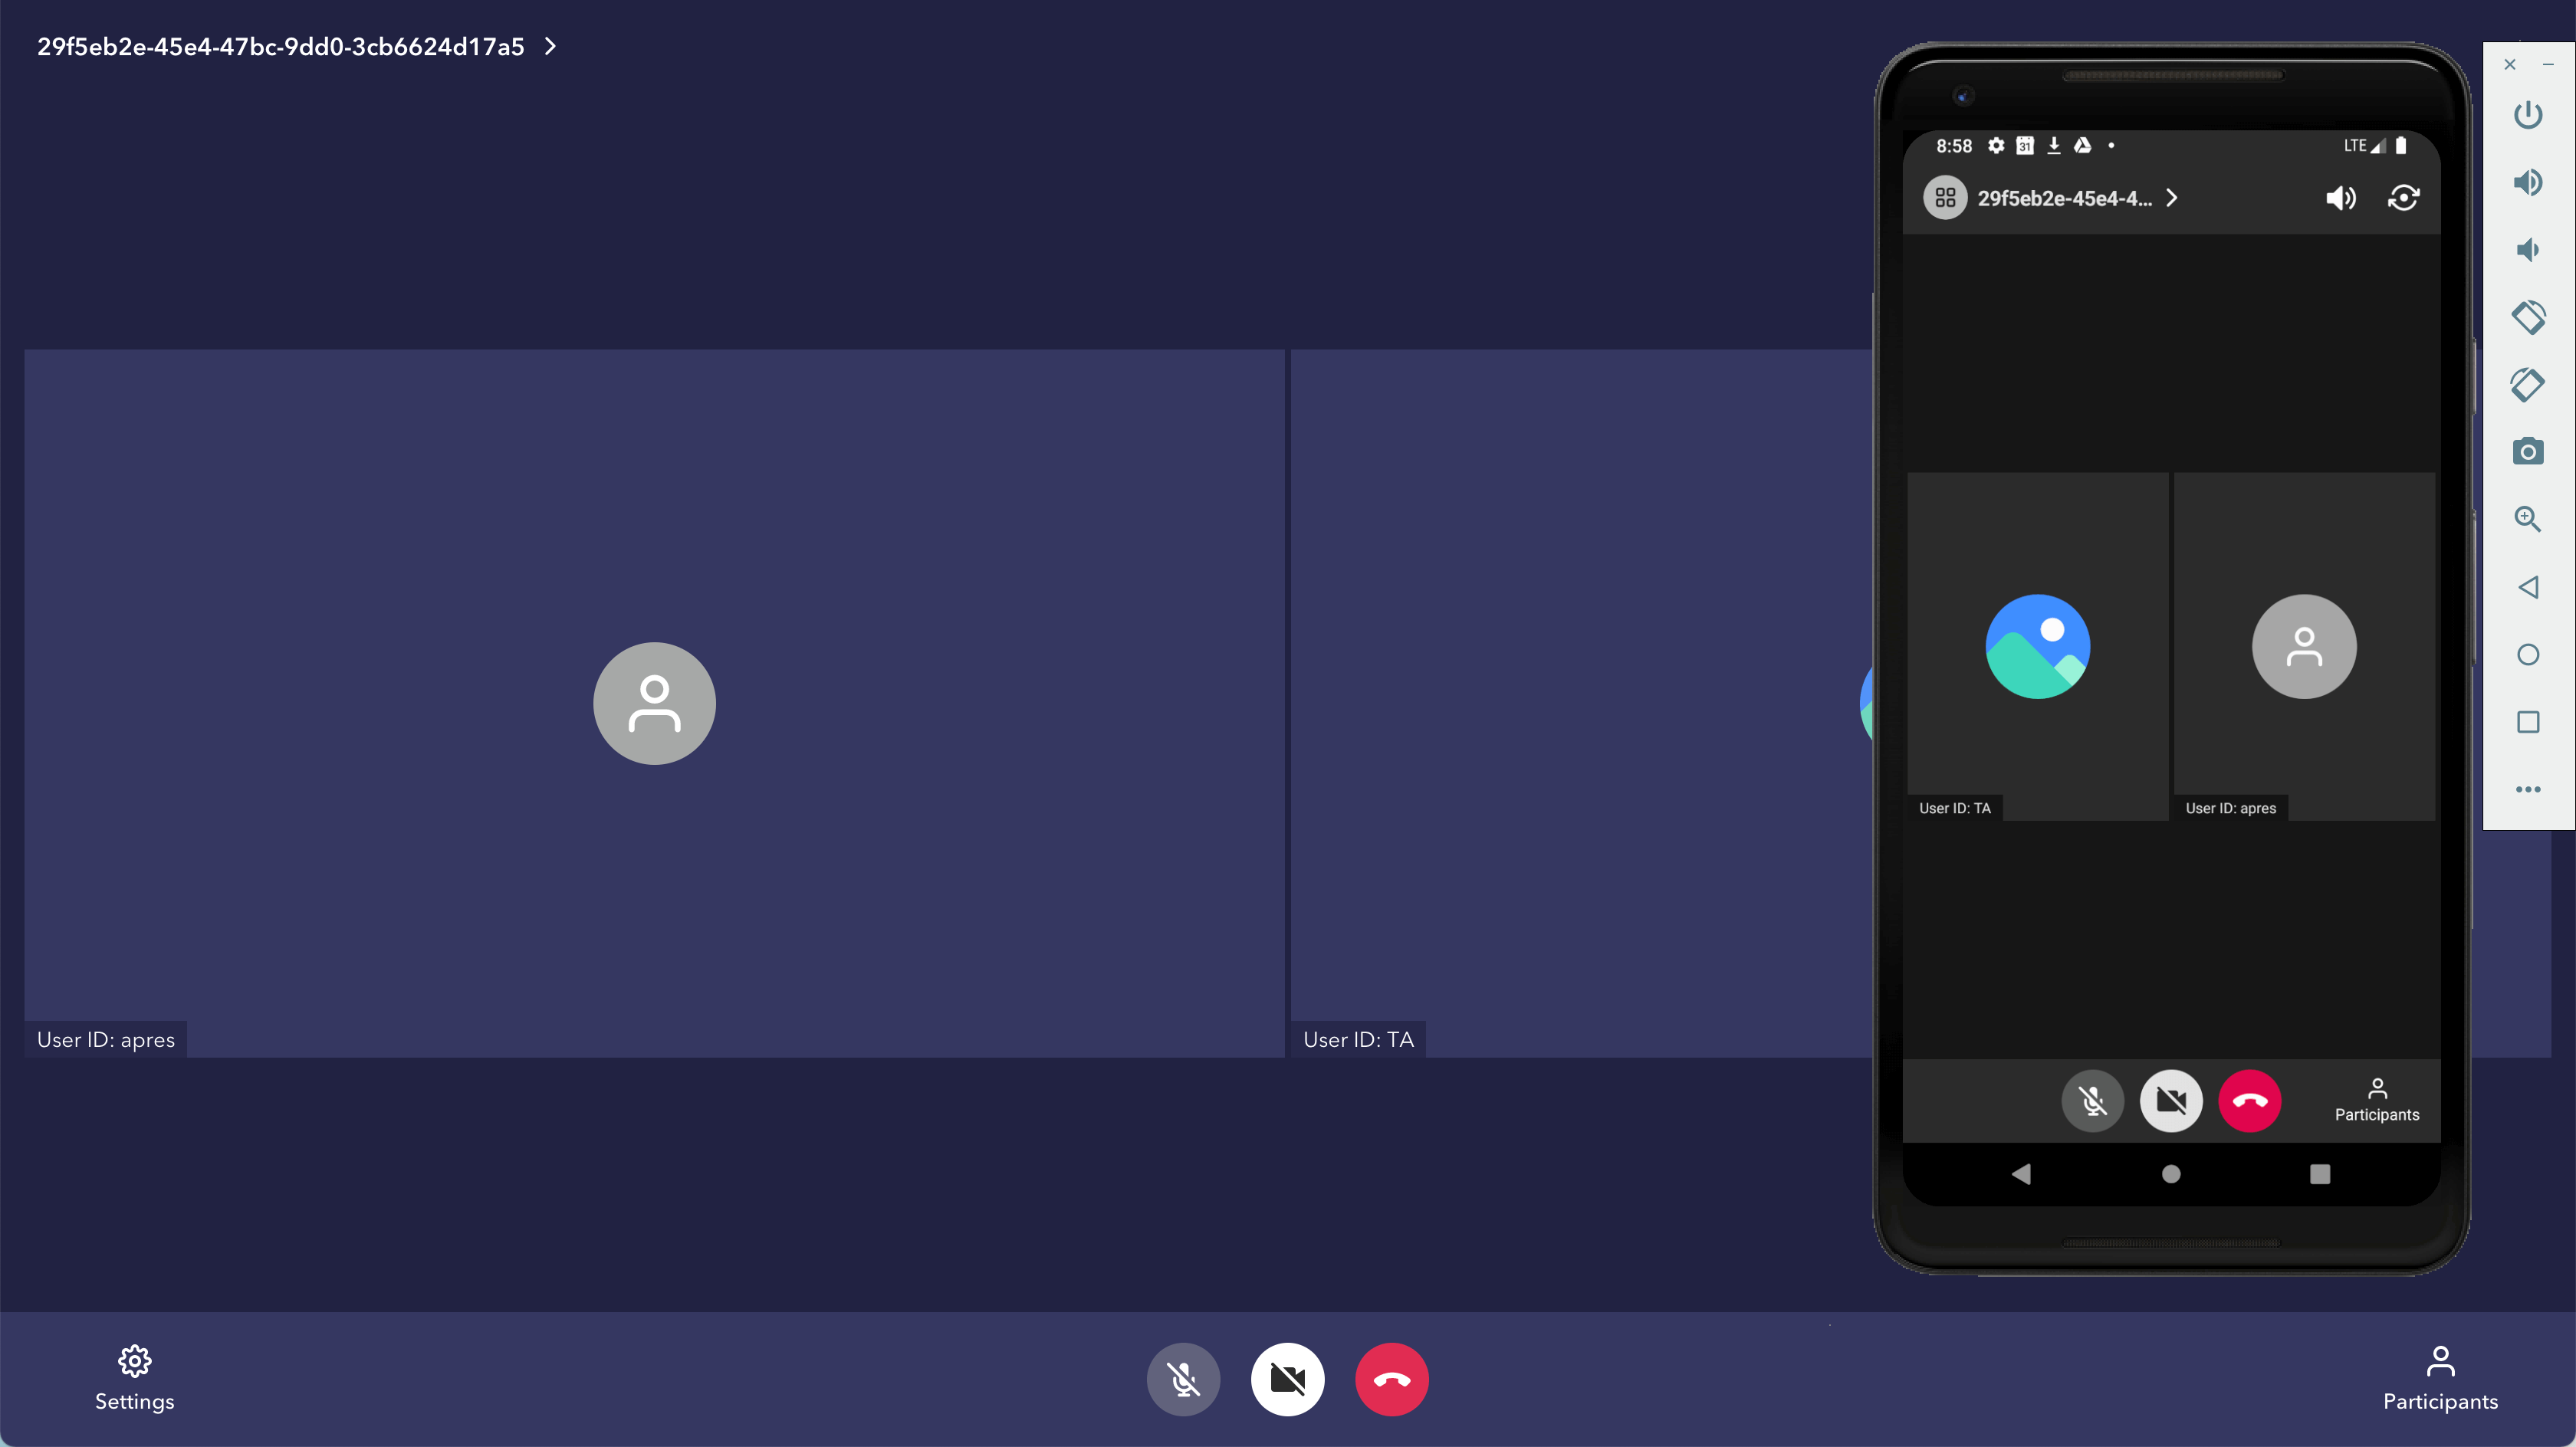
Now you have successfully entered into a call as another participant. Feel free to add more users.
Conclusion
That is it! We have covered the basic UI for group calls and highlighted the basic concepts for how group calls work. To recap, a user must either create/fetch a room and then enter the room. For additional information, please check out our Group calls documentation.


