
How to build an Android chat app with Sendbird UIKit

Introduction
The Sendbird UIKit is a set of rich, pre-built UI components, which you can use to create a modern messenger experience in your app in under 10 minutes. You can also use the Sendbird Chat SDK with your own custom UI.
This tutorial will show you how to send your first message with Sendbird. After going through this document, you will use client- and server-side code to build a communication channel to send and receive messages. This guide is for developers of all proficiency levels, although basic familiarity with Kotlin and the Sendbird UIKit will help.
To send your first message, you will need to:
- Create:
a. Sendbird account
b. Users in the Sendbird environment - Import Sendbird UIKit dependencies
- Integrate the Sendbird UIKit SDK in your application
This guide covers these steps in detail. Let’s get started!
Step 1. Create a Sendbird account
1.1 Sign up for a free Sendbird account
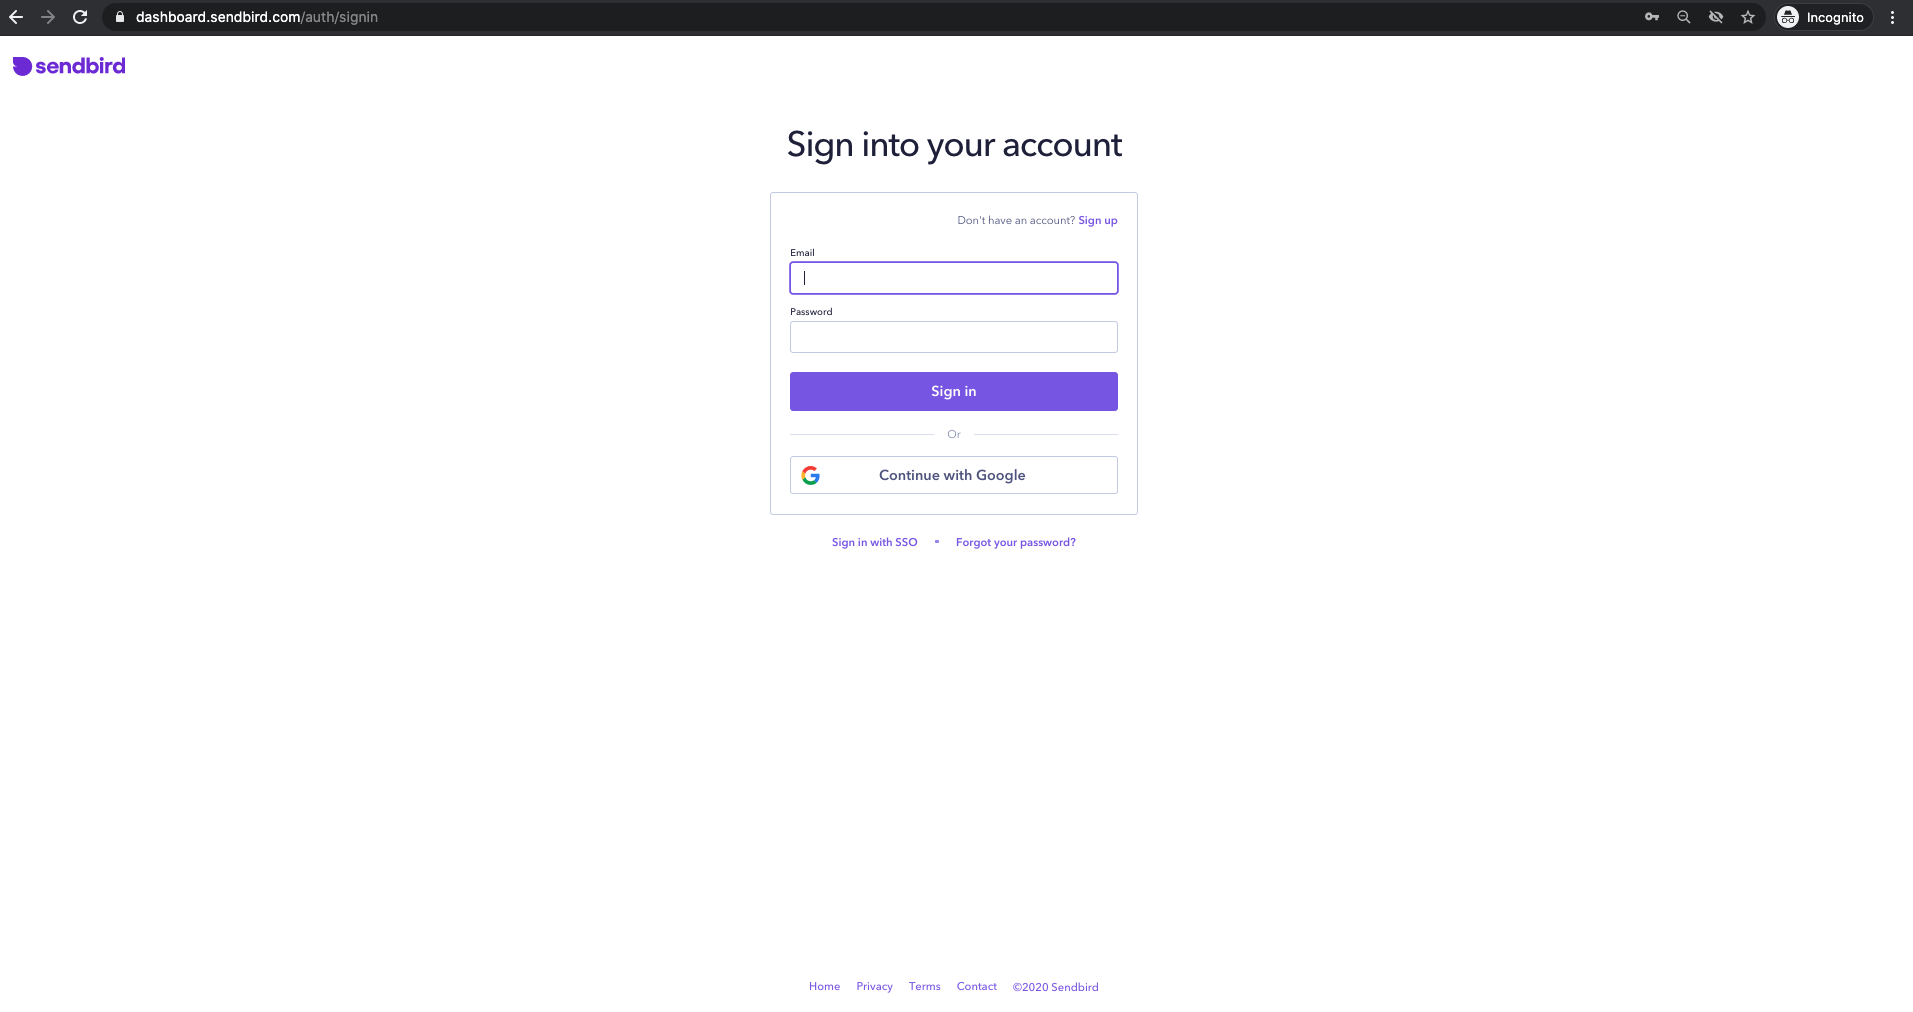
1.2 Create an account using your email address or click `Continue with Google`
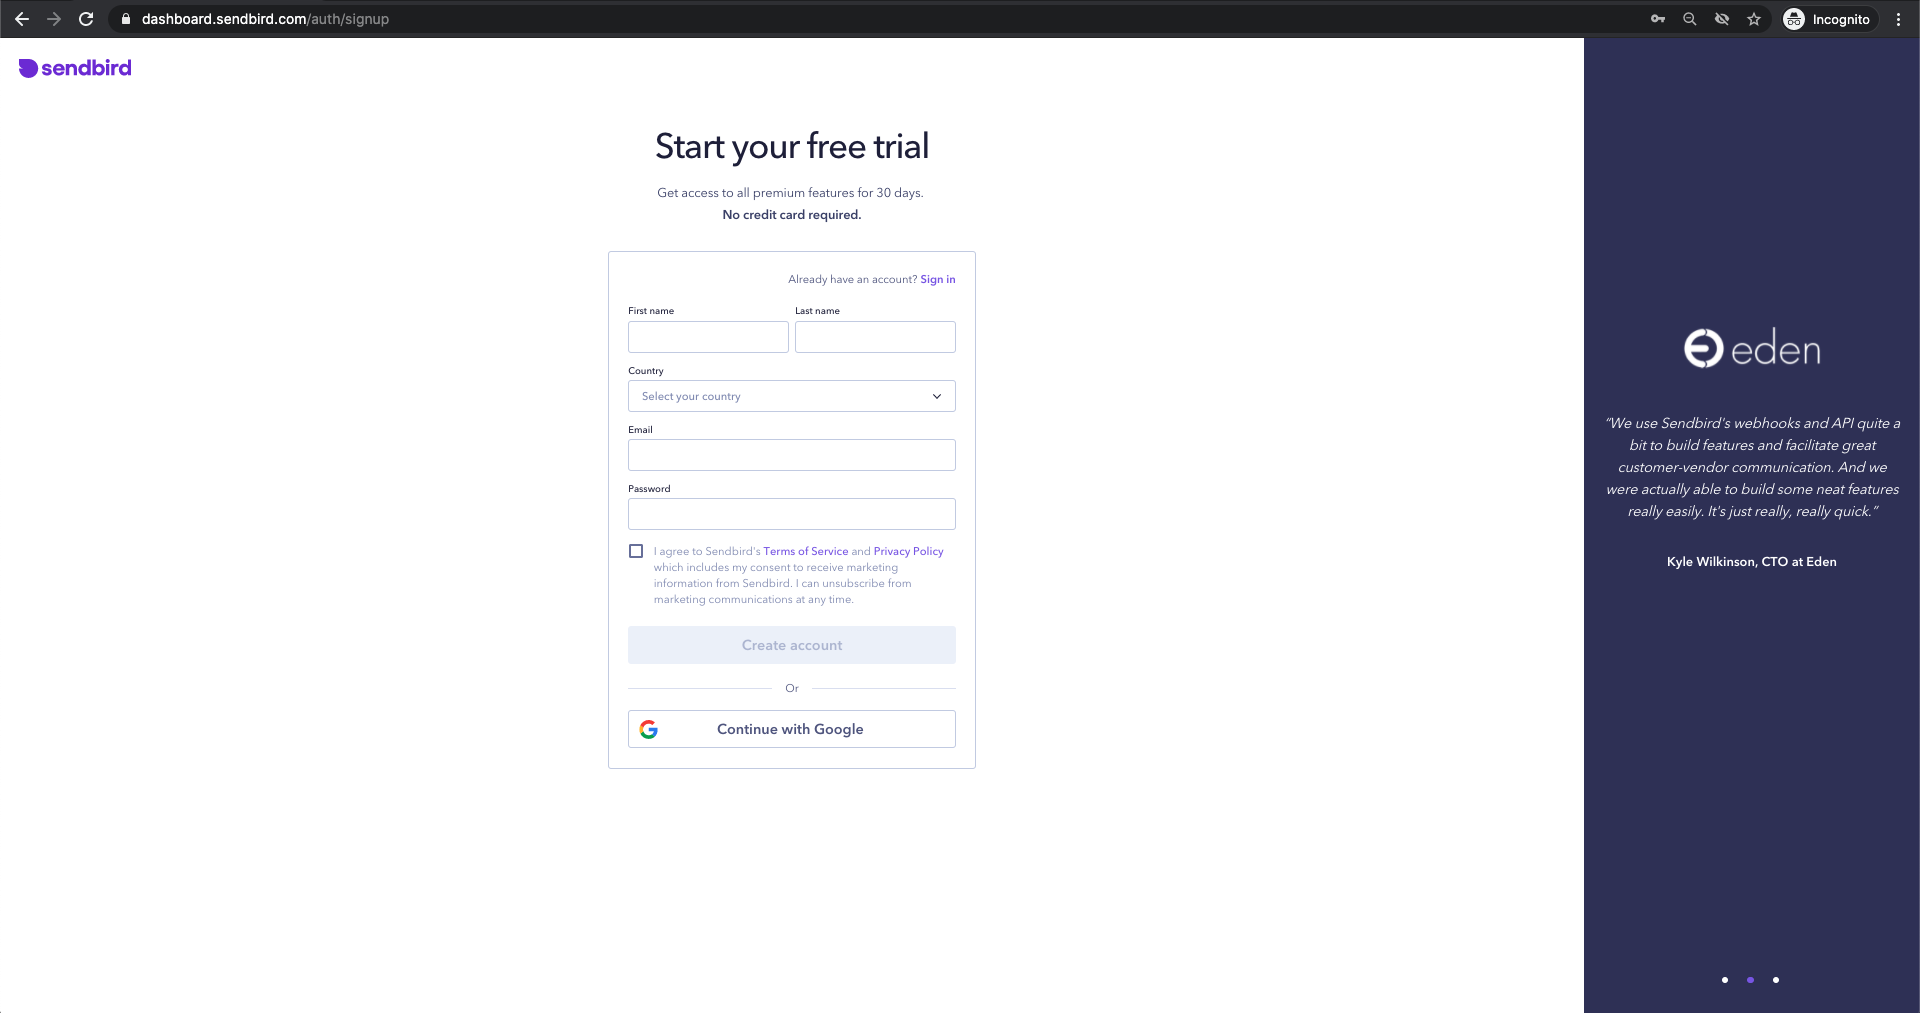
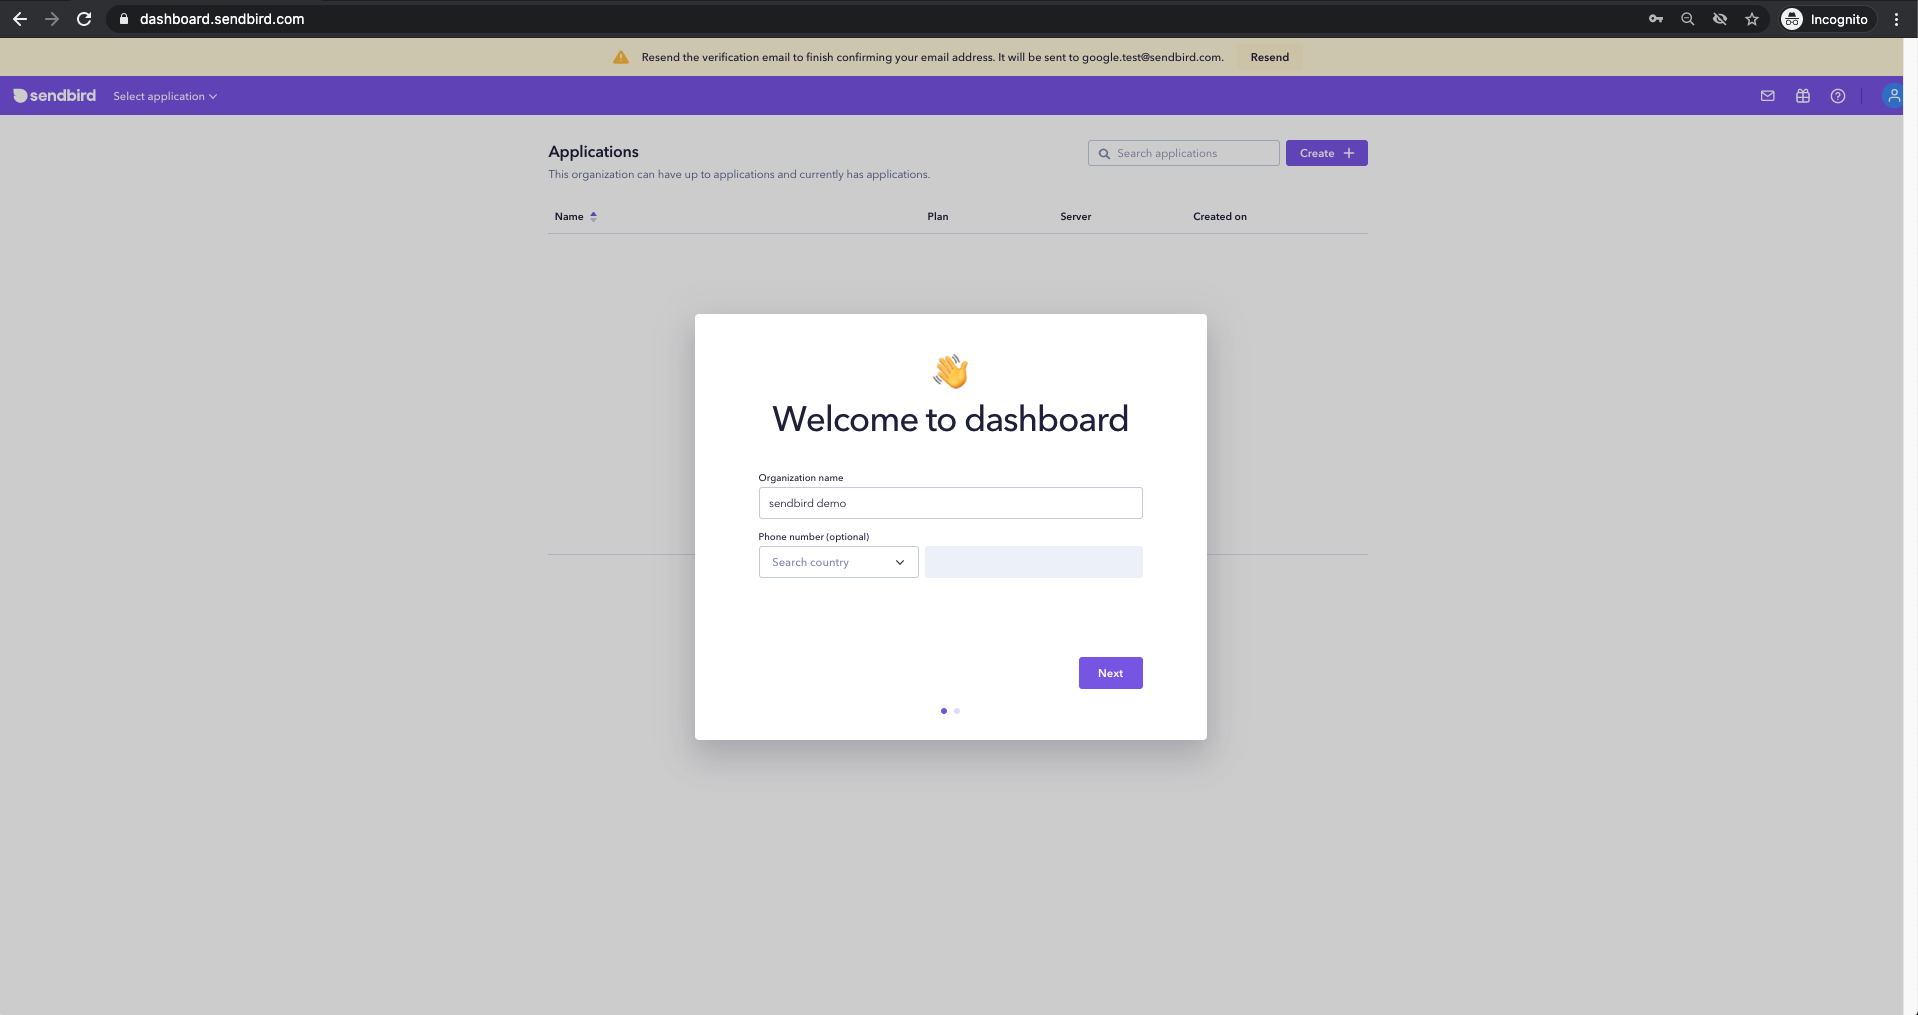
1.3 Set up your organization by entering the `Organization name` and `Phone number`

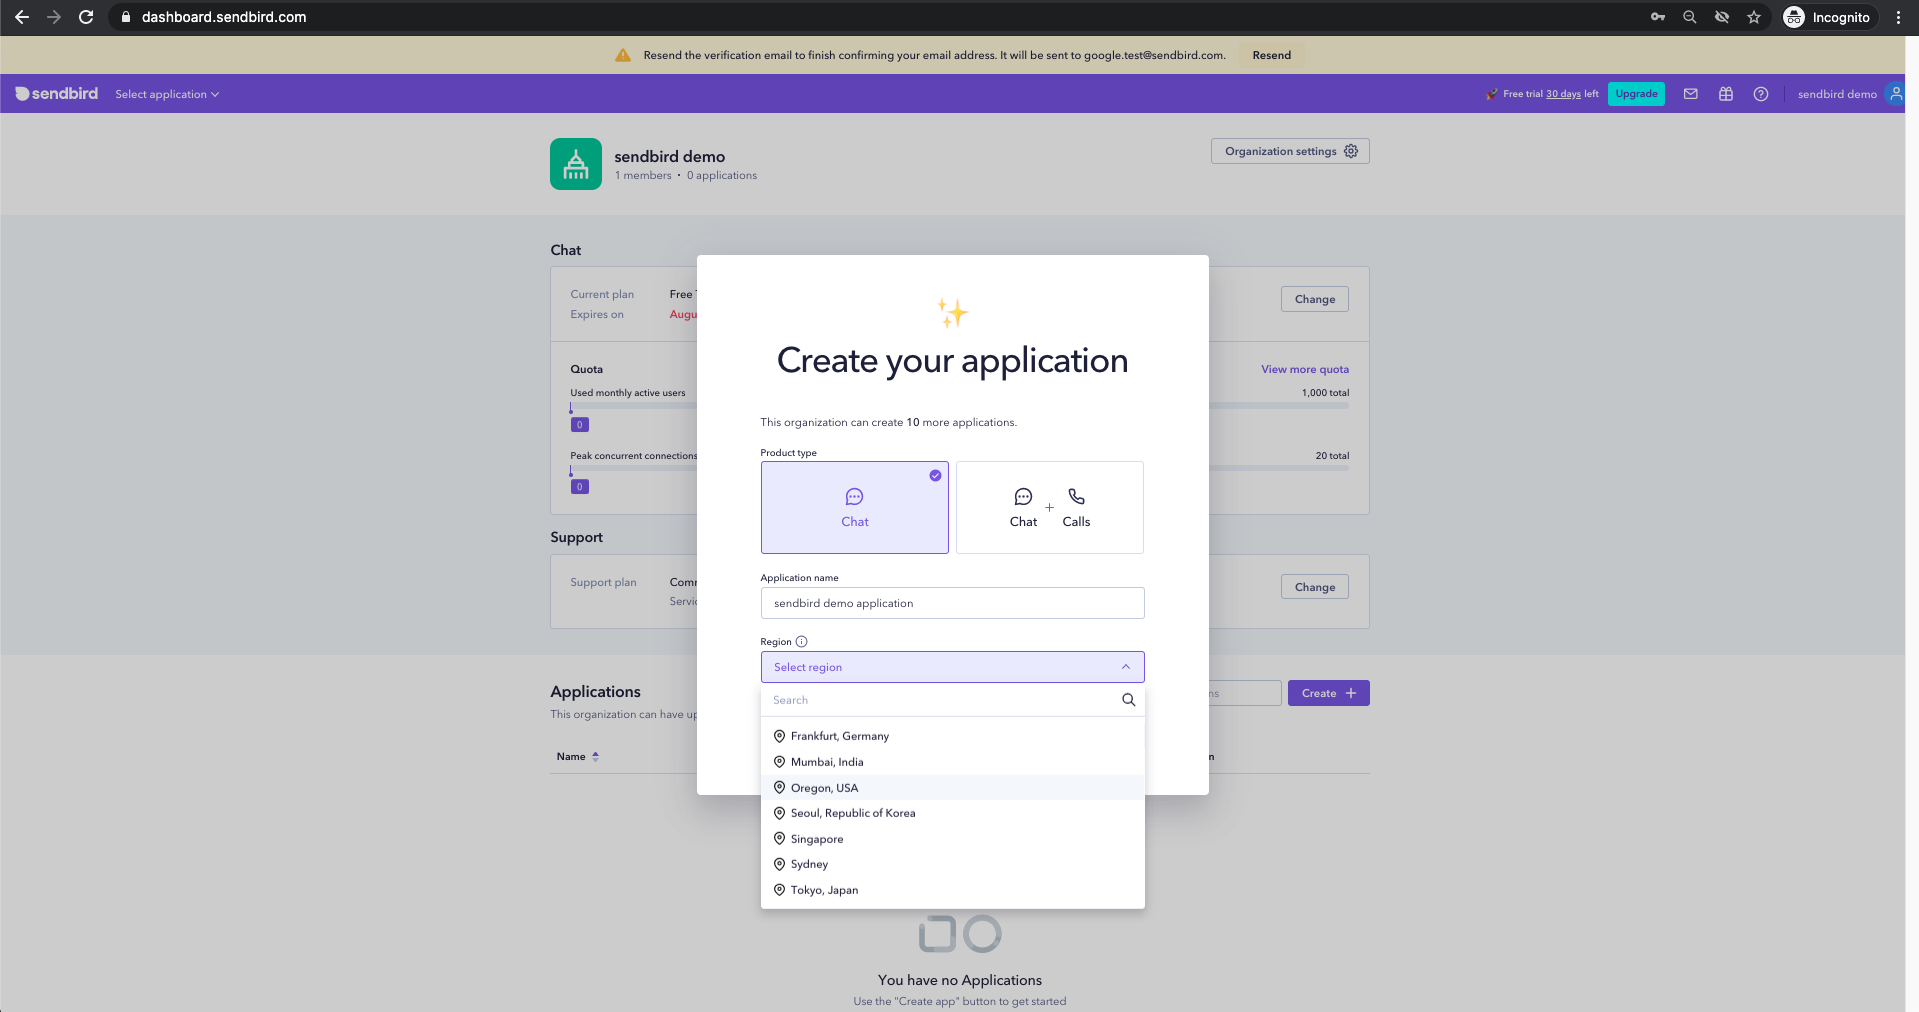
1.4 Create your Sendbird application after choosing `Product type`, as well as entering your `Application Name`, and `Region`
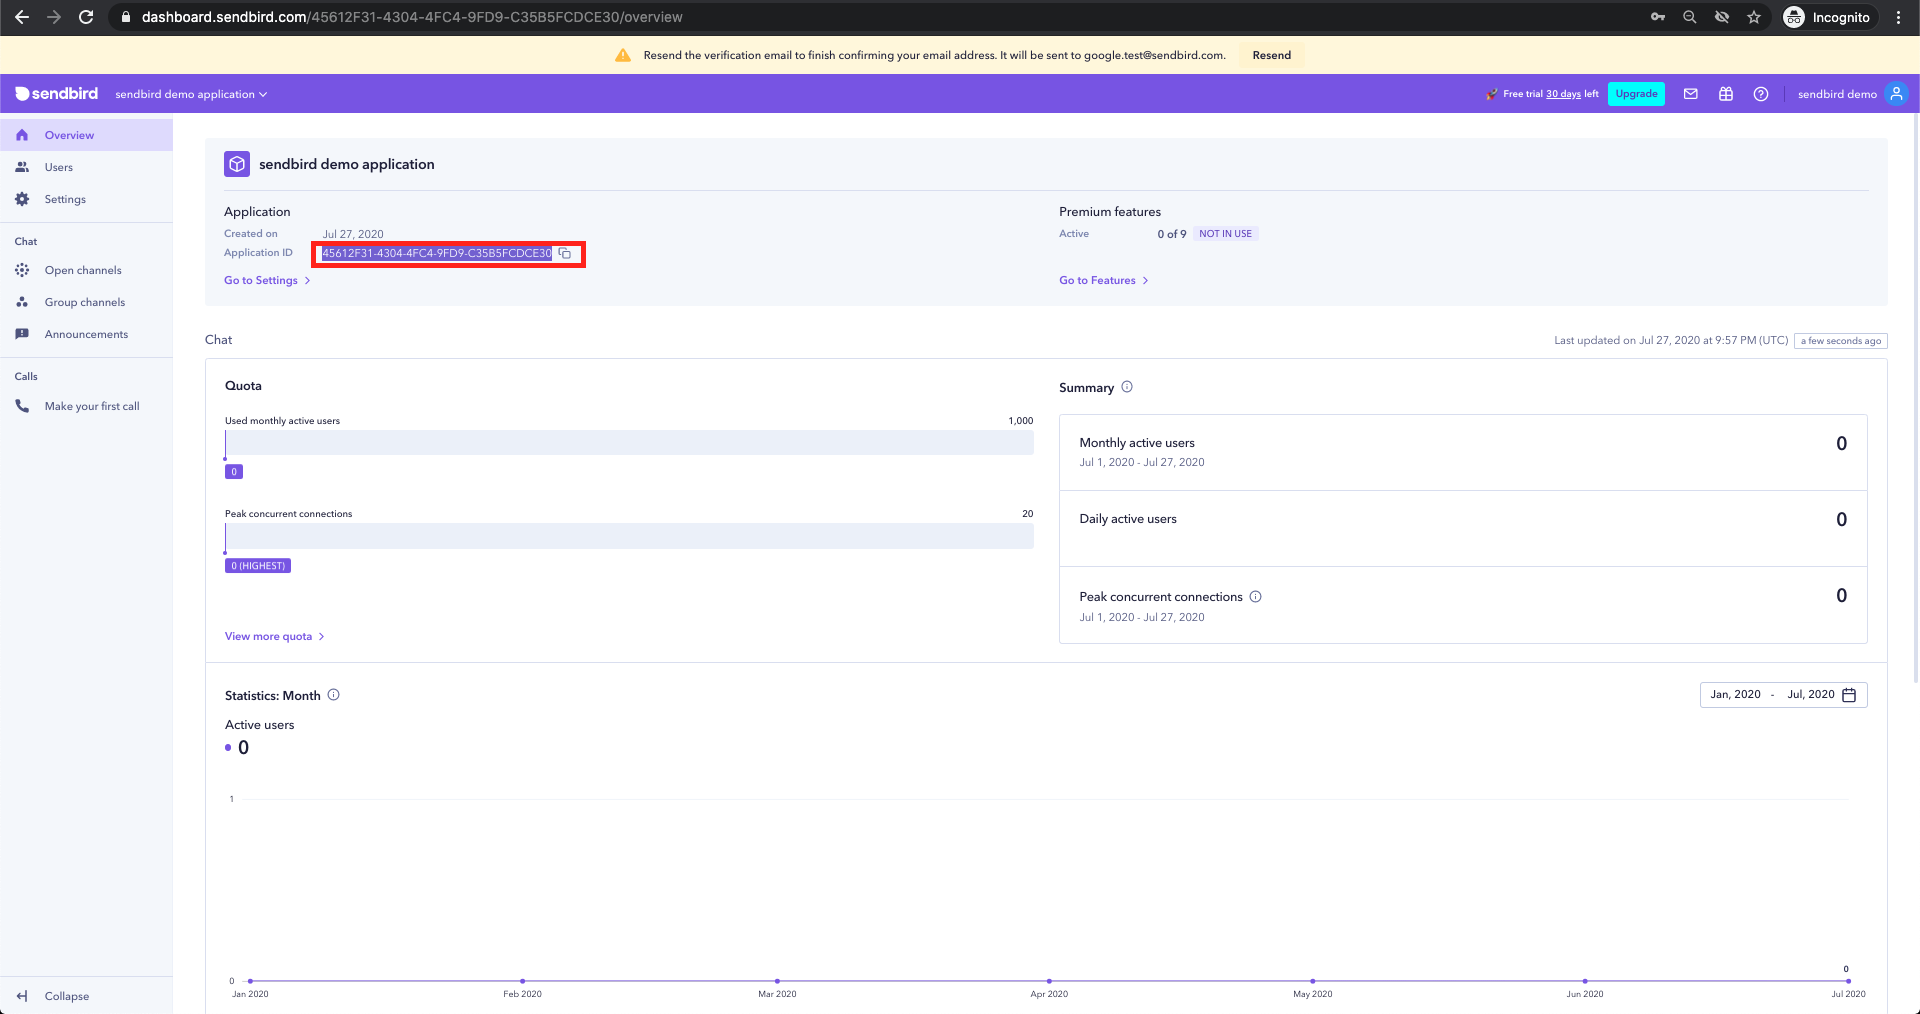
1.5 You will be directed to the main page of the Sendbird dashboard to get started with implementing the Sendbird Chat SDK and API in your product
1.6 Once you’re in, copy your unique `applicationID` from the Application section and paste it into your clipboard. This will be used when initializing the UIKit SDK in Step 4.1.
Step 2. Create users in the Sendbird dashboard
2.1 Navigate to the Users section in the left navigation of the dashboard
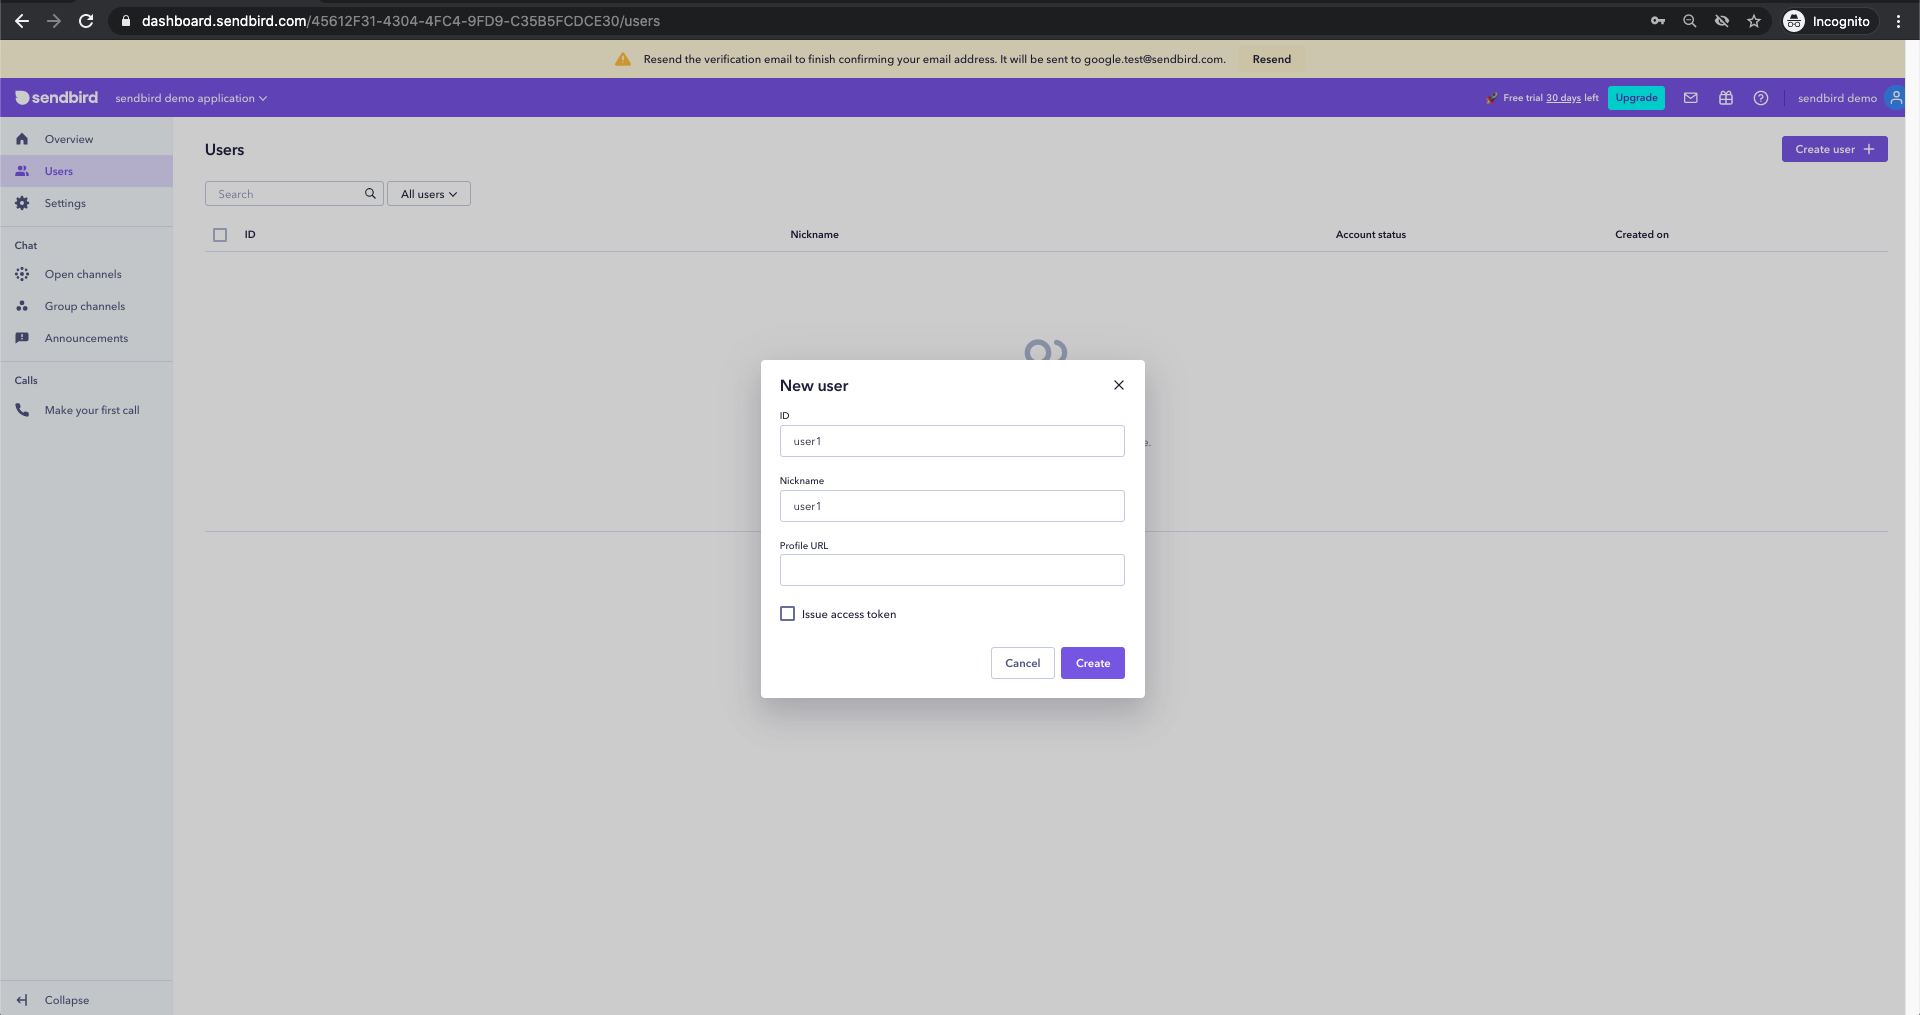
2.2 Click the `Create user +` icon on the top right
2.3 Create a new user by filling out the following fields:
– `ID`
– `Nickname`
– `Profile URL` – Optional
– `Issue access token` – Optional
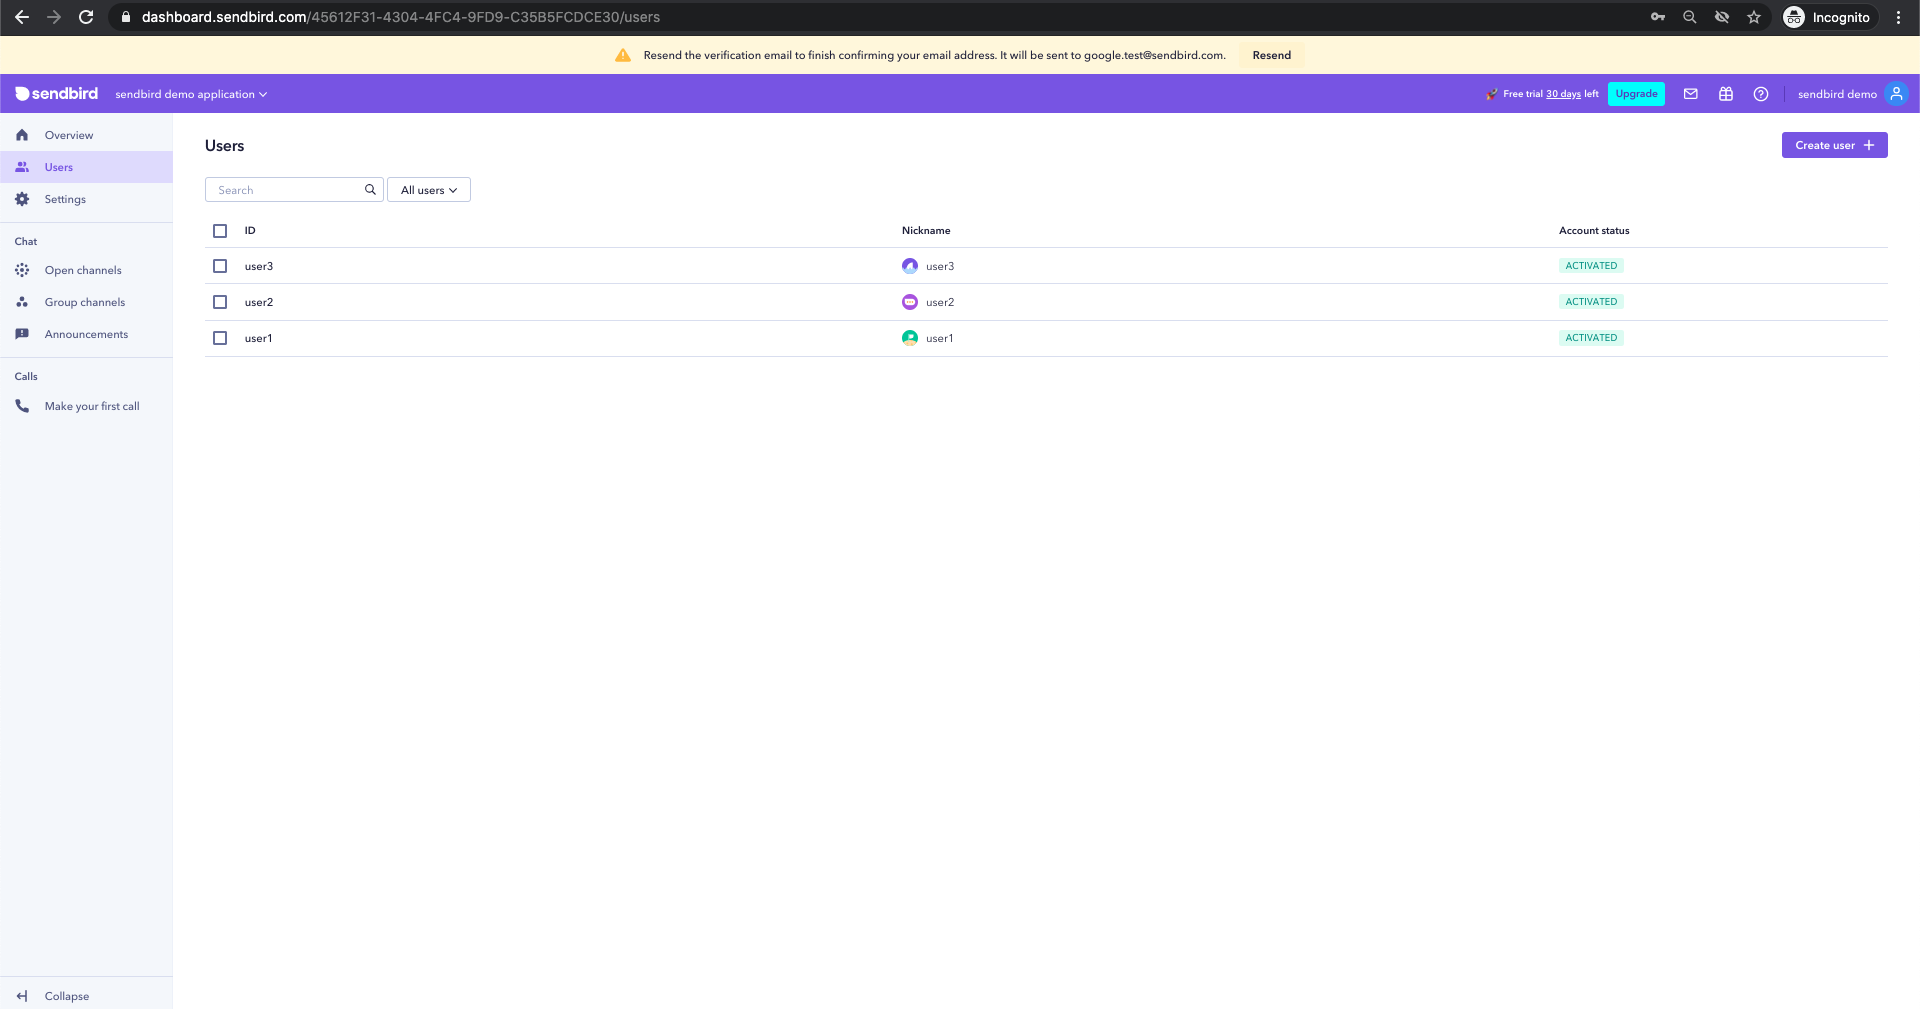
Create at least two users, to begin with, so you have users in your application that can chat with one another.
Step 3. Add the Sendbird UIKit SDK
To build our project, we will be using Android Studio as our IDE. You can create a new project or add to an existing project with little difference to what will be covered below.
3.1 Create a project
3.1.1. In the Welcome to Android Studio window, click Start a new Android Studio project
3.1.2. In the Select a Project Template window, select Empty Activity and click Next
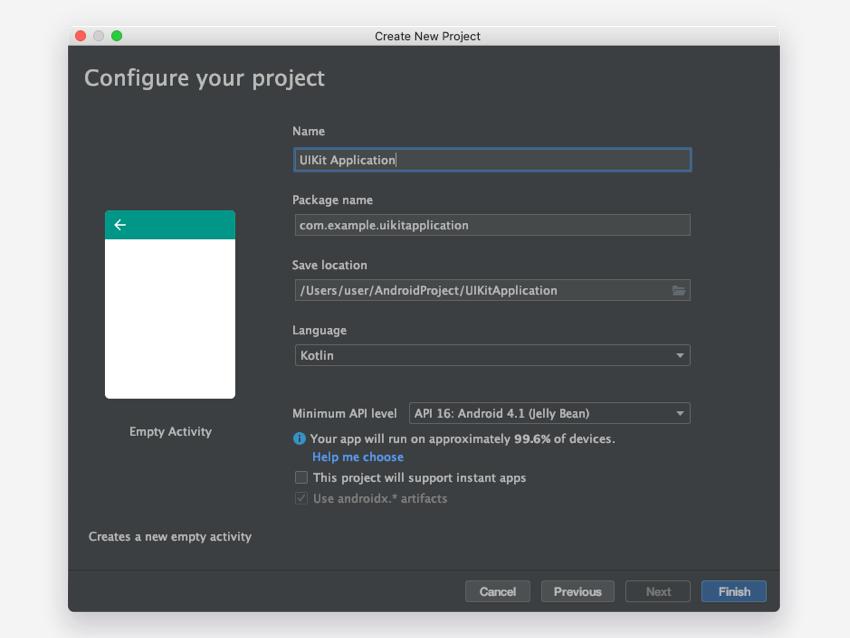
3.1.3. Enter your project name in the Name field in the Configure your project window
3.1.4. Select your language as either Java or Kotlin from the Language drop-down menu
3.1.5. Enable Use androidx.*artifacts
3.1.6. Select minimum API level as 16 or higher
3.2 Install the UIKit using Gradle
3.2.1 The UIKit for Android is installed via Gradle. Add the following to the project-level build.gradle file:
3.2.2 Then, open your app-level build.gradle file. For Java and Kotlin, add code blocks and dependencies as below and sync to apply the changes.
Step 4. Initialize the UIKit SDK
4.1 Create a class named BaseApplication, and initialize a SendBirdUIKit instance bypassing the SendBirdUIKitAdapter instance as an argument to a parameter in the SendBirdUIkit.init() method. Here you may need to use the ApplicationID you copied earlier.
4.1.1 The SendBirdUIkit.init() must be called once in the onCreate() method of the Application instance of your client app.
4.1.2 Add the created BaseApplication to the AndroidManifest.xml
4.2 ChannelListActivity
The ChannelListActivity is the starting point for launching the Sendbird UIKit in your application. With just a single line of code, the entirety of the UIKit can be implemented in your app.
Note: *You can launch the UIKit from either a Fragment or an Activity, and you do not need to extend ChannelListActivity.*
Step 5. Test your integration
5.1 Run the application on an emulator or on a plugged-in device.
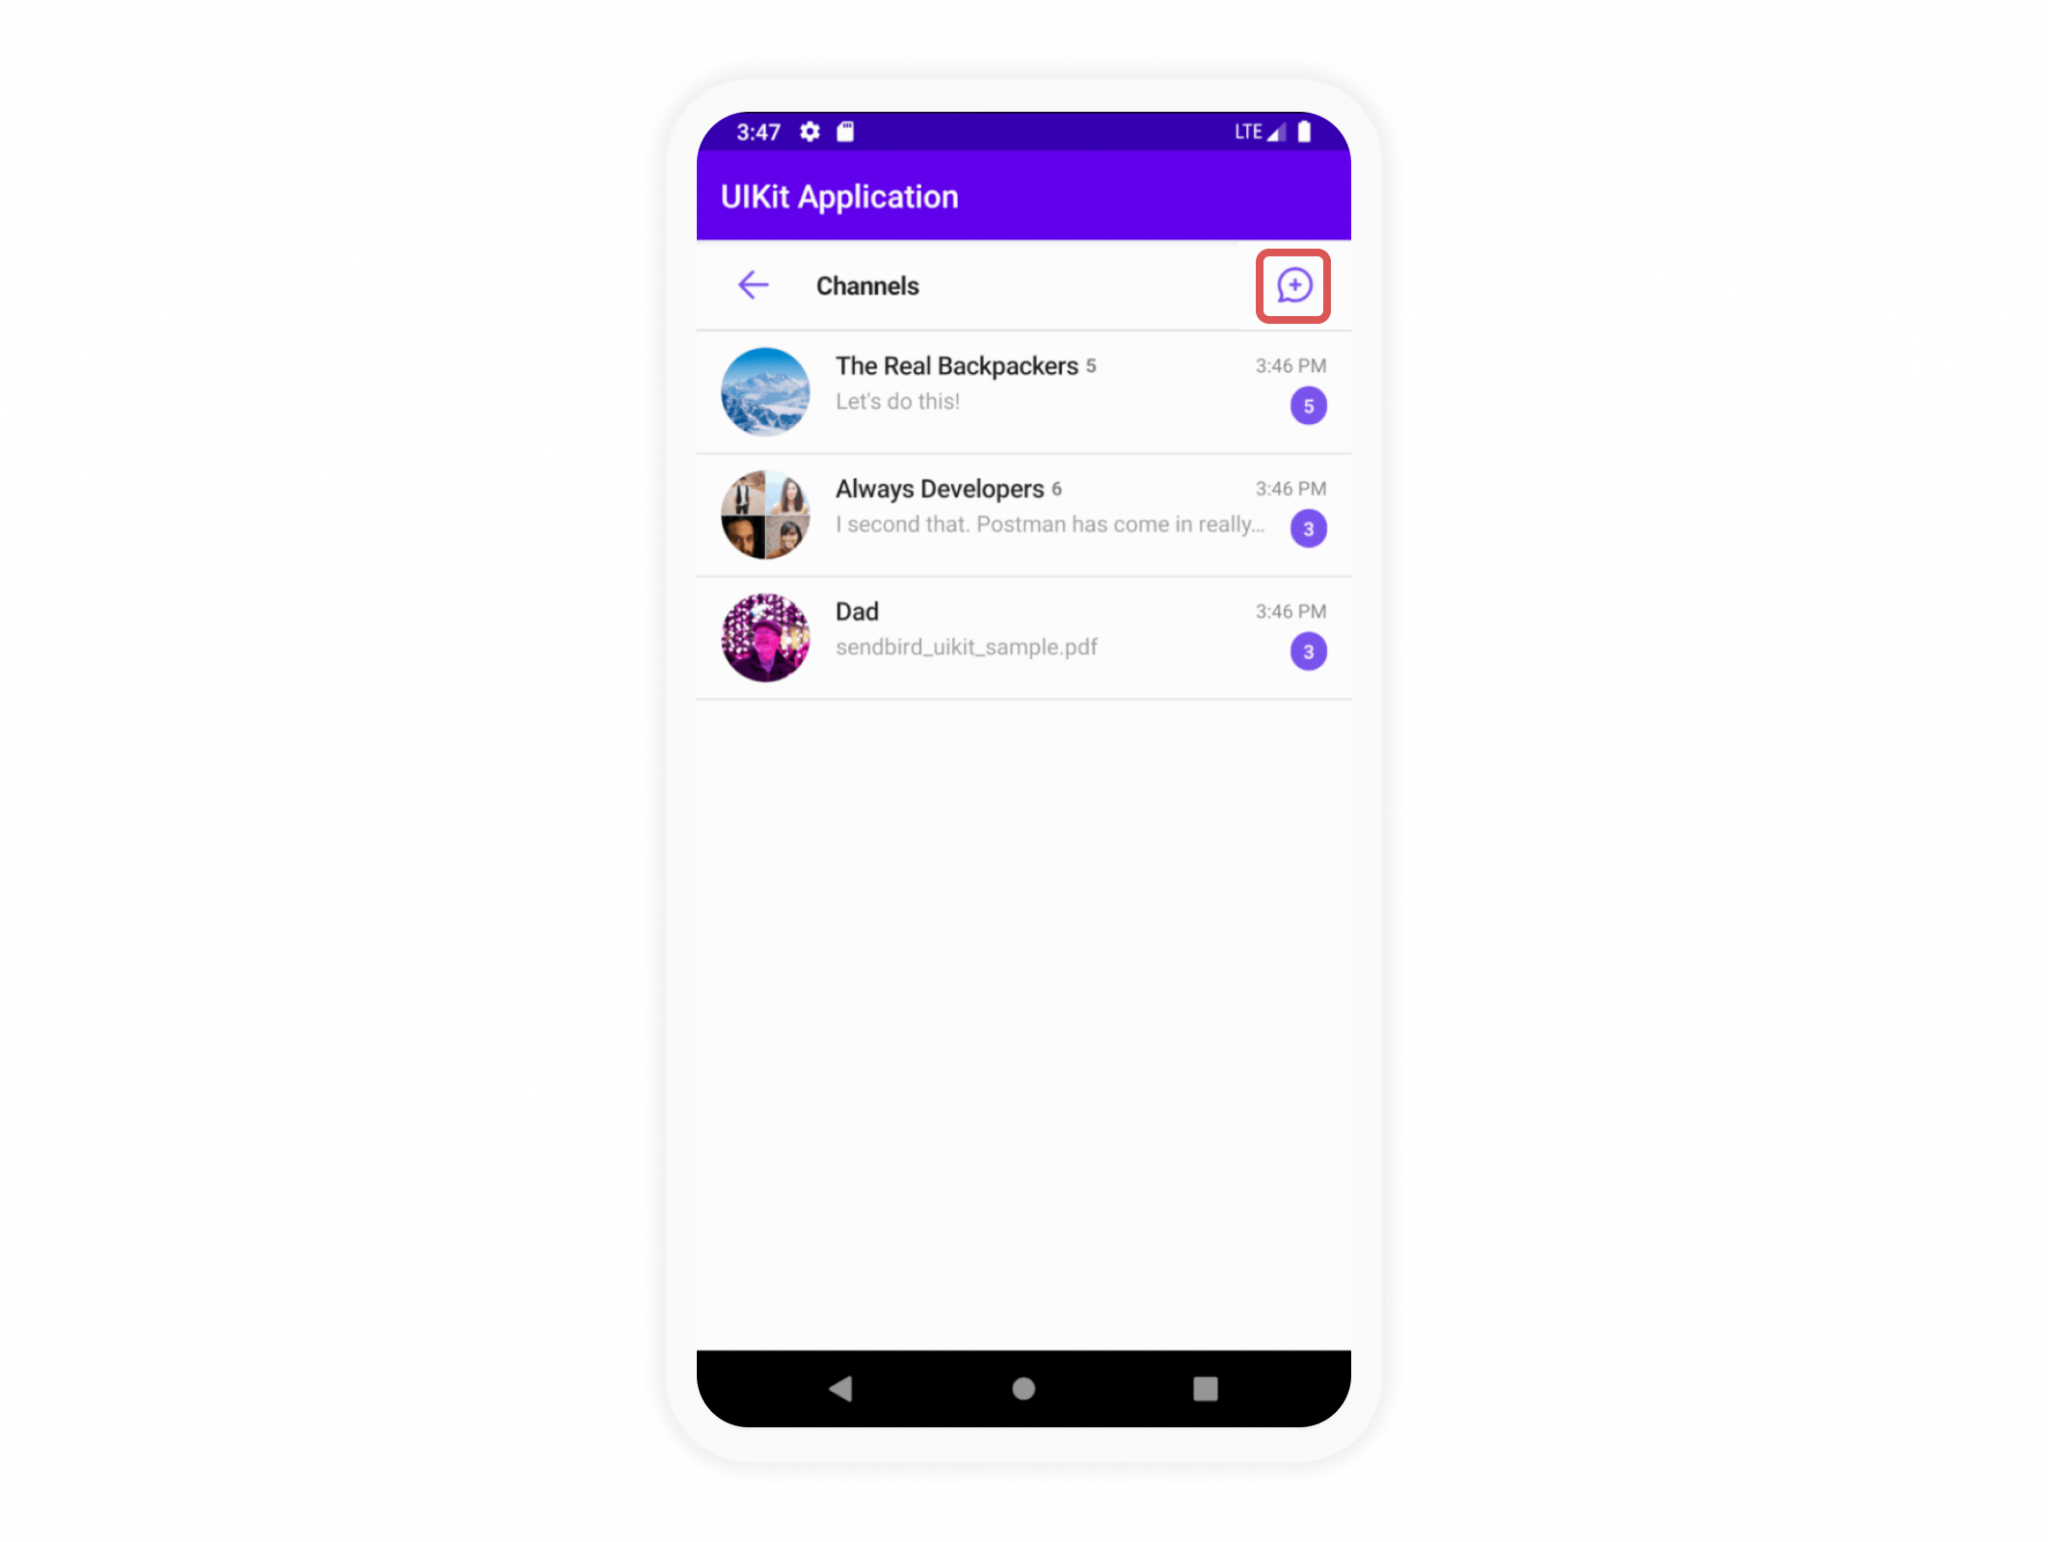
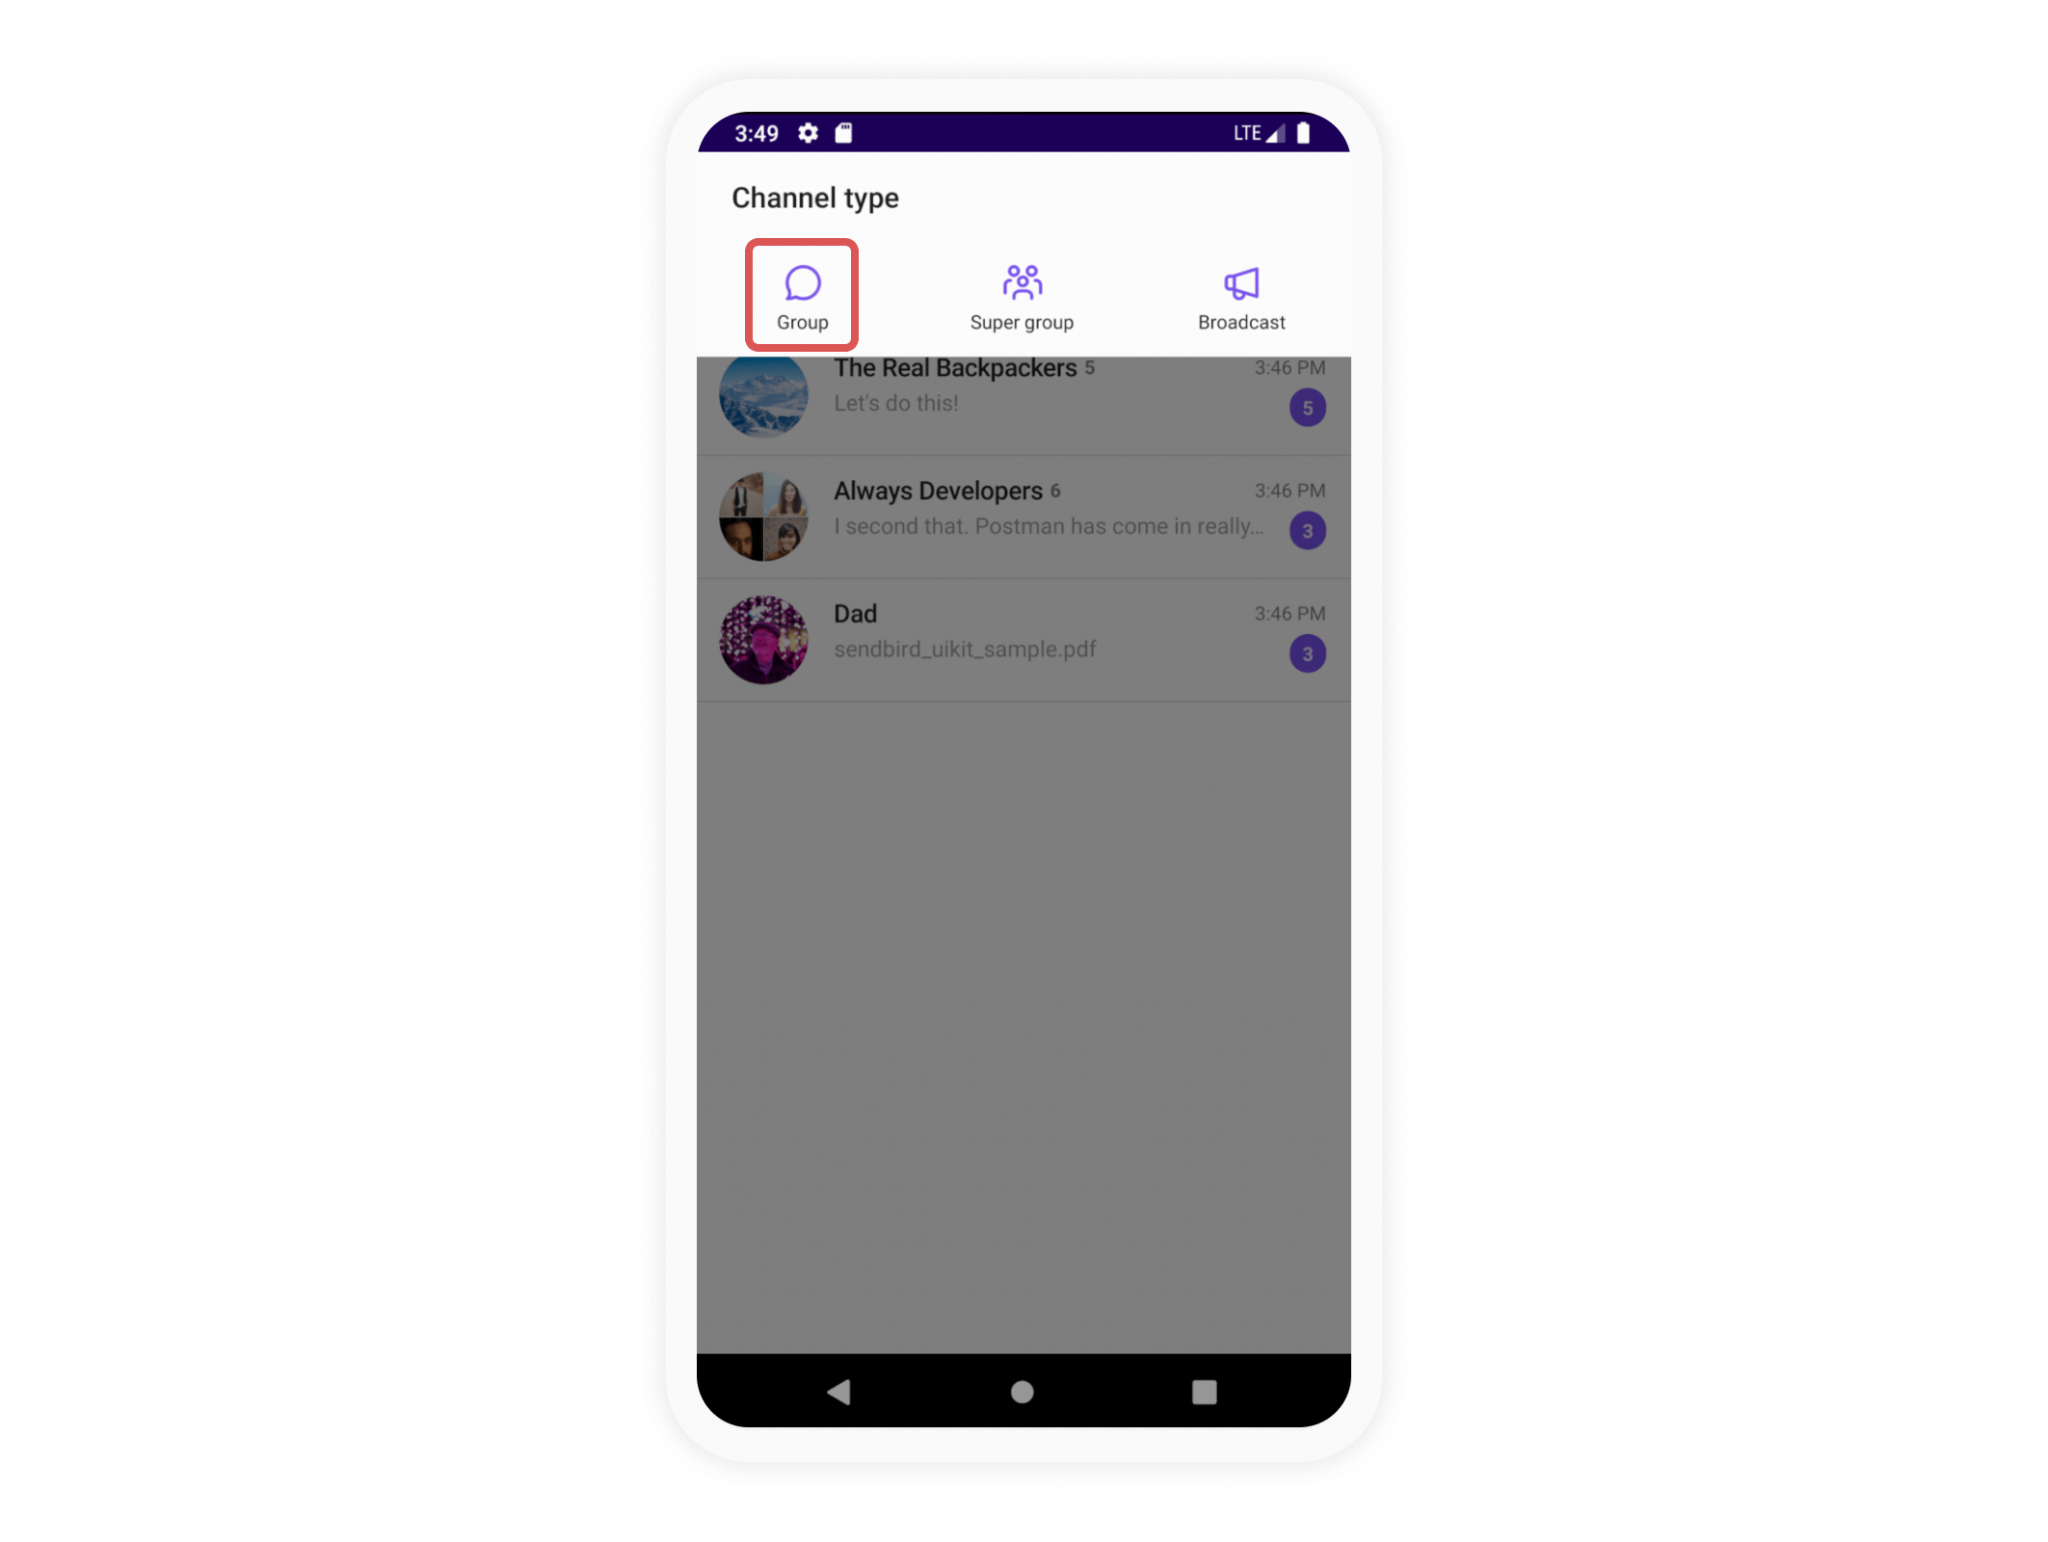
5.2 Go ahead and create a channel as shown below.
5.2.1. Add users
5.2.2. Click the create button

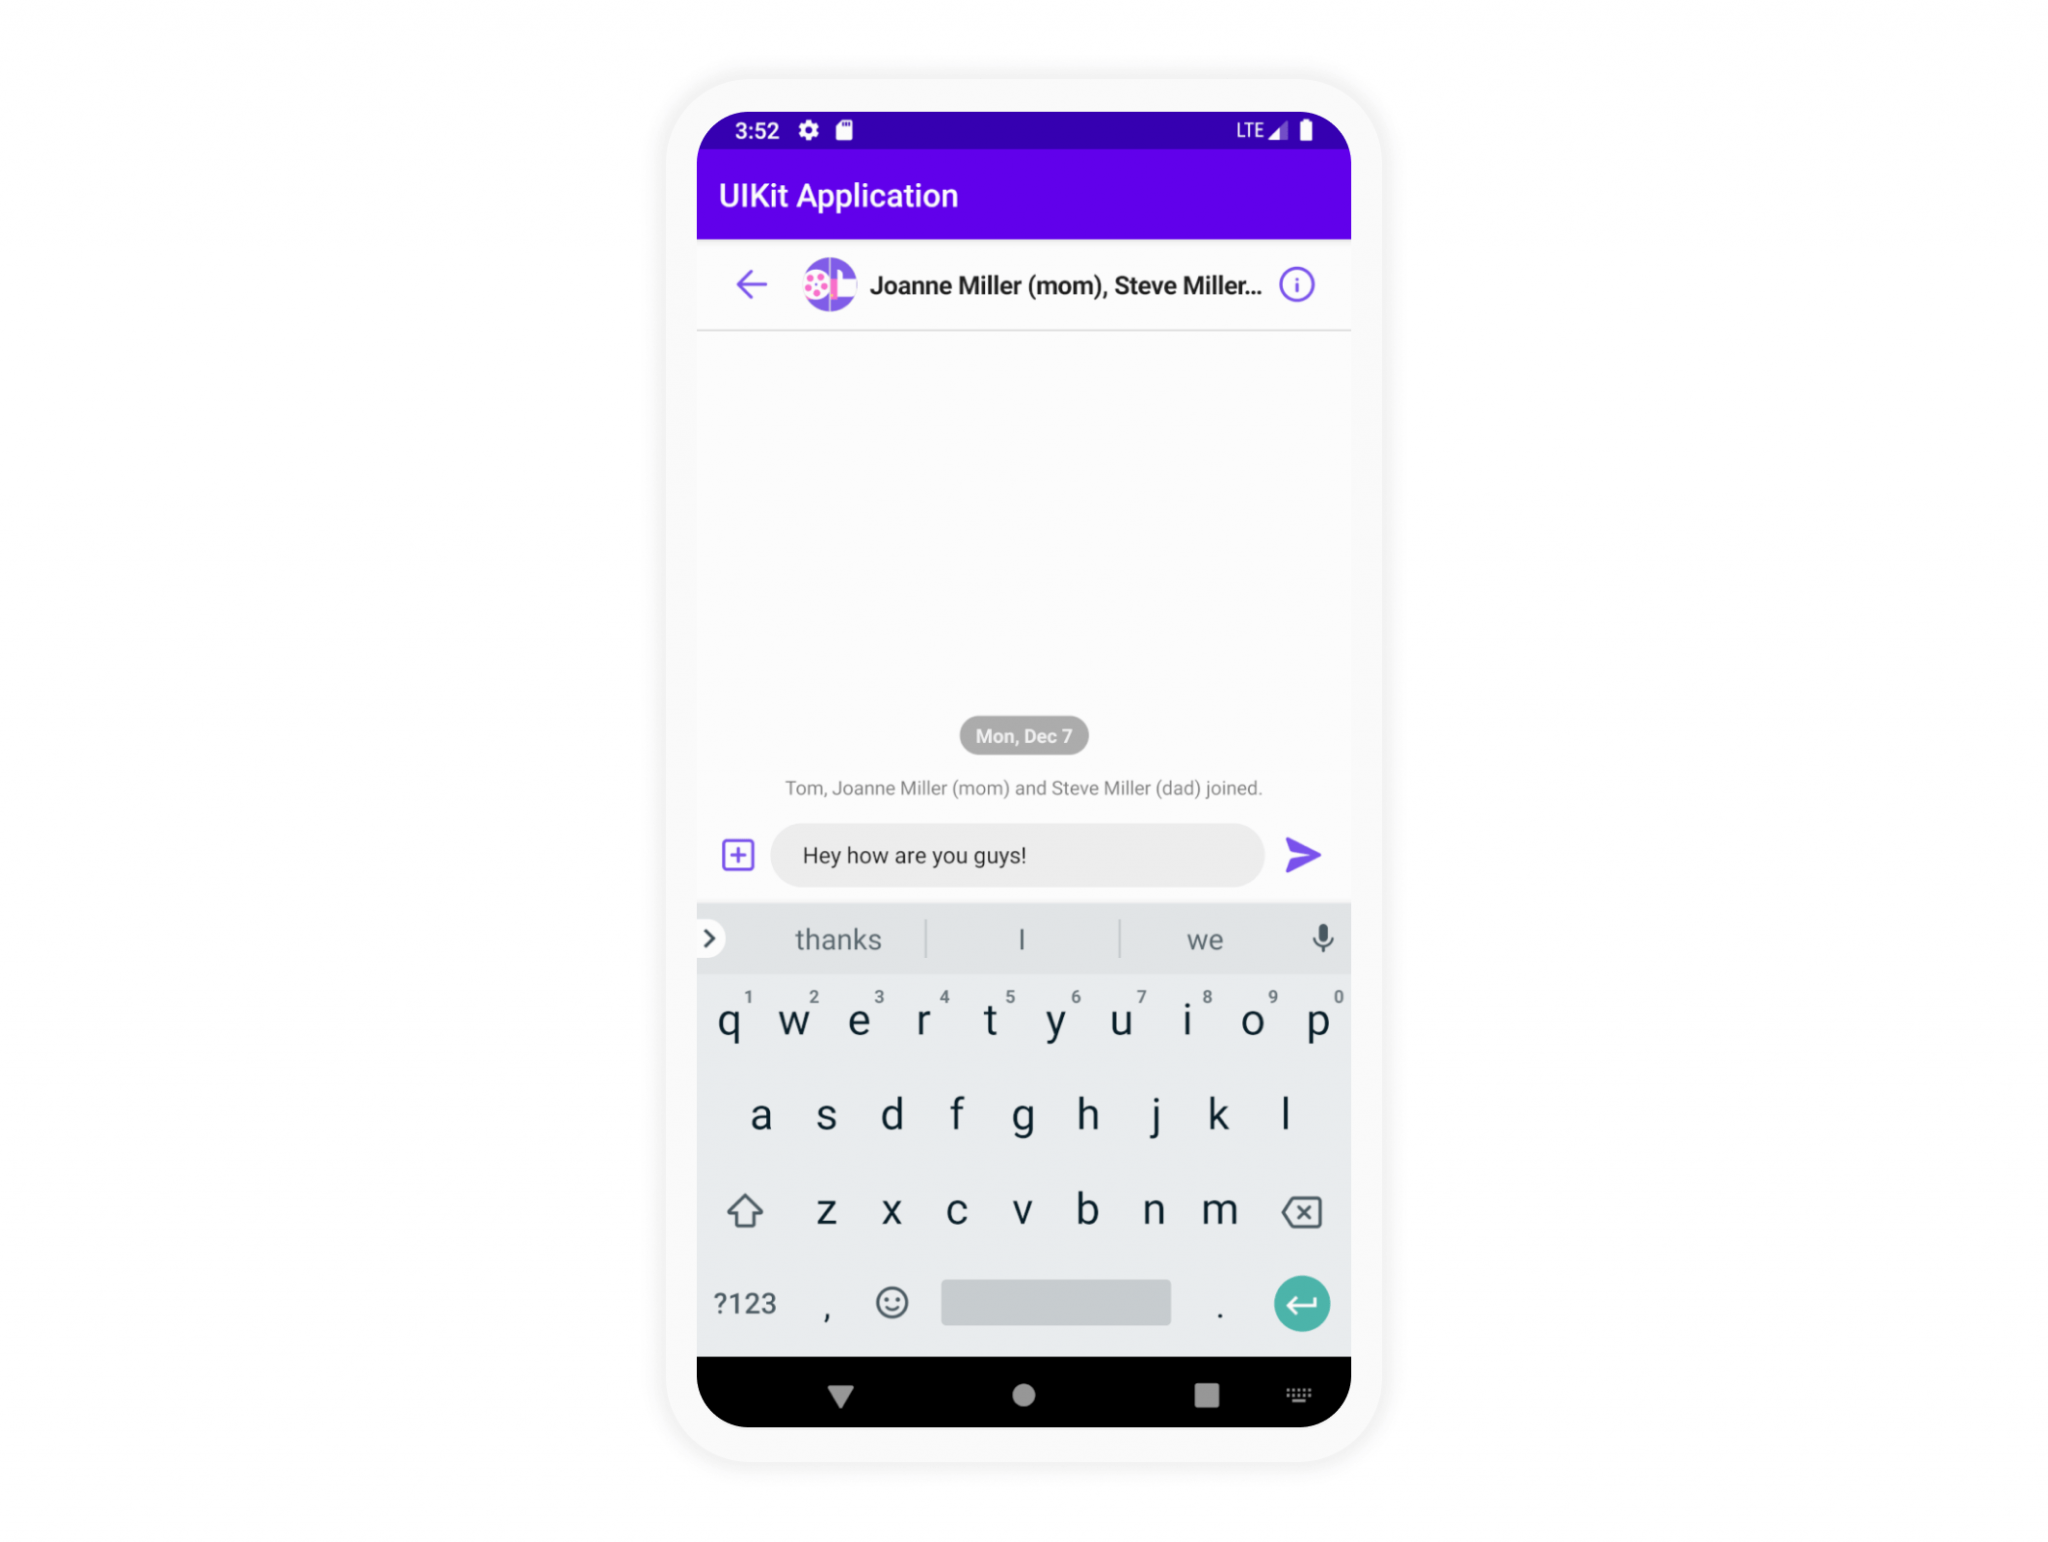
5.3 Send your first message
Try typing a message and hit send. You should be able to successfully send your first message in the newly built chat in your application.
Conclusion
Congratulations! You are ready to send and receive messages from your Android app with Sendbird. You are on your way to building a excellent and engaging app!
Happy chat building! 🙂


