How to implement chatbots with Sendbird and Google Dialogflow

Building an AI chatbot using Dialogflow
This tutorial will explain how to use the Sendbird API for Bots to receive a message from any channel, send it to Dialogflow, and respond.
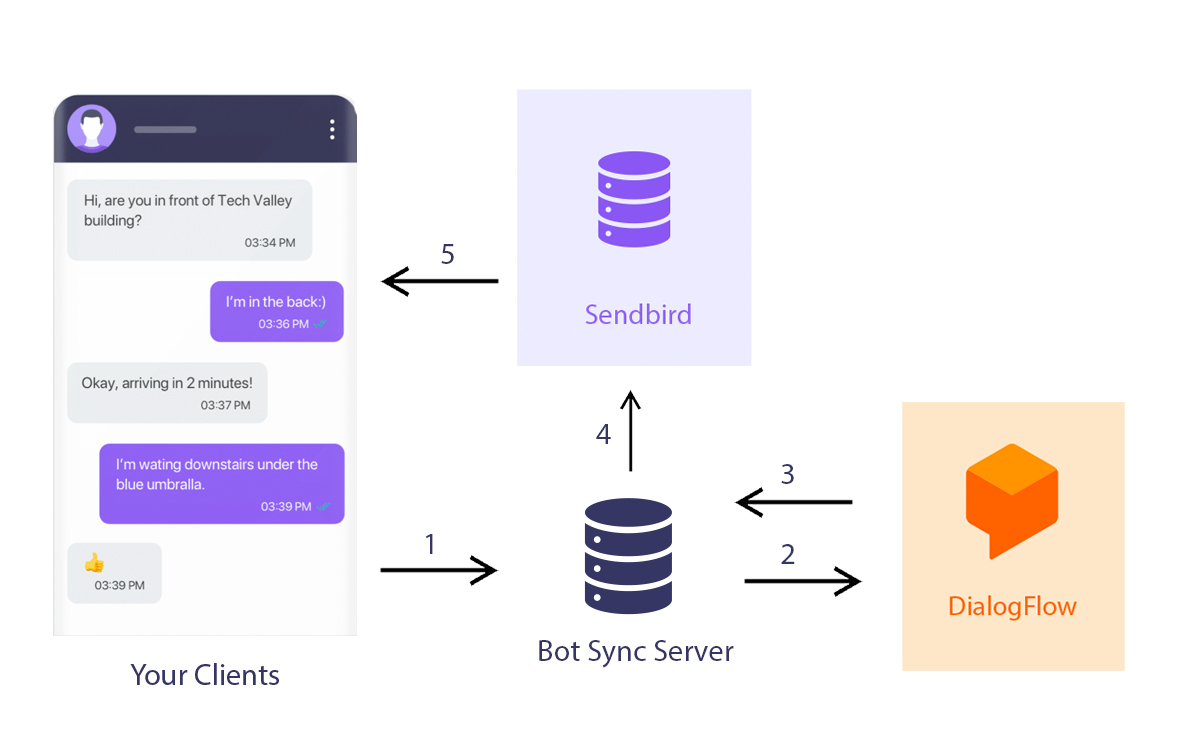
By the end of this tutorial, you will understand how to build the entire flow in the architecture diagram above. This flow consists of the following steps:
- The client sends a message to the Sendbird Bot Sync Server.
- From the Sendbird Bot Sync Server, we send the message to Dialogflow using the Dialogflow APIs for NodeJS.
- Dialogflow will process this message and activate Agents & Intents to give a response to the client.
- The Bot Sync Server will receive this message and send it to Sendbird using Sendbird’s Bots API.
- Finally, Sendbird will deliver this message to the user’s chat.
For this tutorial, you will need:
- A Sendbird account with the Bot feature enabled
- NodeJS (with express) to build our Bot Sync Server
- A Dialogflow account
Sendbird and Dialogflow are mandatory, but you can replace NodeJS with any other server platform/language you like. In this tutorial, we have used the words ‘chatbot’ and ‘bot’ interchangeably – remember that they mean the same thing.
This tutorial assumes familiarity with NodeJS since this is what we use in our example. Remember that a good understanding of chatbot building will help you best use this tutorial.
What is Dialogflow?
Dialogflow is a natural language understanding platform to design and integrate conversational user interfaces into mobile apps, web applications, devices, bots, interactive voice response systems, and more. It was developed by Google and provides tools to developers to build chatbots and other conversational applications.
Dialogflow works by processing user inputs in natural language, understanding the intent behind the inputs, and providing appropriate responses based on the recognized intent. It supports multiple languages and integrates with many Google services and APIs, including Google Assistant, offering features like speech-to-text recognition.
Developers can create conversational scenarios within Dialogflow, defining "intents" that correspond to user motives and "entities" that are relevant data items that can be extracted from the conversation. Dialogflow uses machine learning to analyze and match user inputs to the correct intent and to handle variations in phrasing, improving its accuracy over time with more interactions.
This tool is particularly useful for creating sophisticated and natural chatbot experiences where understanding user intent and context is crucial. Dialogflow's capabilities allow for a relatively easy setup of complex conversational flows compared to traditional rule-based systems.
With this in mind, let’s get started.
Step 1. Dialogflow configuration
First, we need to configure Dialogflow. We will start from scratch and detail each of the steps to go through, including how to:
- Log in to Dialogflow with your Google account
- Create a new agent
- Get your credentials
- Save your project ID
- Save your credentials
- Create a service account
- Select permission & role
1.1. Login to Dialogflow with your Google account
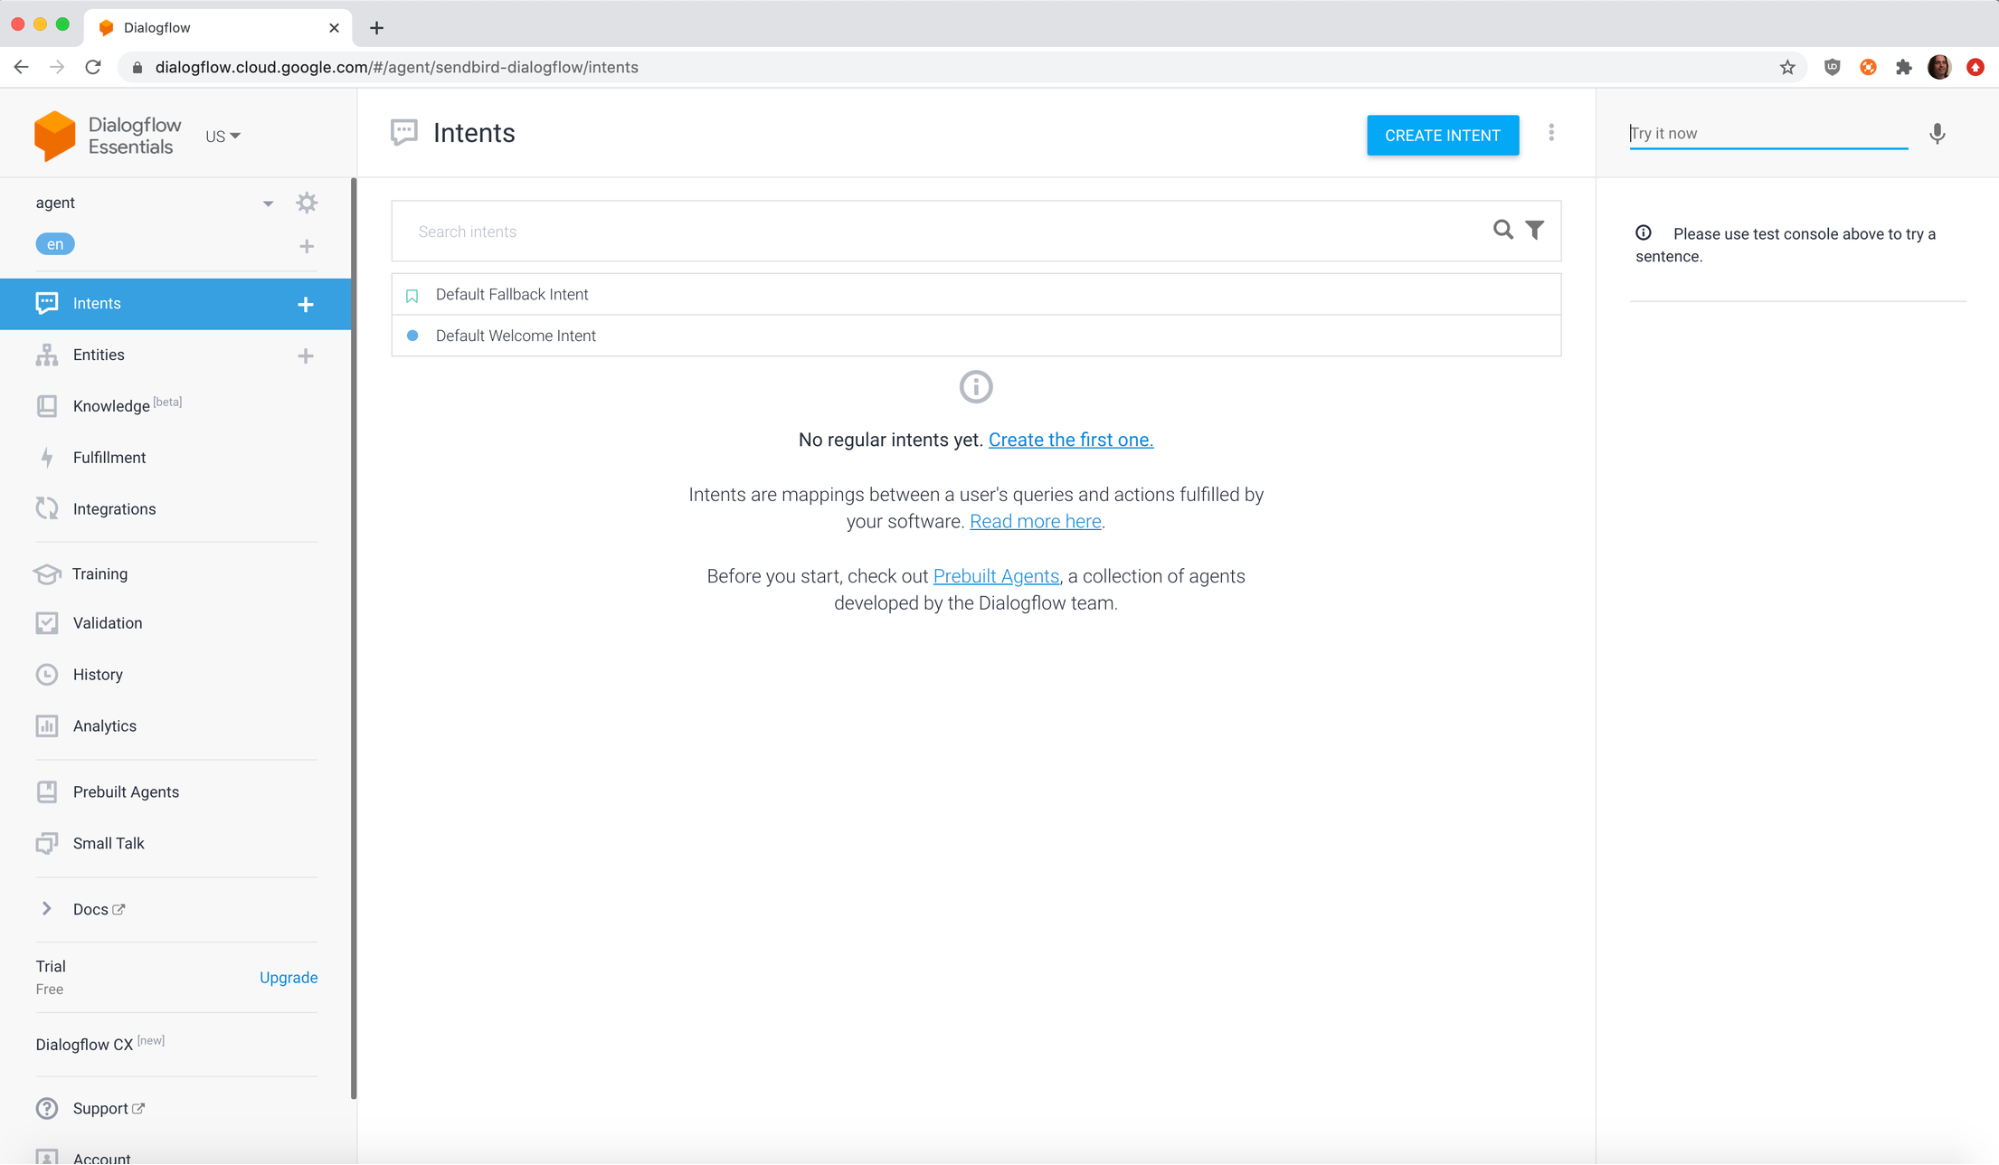
Go to https://dialogflow.cloud.google.com/ and log in with your Google account.
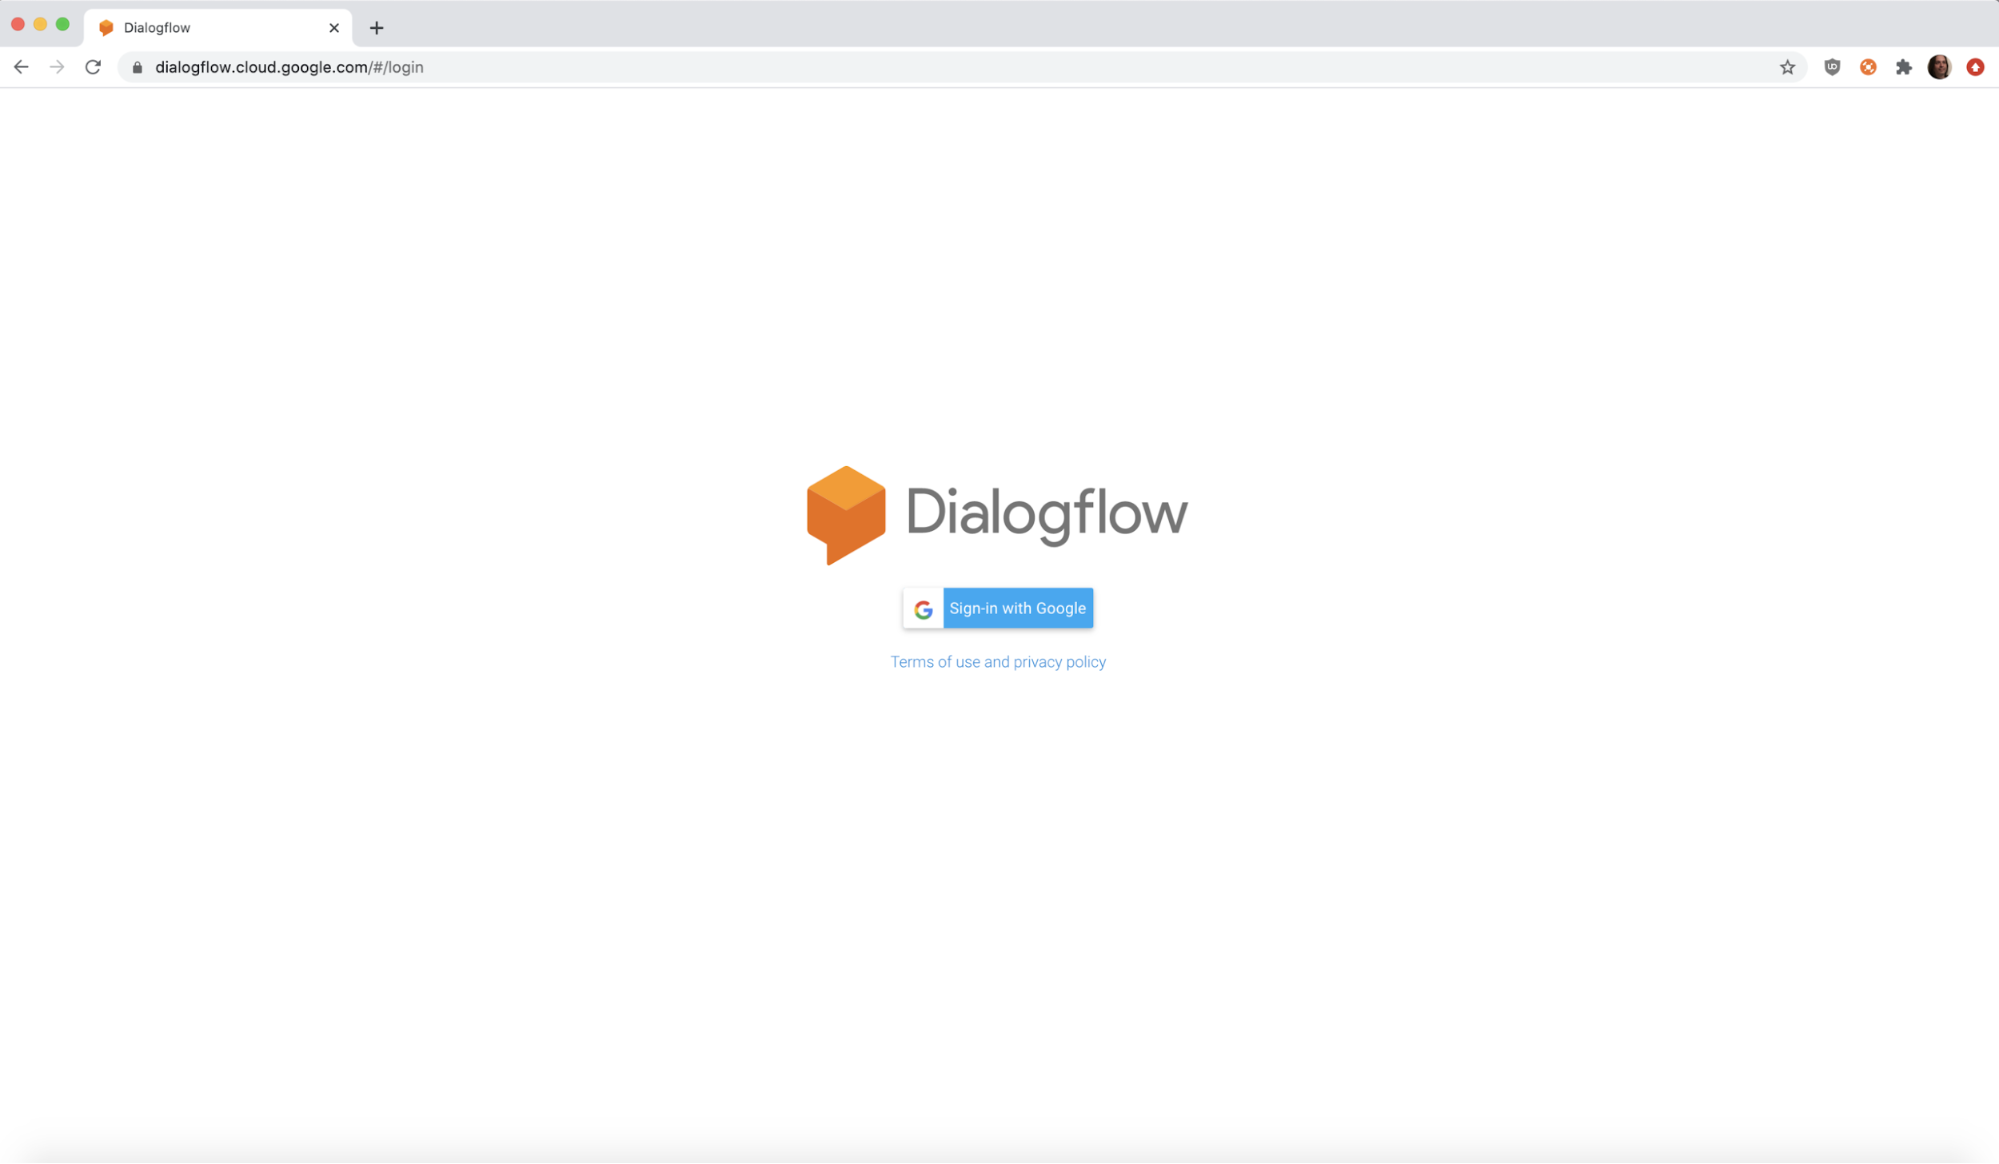
You should see the following screen once you sign in:
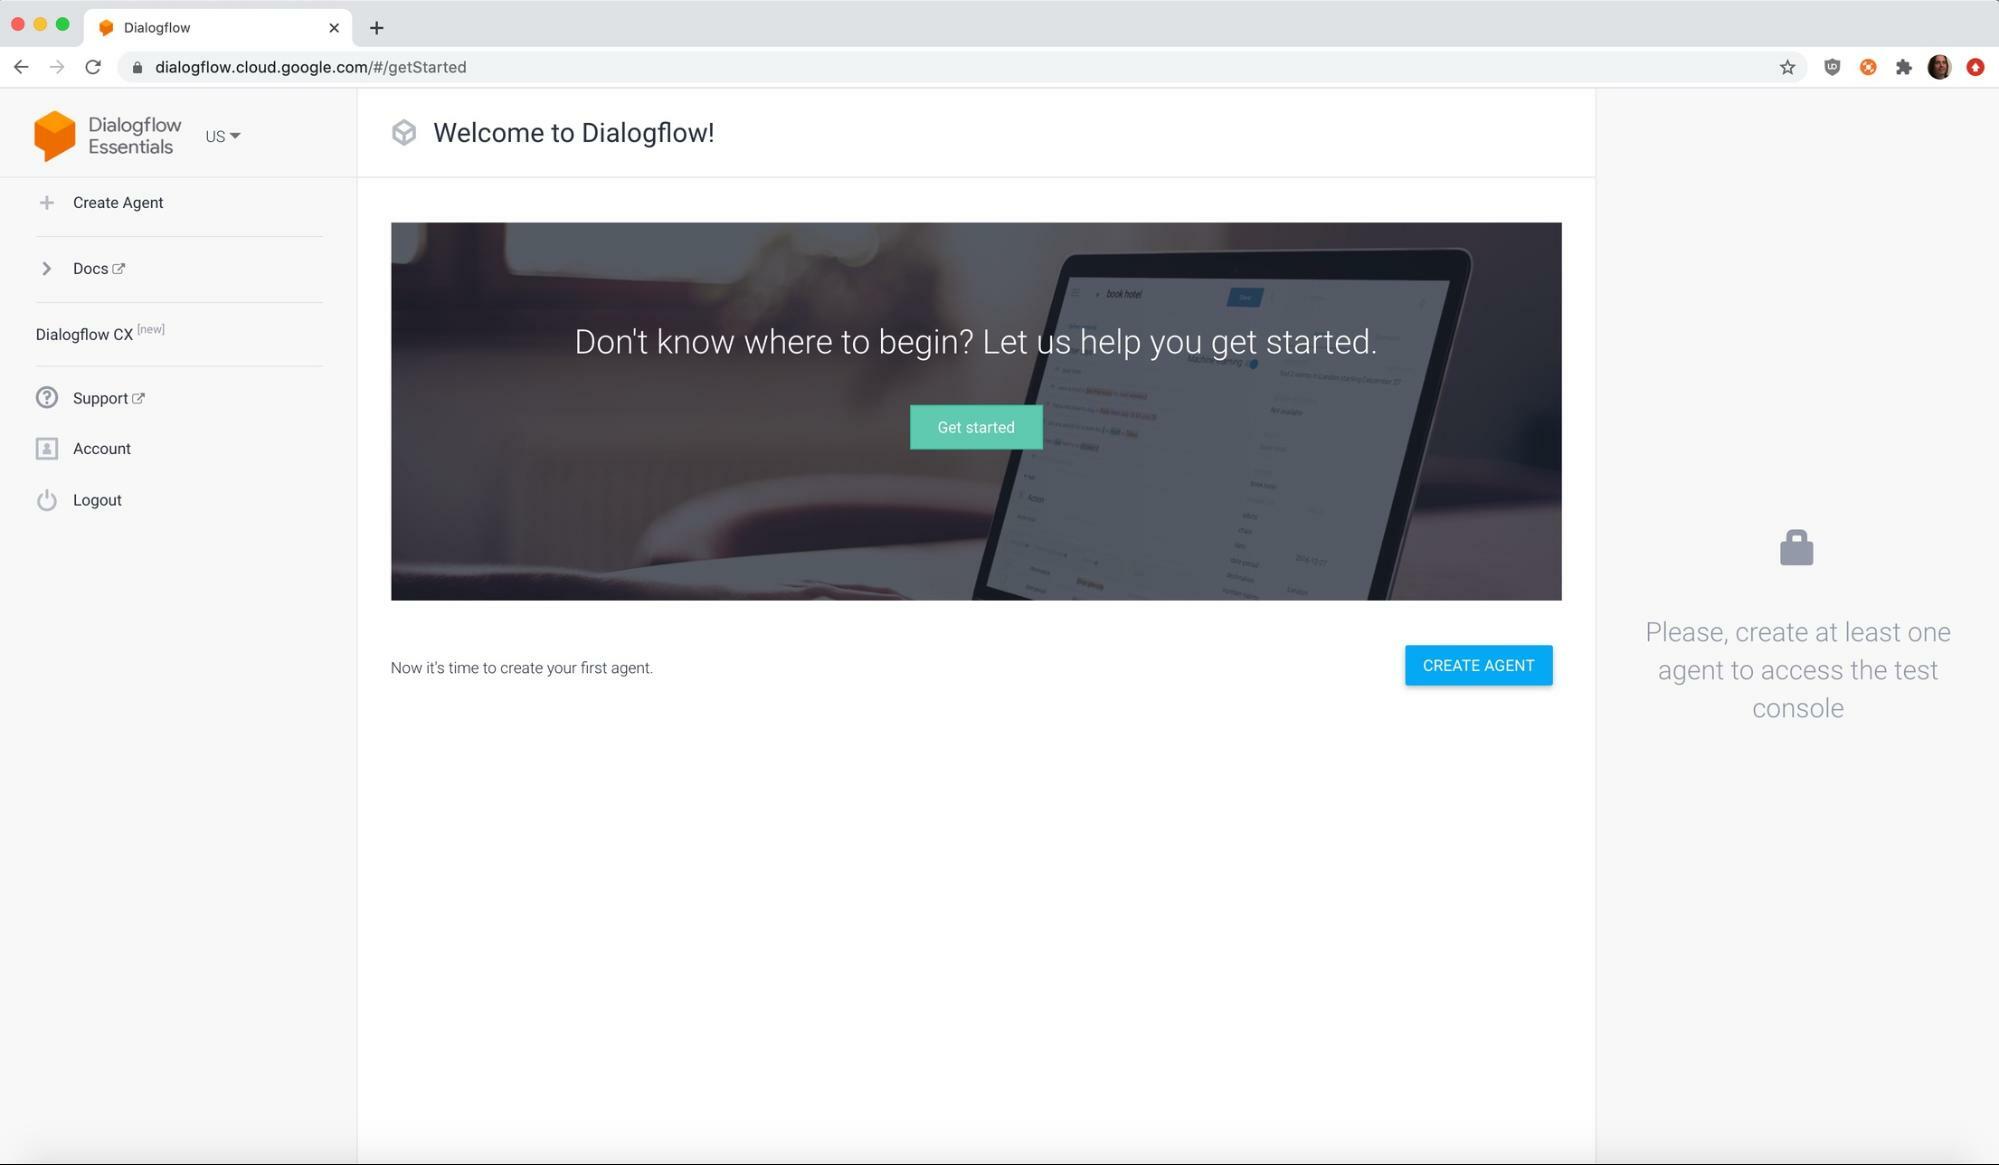
1.2. Create a new agent
An agent in Dialogflow will receive the information from the Sendbird chatbot. The agent will process this information and respond to the users in the chat. This can be complex, but we will use the basic default information for this tutorial.
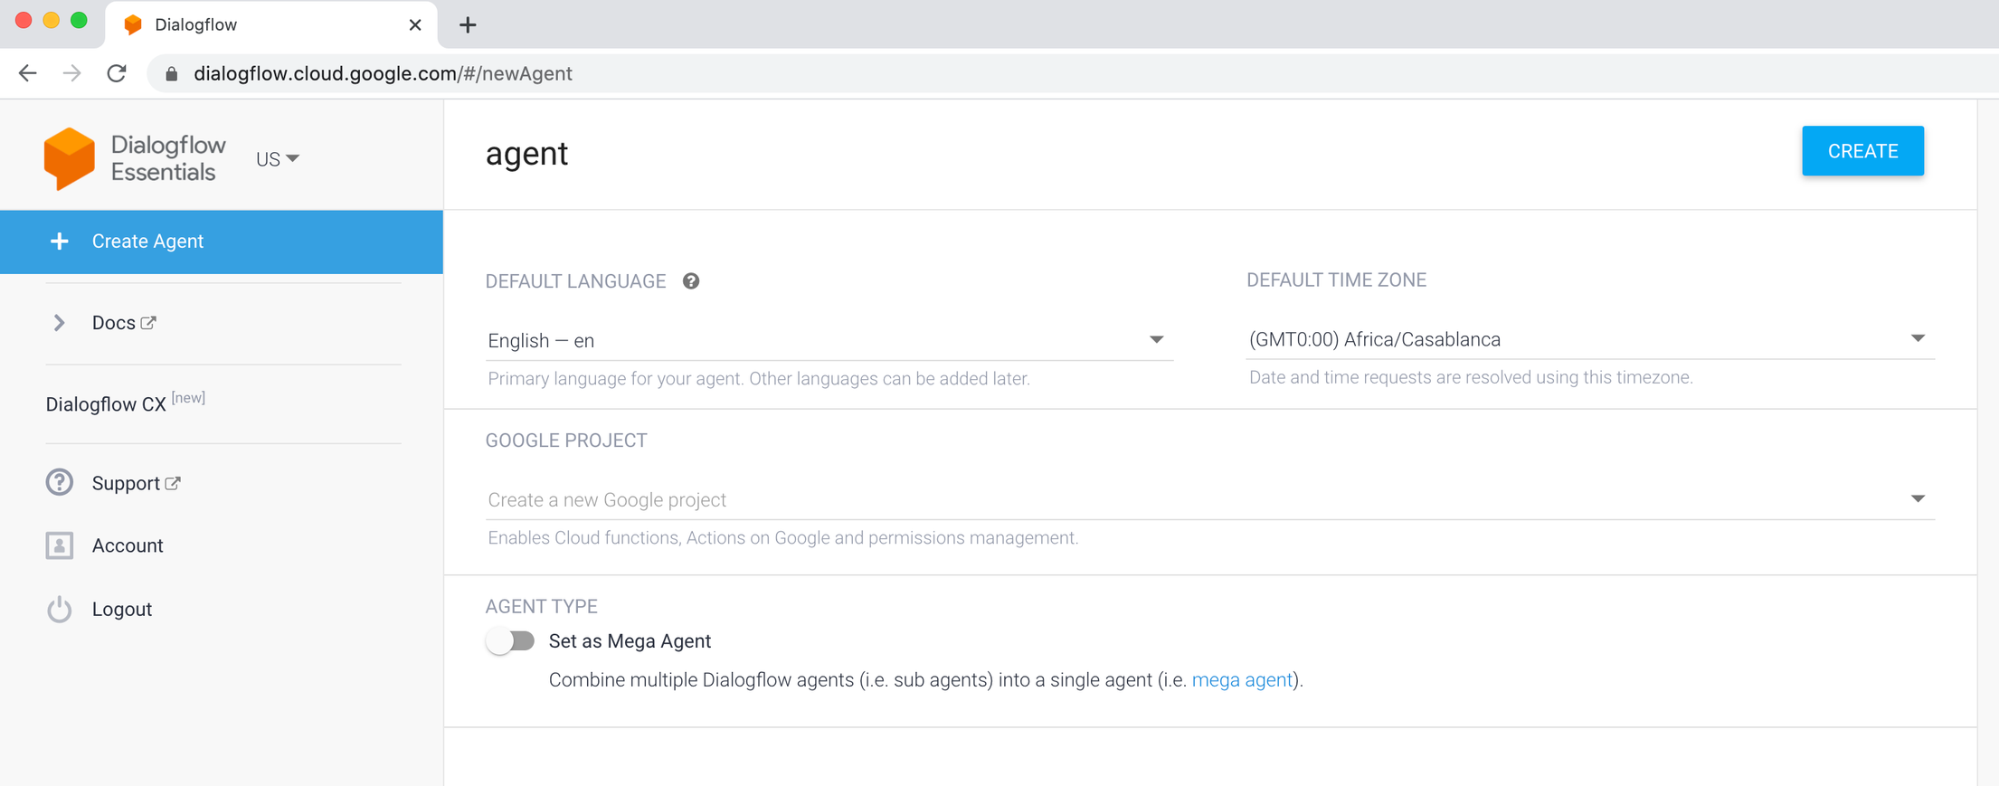
To create an agent:
- Click on the Create Agent button.
- Enter “agent” as the agent name.
- Leave the rest unchanged.
- Hit the CREATE button.
1.2.1. Get your credentials
Now, get your Google credentials for NodeJS. Click the gear icon located on the top left side of the screen. You will see the following:
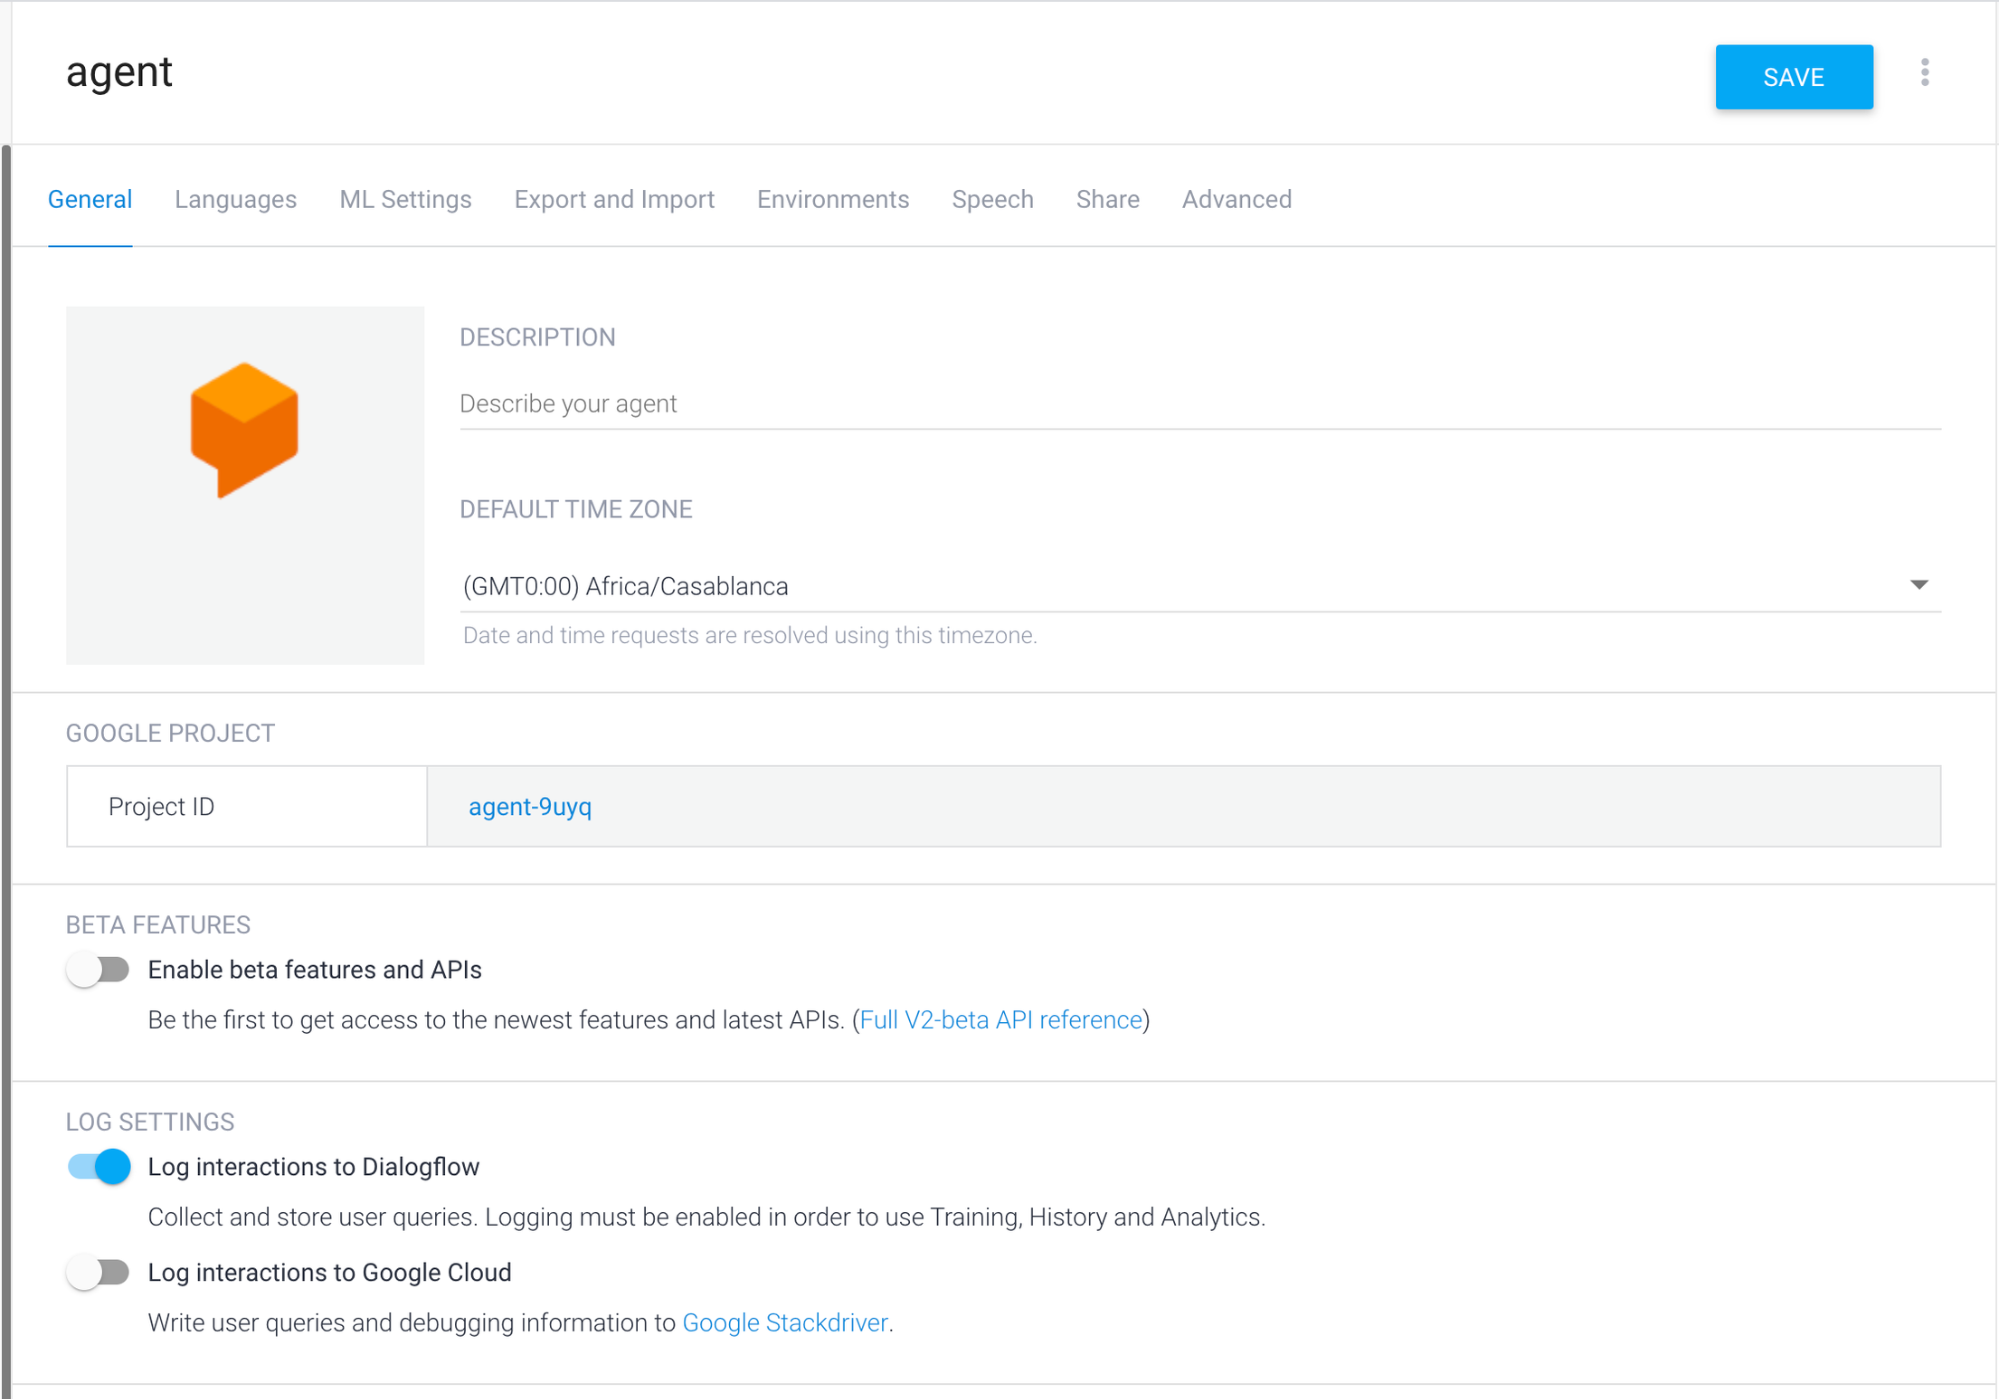
1.2.2. Save your project ID
For this project, you see agent-9uyq. Click on it, and a new tab will open. You are now in the Google Cloud console.
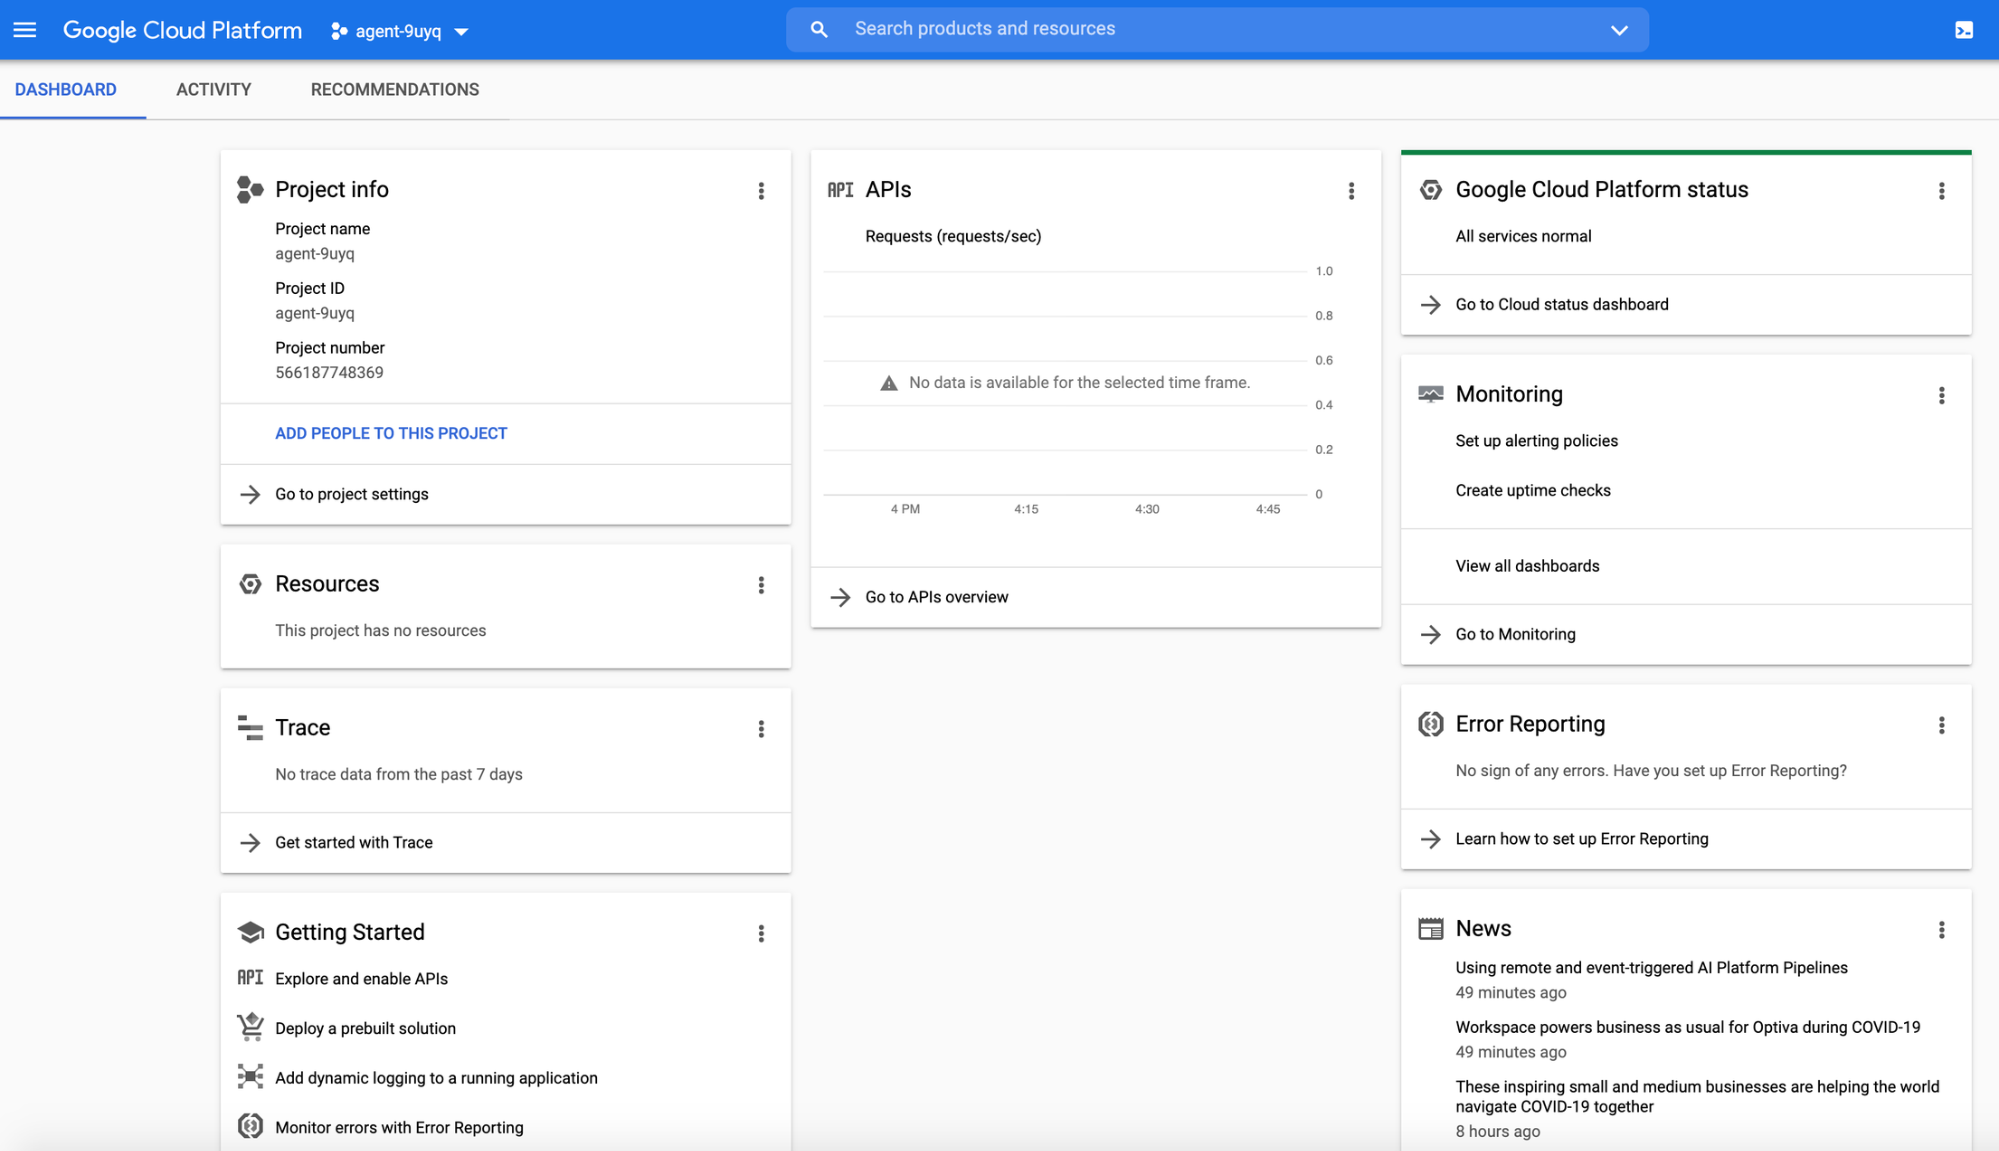
1.2.3. Save your credentials
Click on the hamburger menu at the top left. Hover over APIs & Services, and then click on Credentials.
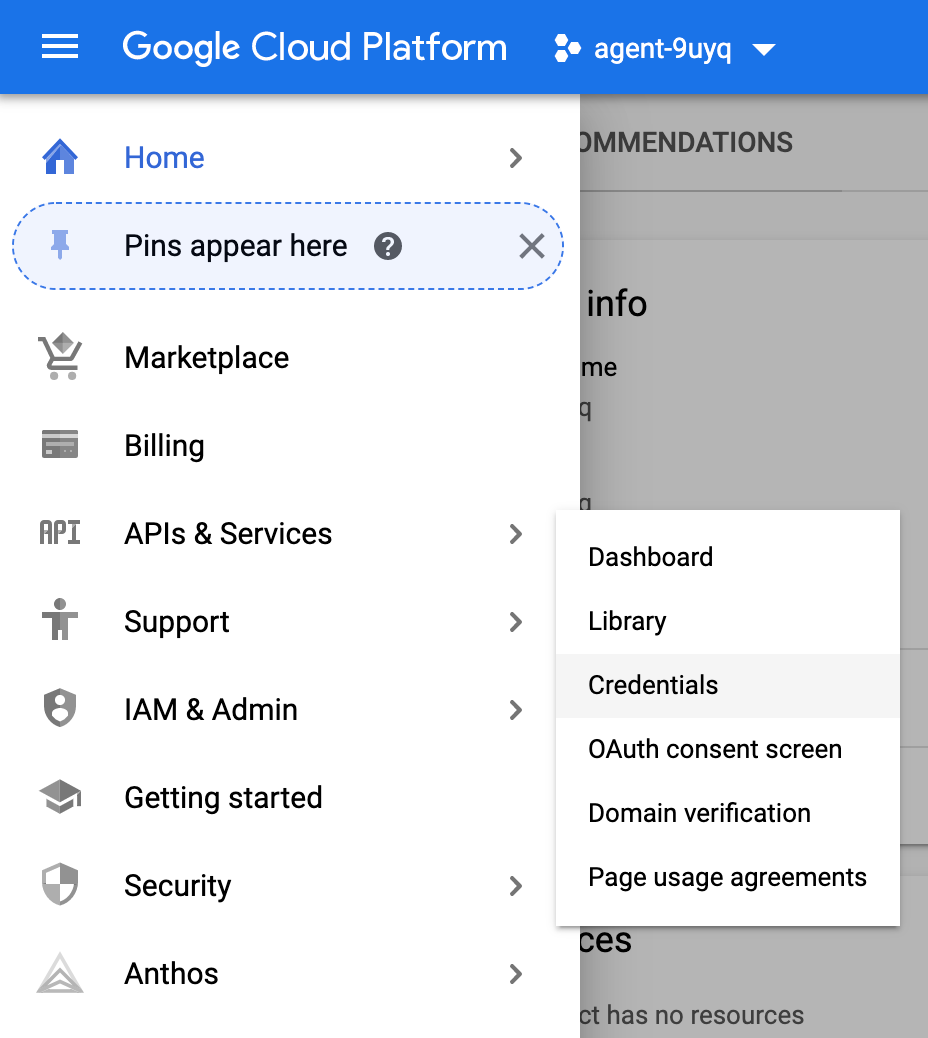

1.2.4. Create a service account
To do this, click on the + CREATE CREDENTIALS button at the top of the screen.
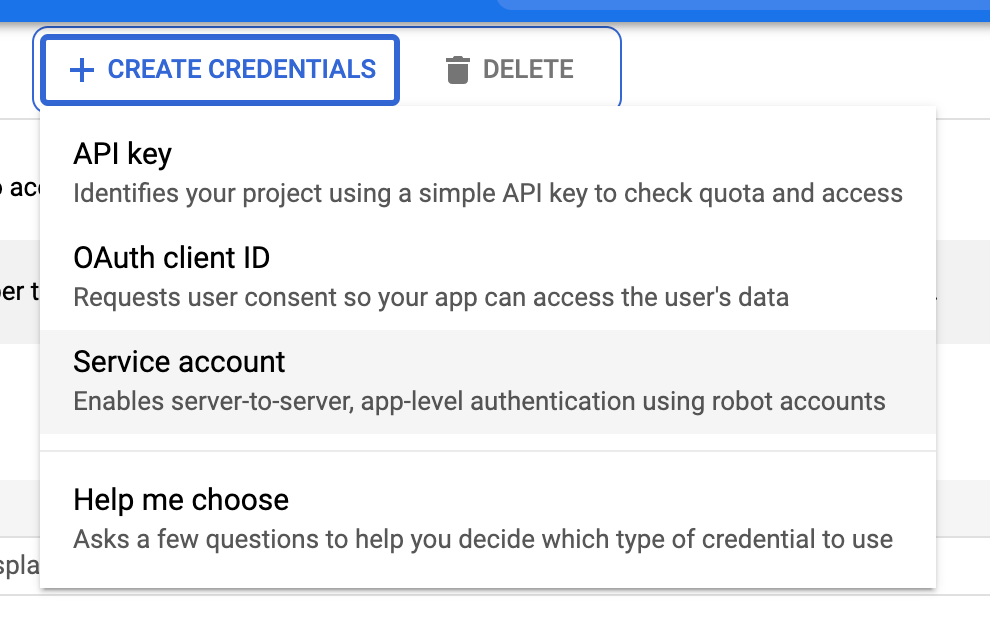
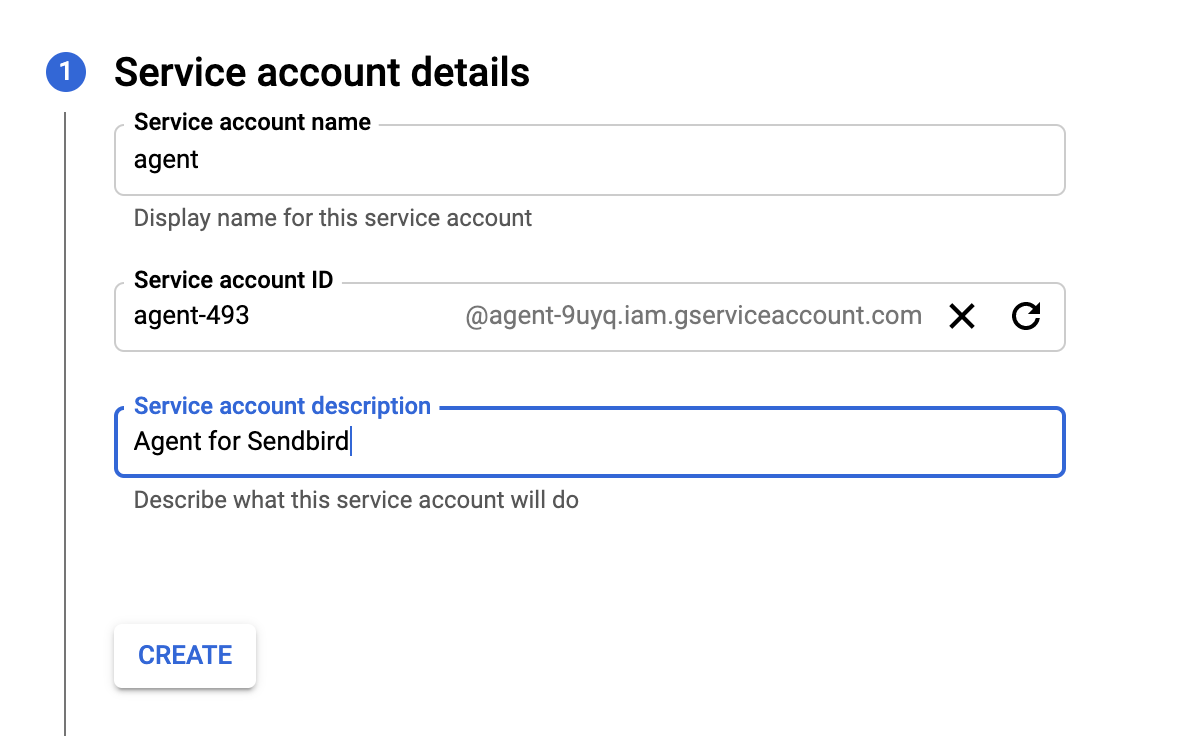
Enter any value for the Service Account Name, Service Account ID, and Service Account Description. Then click the CREATE button.
1.2.5. Select permission and role
Select Owner, as displayed in the following screenshot:
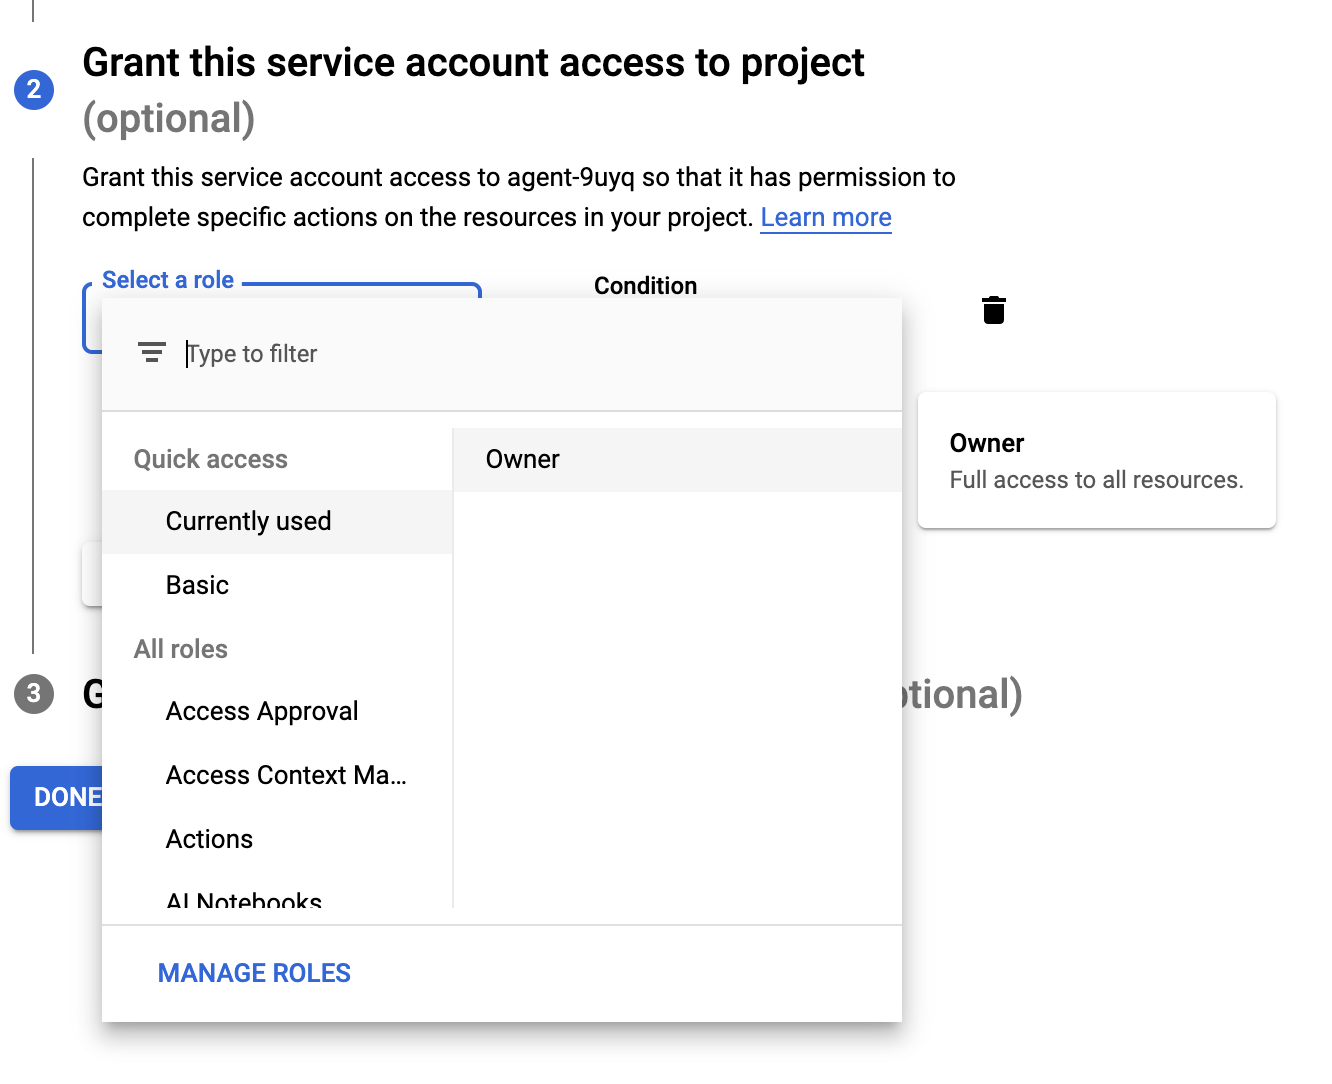
Click CONTINUE and then click on DONE.
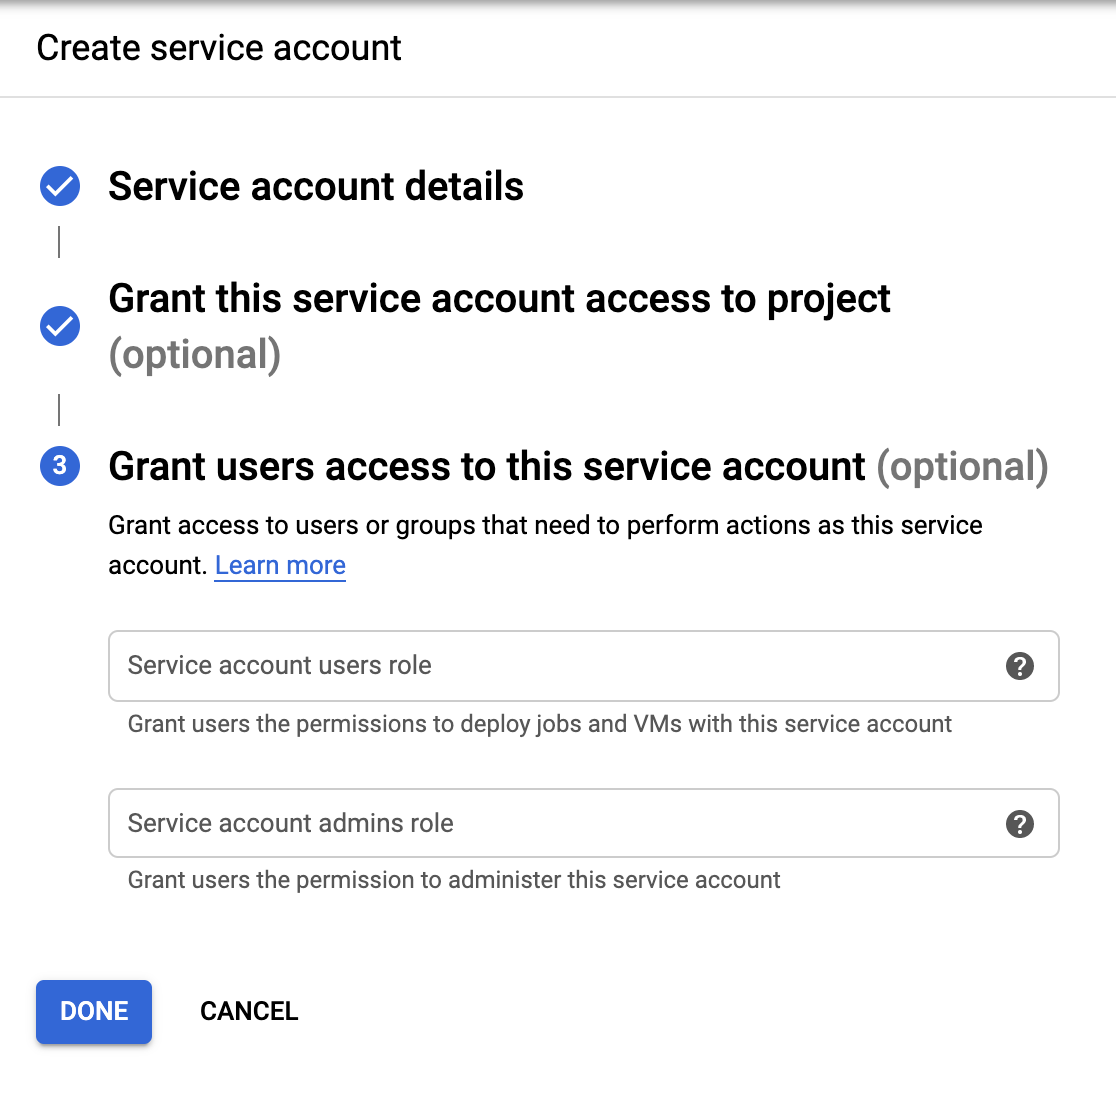
Once you click on DONE, you will see your Service Account at the bottom.
Click on this Service Account. You will see a new screen:

Click on the Email field at the bottom to go to the next screen and create a new key.
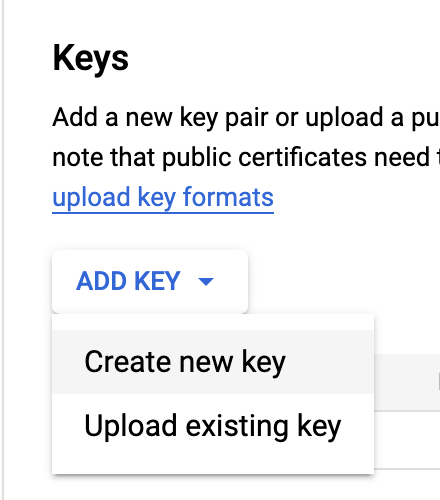
Select JSON and click on CREATE. You will be prompted to save a JSON file. This JSON file contains the information you can use later for creating a Google Session ID. We won’t use this in our NodeJS project, but knowing this could be helpful in the future.
Finally, click on the blue SAVE button to confirm all changes.
Google will ask you to download a JSON file. This file has a structure like the following:
Run the following command for Google to identify your project:
export GOOGLE_APPLICATION_CREDENTIALS="/folder/where/this/file/is/located/agent-crlt-3d19b9a1f89b.json"
Step 2. Sendbird configuration
Once logged in with your Sendbird account, go to your Sendbird dashboard and ensure your chatbot feature is enabled.
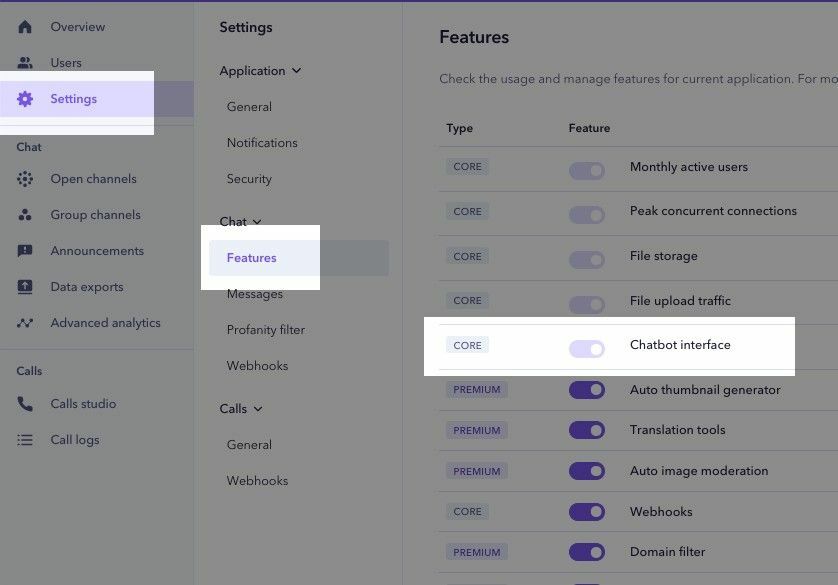
Note: This screenshot is from a Free Trial dashboard.
Step 3. Create a Sendbird chatbot
We need to create one or more bots to talk to your chat clients.
Sendbird provides a REST API for creating and managing chatbots. Among other tasks, with the Sendbird bot interface, you can:
- Create and update bots
- View all your bots
- Allow bots to enter and leave chat channels
Ensure you are familiar with our Bot API by reading the complete documentation here.
Step 4. Create the Bot Sync Server
Using this server application, we will:
- Create and update bots
- Make them join any of your Group Channels
- Receive chat messages from your Group Channels using webhooks
- Send and receive information to and from Dialogflow using the Dialogflow APIs. You can read the related documentation here
- Send the response from Dialogflow back to the chat
Steps to follow:
- Clone/download sample source code
- Set your Sendbird credentials
- Download the Google GCLOUD and show your Google session token
- Create a test Group Channel from the Sendbird Dashboard
- Create a new bot
- Add this new bot to your Group Channel
4.1. Clone/download sample source code
Clone or download this sample code from our repository.
To show a preview of this link, connect your Github account.
Note that in this example, we are using Google Cloud Dialogflow version 3.3.0.
"@google-cloud/dialogflow": "^3.3.0"
From the code, we call:
const dialogflow = require('@google-cloud/dialogflow').v2beta1;
Pay attention because this changes constantly; Google is working continuously on this, and it may change for you.
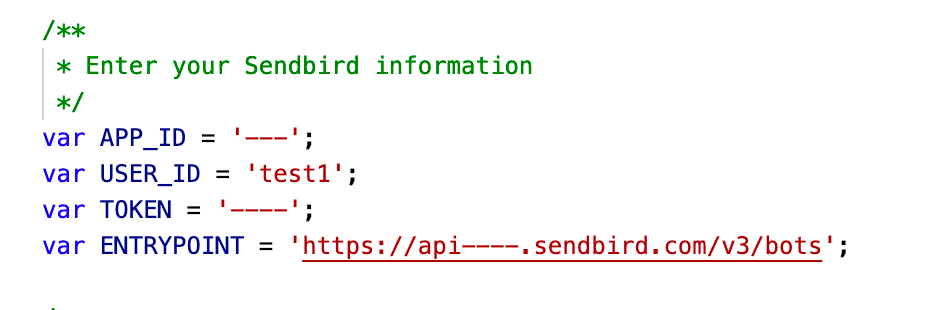
4.2. Set your Sendbird credentials
From your Sendbird dashboard, get your information and replace the dashes.
You will need:
- Your Application ID
- Any of your created user IDs
- Your API token
- Your API entry point
4.3. Download the Google GCLOUD and show your Google session token
This is a critical step to get your Google Session ID. You need this ID in the sample source code.
Open your terminal and run the following command:
gcloud auth application-default login
To do this, you need to download and install gcloud from here:
https://cloud.google.com/sdk/docs/install
Note: Take your time. This process from Google is very tricky.
Once you run that command, a browser window will open. You need to authorize your Google account and allow the use of this service. After that, Google will create a new JSON file for you. If you don’t have this information correct, you will receive an Error 400.
Copy the value from client_secret and populate GOOGLE_SESSION_ID below in the NodeJS code.
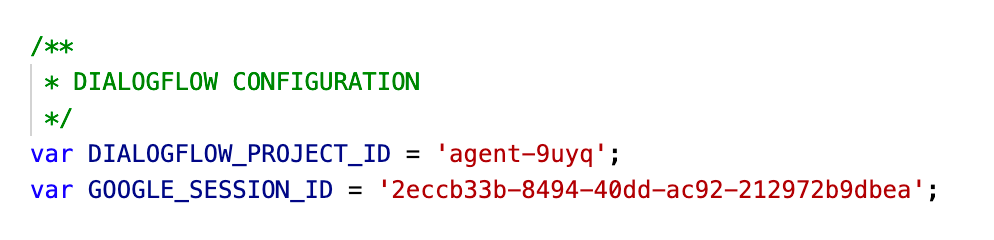
Note: Grab your project ID from Dialogflow (taken from the Dialogflow configuration, section 1.2 2.b.)
4.4. Create a test Group Channel from the Sendbird dashboard
Go to your Sendbird dashboard and access any of your Group Channels. We will create a new one here.
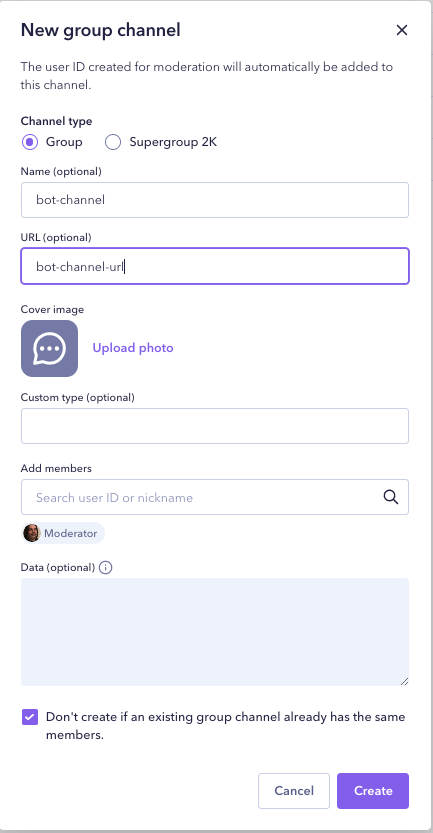
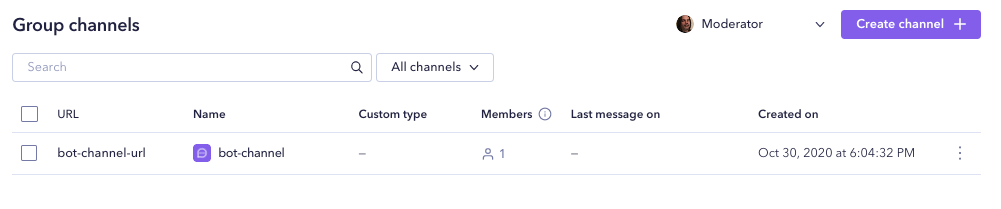
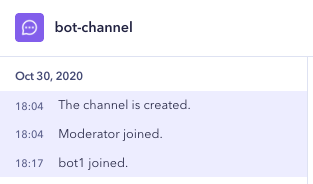
As you can see, my new channel is called bot-channel, and its URL is bot-channel-url.
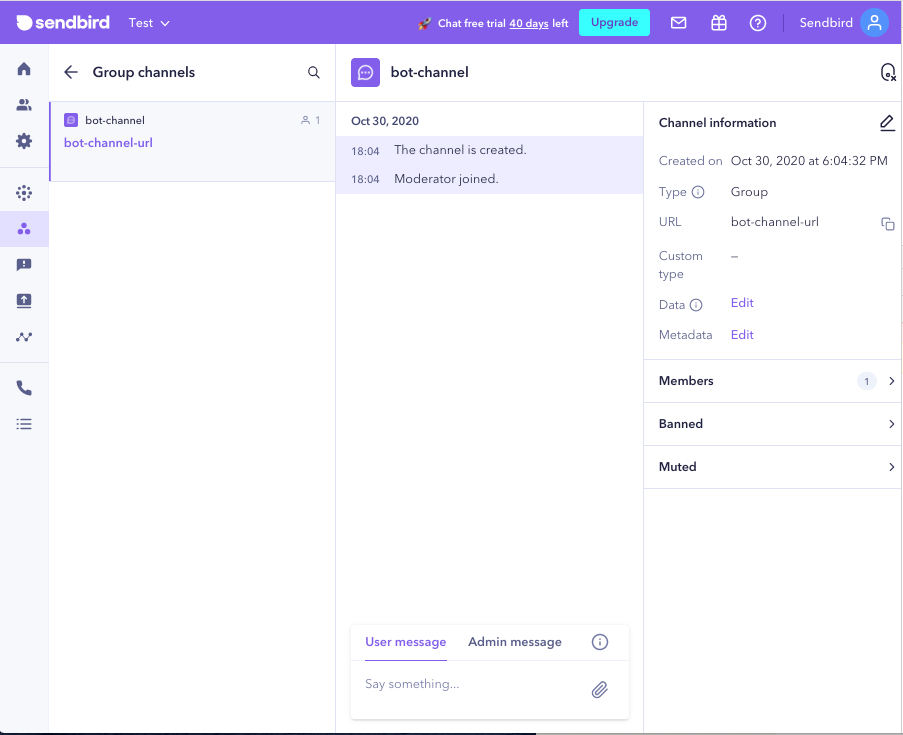
Click the bot-channel-url to enter this channel:
4.5. Create a new chatbot
The next step is to add this to create a bot. We will send a POST request to our Bot Sync Server.
Note: For all bot operations, we use the Sendbird Bot API. Check out how to create a new bot here:
Go back to the code and install all libraries:
npm i
Once all libraries are downloaded, run your Bot Sync Server:
npm run start
Once our server is running, we will send a POST request to create a bot called bot1.
You can use Postman to send POST requests. The most critical parameter is called bot_callback_url. It refers to the callback Sendbird will invoke when a message is sent to the Group Channel. This callback URL must be accessed from the Internet.
To accomplish this task, you can upload this NodeJS to any server like AWS, Heroku, Github, or any other service you are familiar with. For this example, I will use NGROK. NGROK creates https://b1b85fc97d18.ngrok.io, which points to my local server https://localhost:5500
4.6. Add this new chatbot to your Group Channel
The next step is to add this bot to your new Group Channel. To add a bot to a Group Channel, we use the Sendbird API. Check out our documentation here.
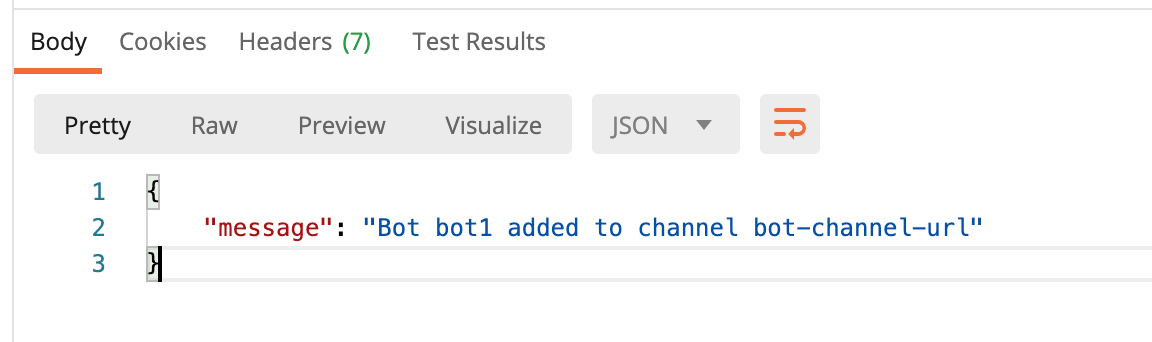
Now, send a GET request to our Bot Sync Server:
GET https://localhost:5500/bots/bot-channel-url/bot1
If all went well, you should have the following response:
And the following message in your Sendbird dashboard:
Step 5. Test the full chatbot flow
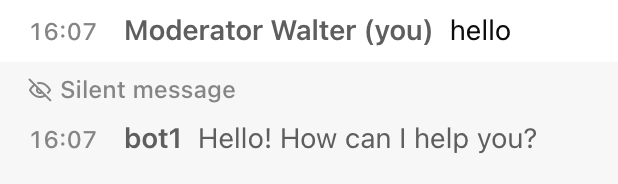
It’s time to test our flow! Send a simple “Hello” message from your dashboard. This message will trigger the webhook running on your local computer with NodeJs:
https://b1b85fc97d18.ngrok.io/callback
Replace b1b85fc97d18 with the ID you receive from your NGROK application.
Our bot will grab this message and send it to Dialogflow. Dialogflow will respond.
Our bot will receive this response and send it back to the chat channel. The response will be displayed as a new message in the dashboard.
Beyond Dialogflow with generative AI custom chatbots
In-app chat is engaging for users, and it can be even more efficient with AI chatbots! Integrating the Sendbird API with third-party services leads to robust implementations. This tutorial taught us how to automate Sendbird chat responses with Dialogflow. It will work on any device, and you can choose the programming language you prefer—from Android to React, to Angular, to .Net, etc. All you need to do is send HTTP requests to your server.
Today, a better and simpler way to build custom AI chatbots exists. Sendbird offers a complete AI chatbot solution using the latest generative AI LLMs such as ChatGPT, Llama, Claude, or Solar, a complete chatbot management software, and simple workflows to launch a custom AI chatbot widget on your website with no code. Our WordPress Chatbot plugin streamlines the process even further. Check out our AI chatbot's 30-day free trial.
If you want an AI chatbot for customer service, you may leverage our Salesforce connector or Sendbird Desk, our AI-enabled support solution.
If you want to see a history of messages sent to Dialogflow, Google has a dedicated section that you can access from the Dialogflow console:
https://dialogflow.cloud.google.com/#/agent/YOUR-AGENT-ID-HERE/history
Congratulations on making it to the end of this tutorial, and happy human-to-machine connection building! 🤖


