
How to use server-relayed WebRTC group calls to record 1:1 voice & video calls in the cloud (Android)

Introduction
Sendbird Calls is a highly abstracted API that allows developers to build feature-rich in-app voice and video calls in web and mobile apps without being bogged down by low-level WebRTC and media infrastructure details.
In this tutorial, you’ll learn how to use Sendbird’s video call API to record 1-1 calls in the cloud by using a virtual room for group calls.
Reconciling P2P WebRTC calls with cloud recording by using a video call API
The Sendbird video call SDKs support direct and group calls. Direct calls, also referred to as 1-1 calls or one-on-one calls, can either be peer-to-peer (p2p) or server-relayed. The peer-to-peer connection is always preferred for quality, security, and cost reasons. That’s why our platform will always default to p2p when possible to reduce cost and optimize privacy.
Because p2p voice and video calls establish a direct connection between two devices, cloud recording is not possible. Calls can be recorded only on either device. Cloud recording of a 1–1 call, however, requires a media-server connection. There is a simple way to circumvent this limitation: you can use the Sendbird video call API to host a server-relayed group call with only 2 participants and record the media content in the cloud.
Step 1: Create a room for your video call
First, let’s create a room from which calls will take place. Two users will join this room and talk to each other in a 1-1 call. With the Sendbird video call API, set the room type and create the room.
Step 2: Enter the video call room
The caller (the person who initiates the call) now has to enter the room. When a user enters the room, the user will connect automatically to Sendbird’s media server.
Step 3: WebRTC signaling: Invite the callee
The Sendbird send invitation function will send a push notification to the callee. The callee can then either accept or decline the invitation.
Invite the callee using their user ID as the `inviteeId`.
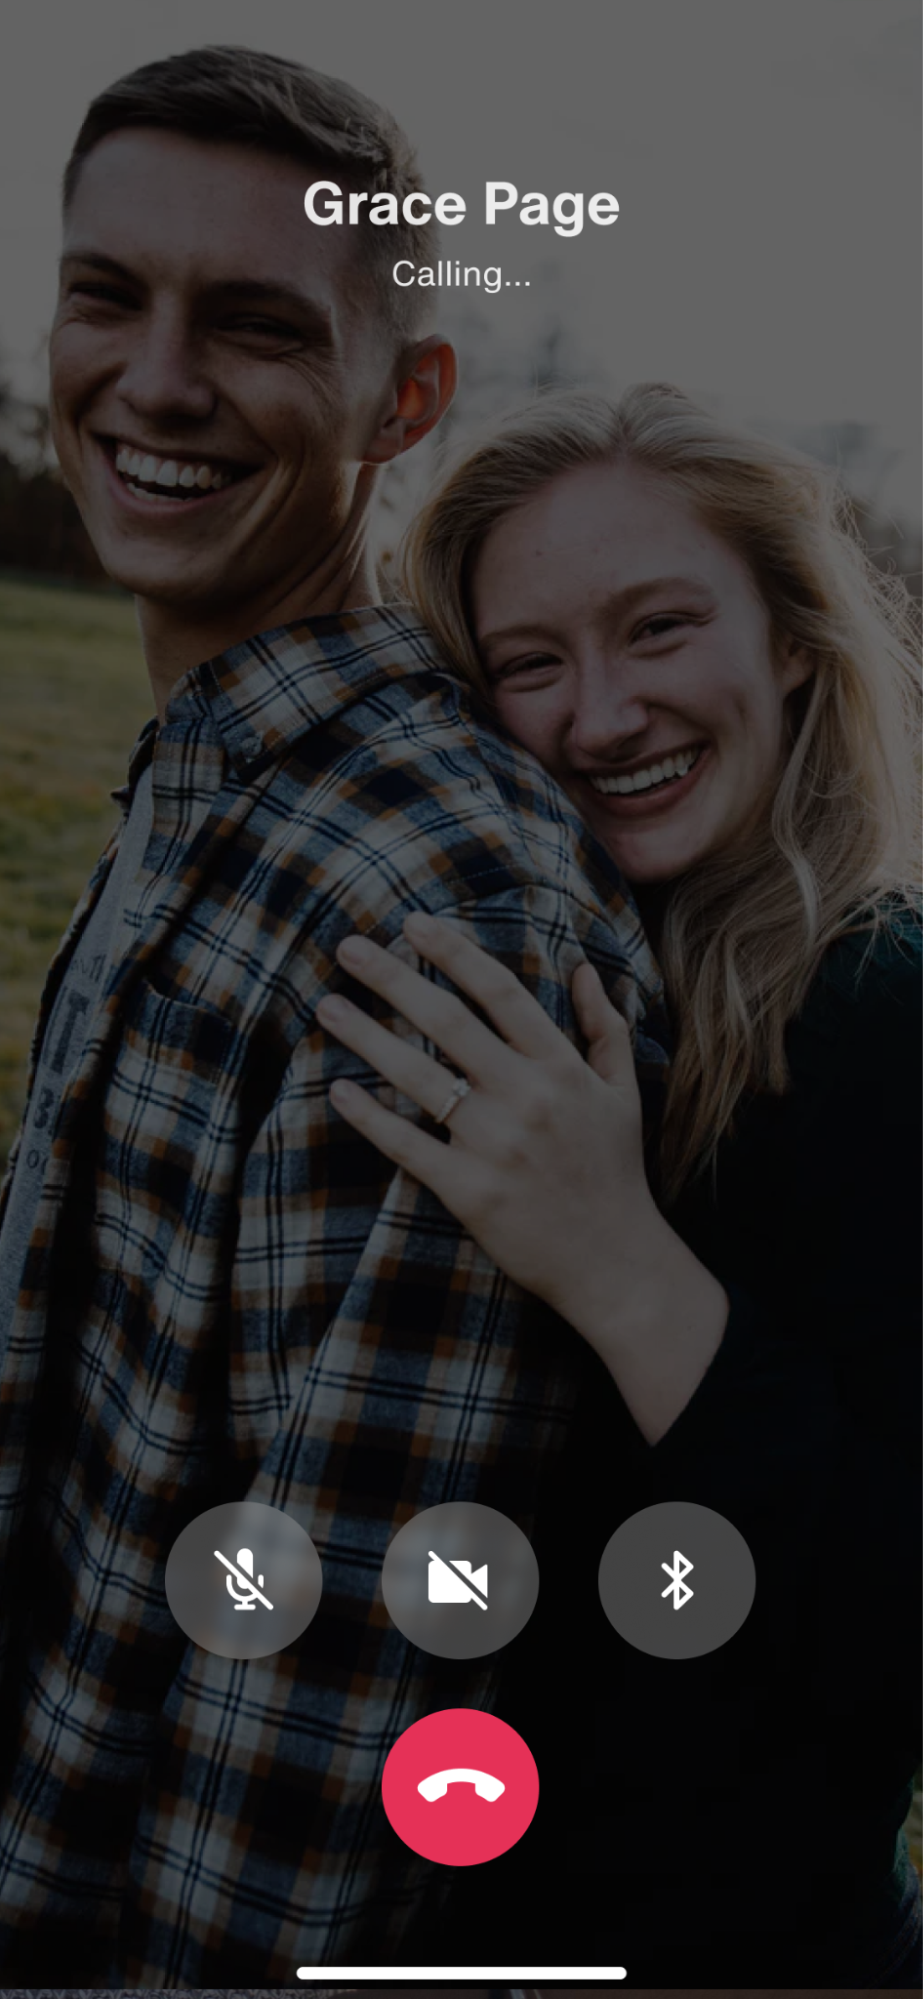
When inviting your correspondent, you can show a dialing screen which indicates that the dialing is in progress.
Step 4: Send a group video call push notification to the callee
When the user receives a video call invitation, the user will receive a push notification message which contains the information about the room to join. This is what it looks like on an Android device.

To enable the video calling push notifications, you must first upload a push notification certificate to the Sendbird dashboard and register the user’s device push token. Please refer to our documentation on how to get started with notifications for Calls. You can also refer to the many tutorials for Android, iOS, and JavaScript on our developer portal, and a push notification tester tool tutorial.
In this tutorial, we are using Firebase Cloud Messaging’s (FCM) notification. Pass on the received push notification to the Sendbird Calls video SDK as shown below.
When the push notification reaches the Sendbird video SDK, the function BaseApplication’s `onInvitationReceived` allows us to accept or decline the invitation.
Refer to the code using the Sendbird Video Call SDK below.
Step 5: Accept or decline the video call invitation
The onInvitationReceived returns the response from the callee. Refer to the Sendbird video call function below to implement this.
You can also receive event handlers about the callee’s response to the invitation as shown below:
Step 6: Connect the users
After accepting the invitation, the callee has to enter the group video call room to be finally connected with the caller.
Enter the room as shown below:
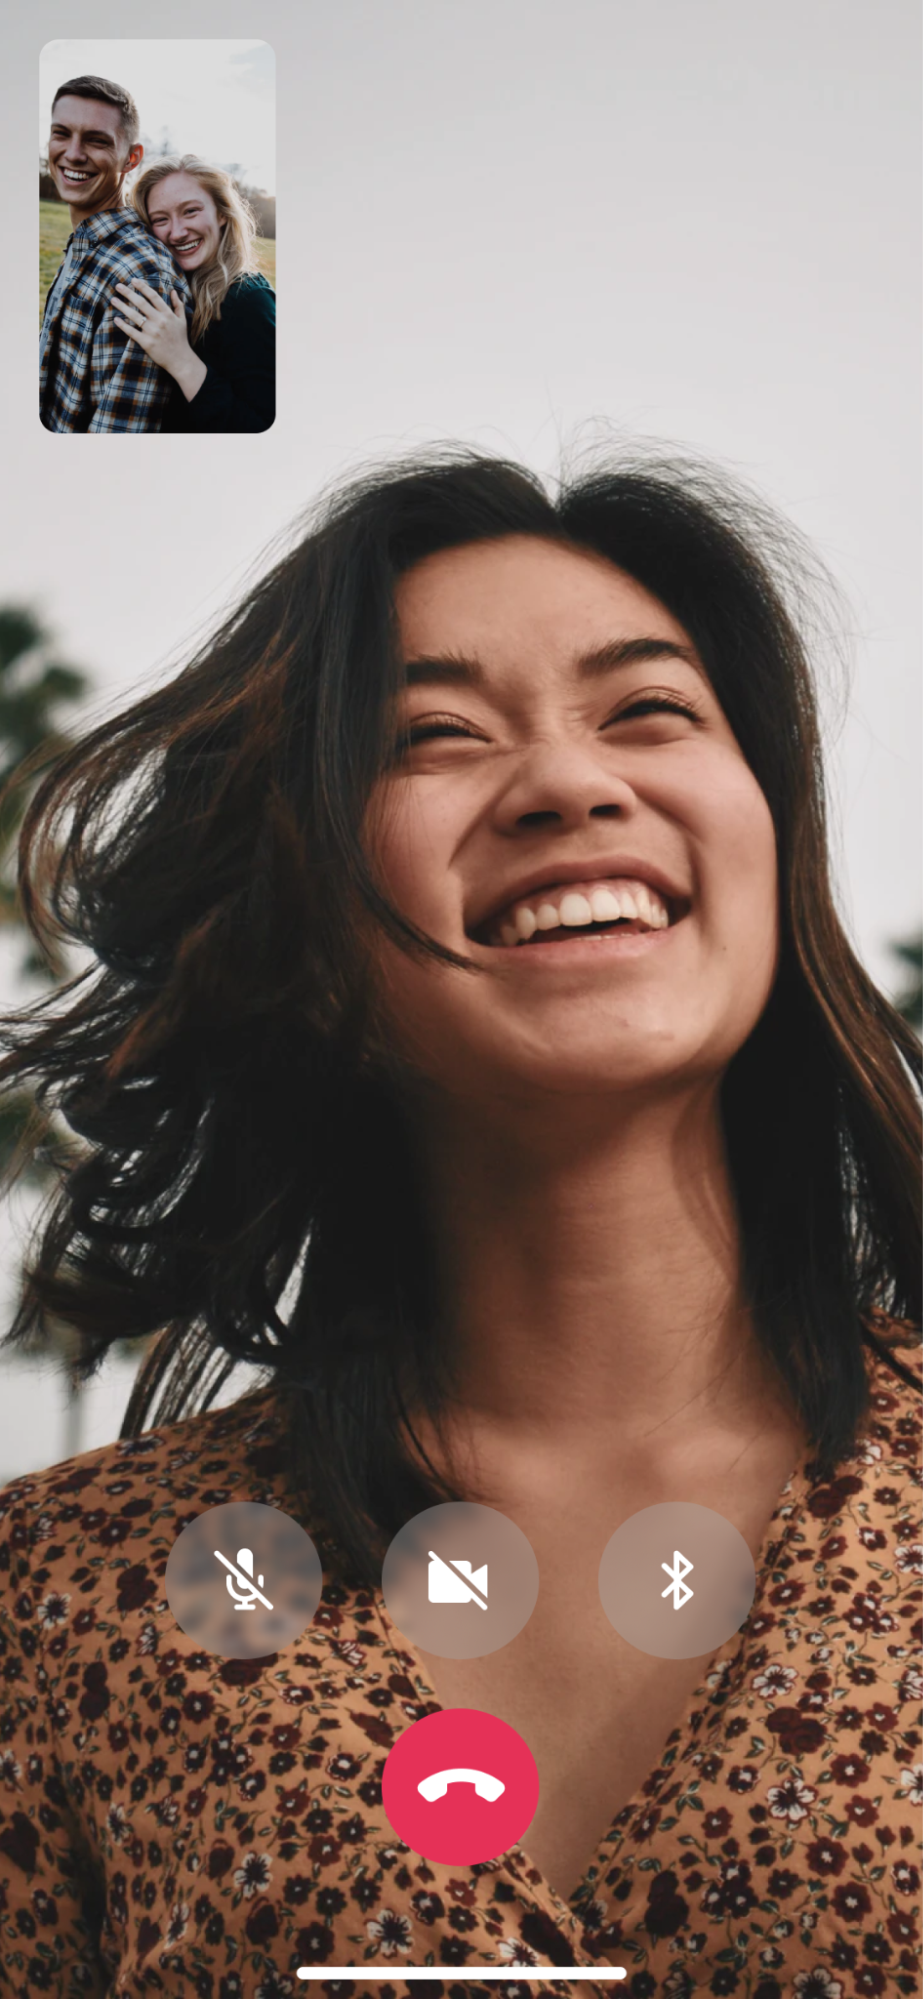
After entering the group call’s room, the two users will be automatically connected and their media stream will be viewable. When the user enters and gets connected to the room, the following event handlers will be called.
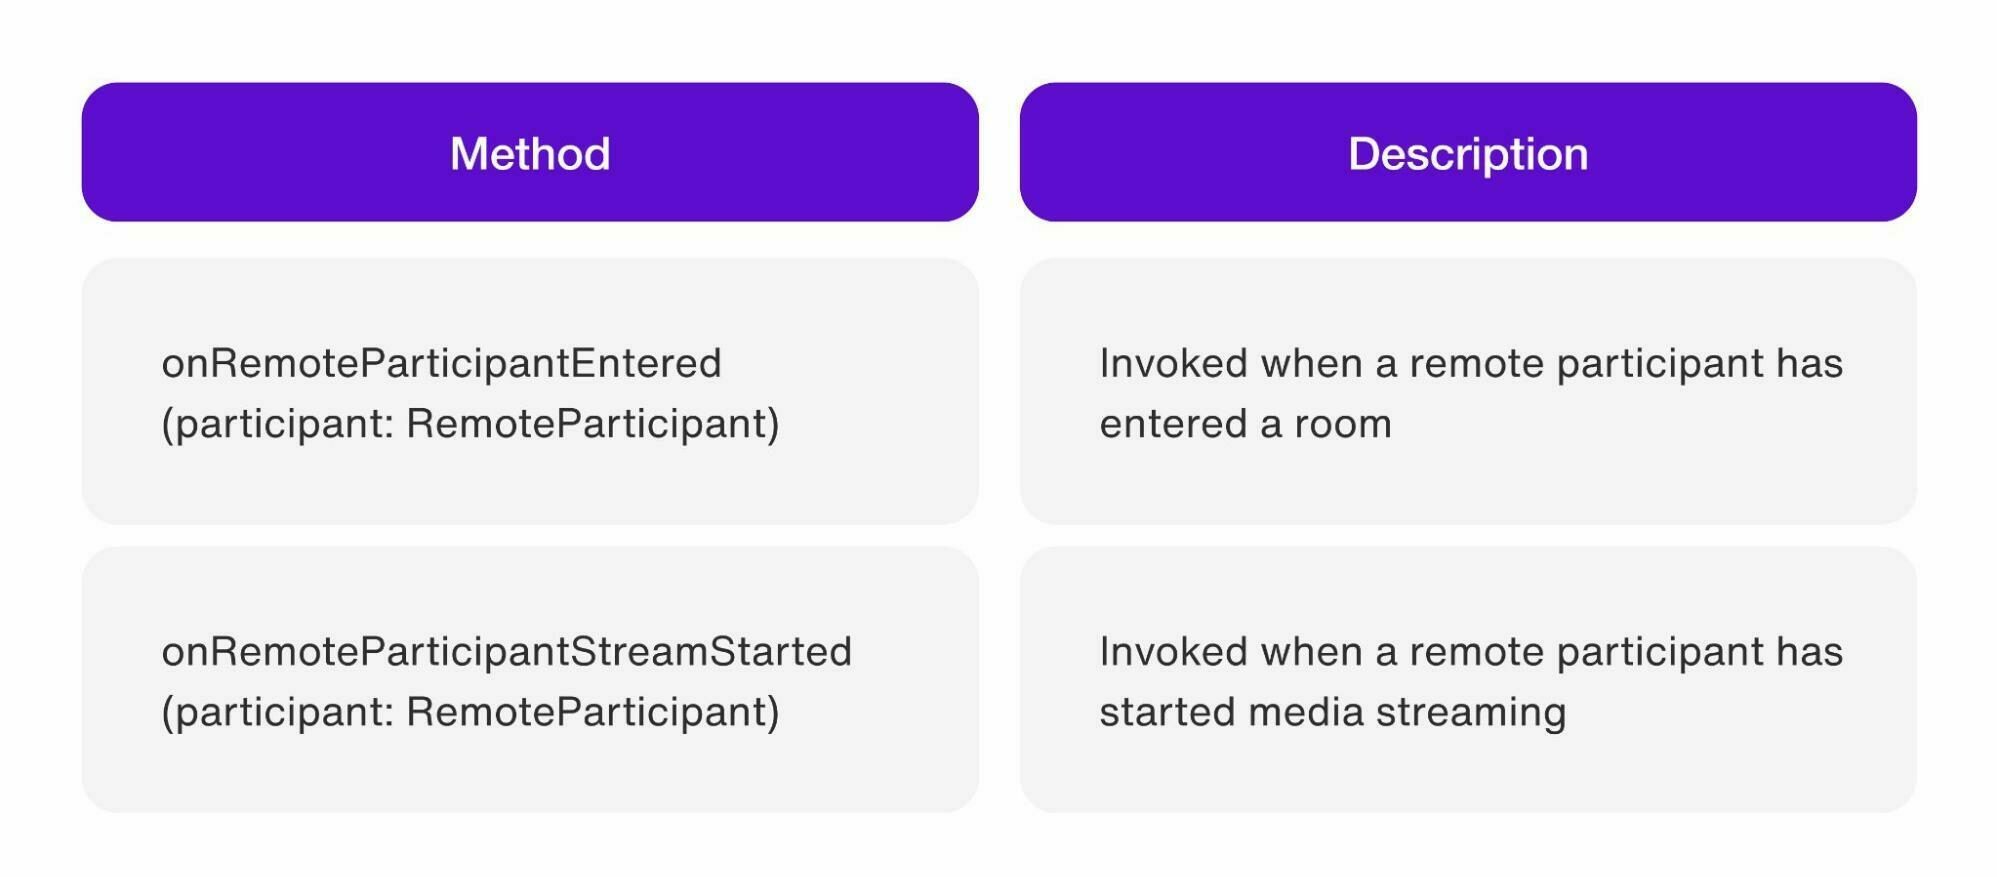
You can add UI updates to the above event handlers to show the user when the callee accepts the call, enters, and leaves the room.

Conclusion
And that’s a wrap! You now know how to record in the cloud 1-1 video calls using Sendbird’s video call API. You’ve learned how to:
Use the video call API to create and enter a room
Signal to your correspondent an incoming call with push notifications
Allow the callee to respond
Host a call between the two participants in a room
If you need more help with the material in the tutorial, please see our docs. If you have questions, please reach out to us via the Sendbird community or through your support plan. Don’t hesitate to contact us - our experts are here to help.
Happy group calls building and cloud recording! ☁️


